The quality of a sweater in today's production is not only judged by the precision of the knitting and linking work but also by the accuracy with which the labels, buttons, zippers, badges, patches and decorative embellishments are applied. Such components may seem small in relation to the total construction of the sweater, but they are vital to product identification, functionality, aesthetics, customer satisfaction, brand recognition and compliance with international regulations.
Technical packages (Tech Packs) are used by global apparel buyers and require strict adherence to specifications, ensuring that every accessory and trimming component meets requirements for quality, safety, performance and branding. Labels that are not attached correctly can lead to customer complaints; buttons that are not correct can affect the way the product works; zippers that are defective can cause the product to be returned; and embellishments that are not attached properly can come off during washing or wearing.
Purpose of Label Sewing
Labels are among the most important components of any sweater. Beyond simple identification, labels perform several critical functions that support branding, legal compliance, retail operations, customer convenience and product traceability.
Brand Identity
The primary function of a label is to represent the brand. A professionally designed woven or printed label showcases the company logo, brand name and unique identity. Premium labels contribute significantly to the perceived value of the sweater.
Benefits include:
- Enhancing brand recognition
- Differentiating products from competitors
- Creating a premium appearance
- Building customer loyalty
Luxury and premium sweater brands often utilize high-quality woven labels, satin labels or specialized branding techniques to communicate exclusivity and quality.
Legal Compliance
Most export markets require specific information to be permanently attached to sweaters through labels.
Examples include:
- Fiber composition
- Country of origin
- Care instructions
- Import regulations compliance
Failure to provide the required information may result in product rejection, fines or legal complications.
Size Identification
Size labels assist retailers and consumers in quickly identifying the appropriate sweater size.
Common sizing methods include:
- XS, S, M, L, XL, XXL
- Numeric sizes
- Dual sizes (S/M, L/XL)
- International conversion sizes
Correct size labeling helps minimize customer confusion and return rates.
Care Guidelines
Care labels provide instructions regarding:
- Washing
- Dry cleaning
- Ironing
- Drying
- Bleaching restrictions
Proper care instructions help customers maintain sweater quality and extend product life.
Traceability
Manufacturers use labels for tracking production information such as:
- Purchase order number
- Style code
- Production batch
- Manufacturing location
- Production date codes
Traceability supports quality control and facilitates corrective action if issues arise.
Customer Comfort and Usability
Modern consumers increasingly demand comfortable sweaters. Labels should not cause irritation, scratching or discomfort. Therefore, manufacturers often use soft satin labels, heat-transfer labels or printed neck labels to improve wearer comfort.
Types of Labels UsedMain / Brand Label
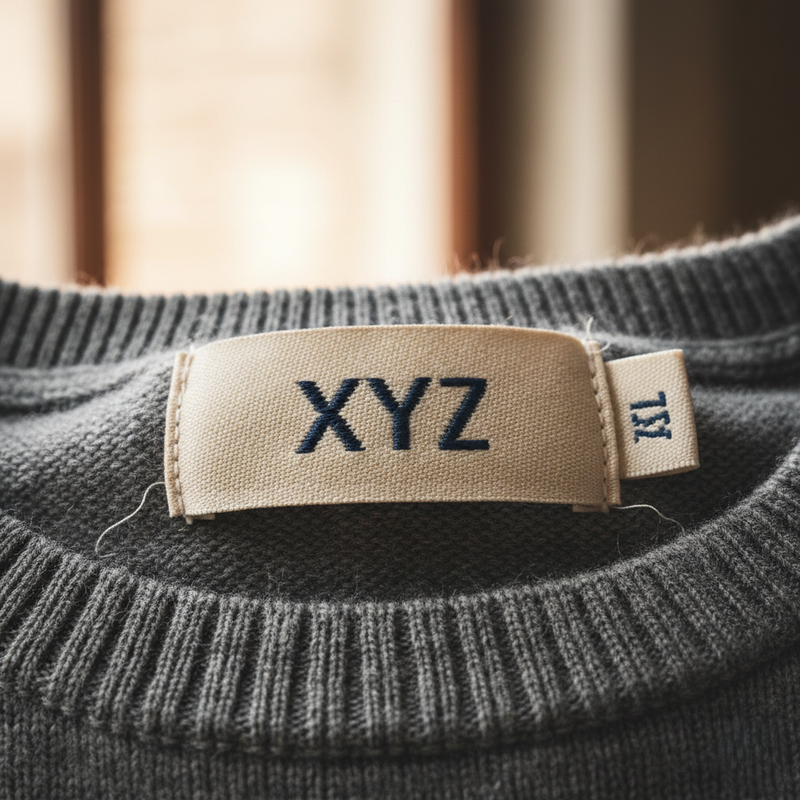
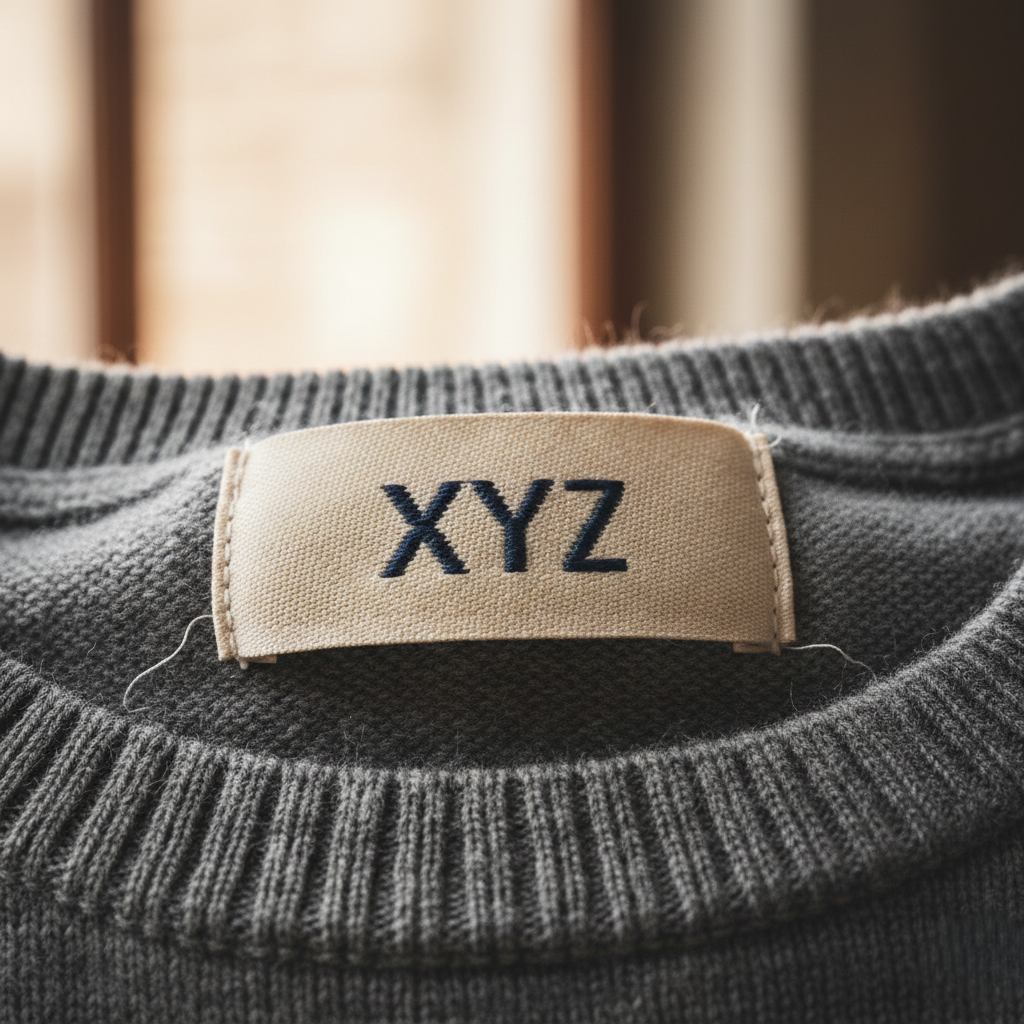
The main label is the primary branding element attached to the sweater.
Characteristics
- Usually woven or satin material
- Attached at the center back neck seam
- Displays brand logo and name
- May include company trademark
Quality Requirements
- Proper centering
- Straight positioning
- No loose threads
- Clear and legible logo
The main label serves as the strongest visual representation of the brand and must always meet buyer specifications.
Size Label
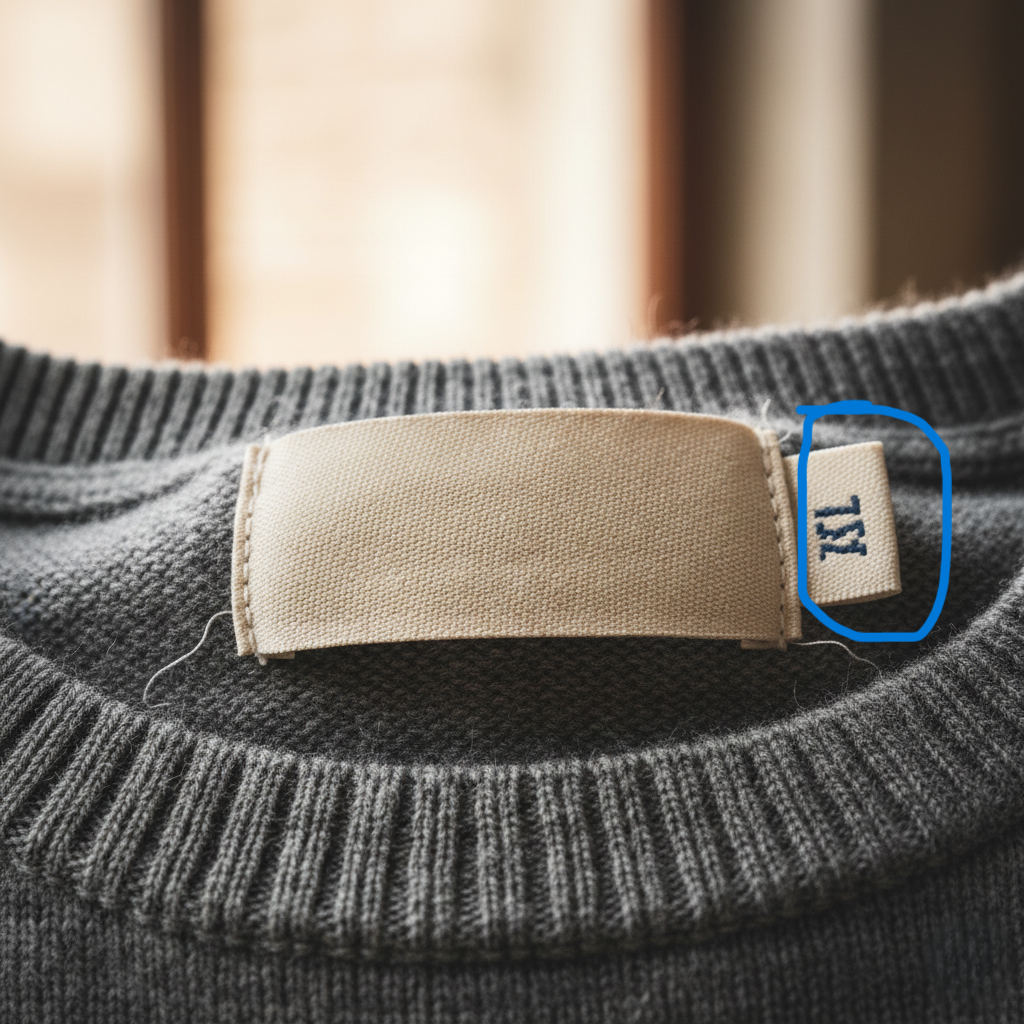
Size labels communicate sweater dimensions to retailers and customers.
Features
- Indicates sweater size
- Positioned beneath or adjacent to the main label
- Available in woven, printed or heat-transfer form
Common Sizes
- S
- M
- L
- XL
- XXL
- Numeric sizing
Correct placement and readability are essential for efficient retail handling.
Care Label
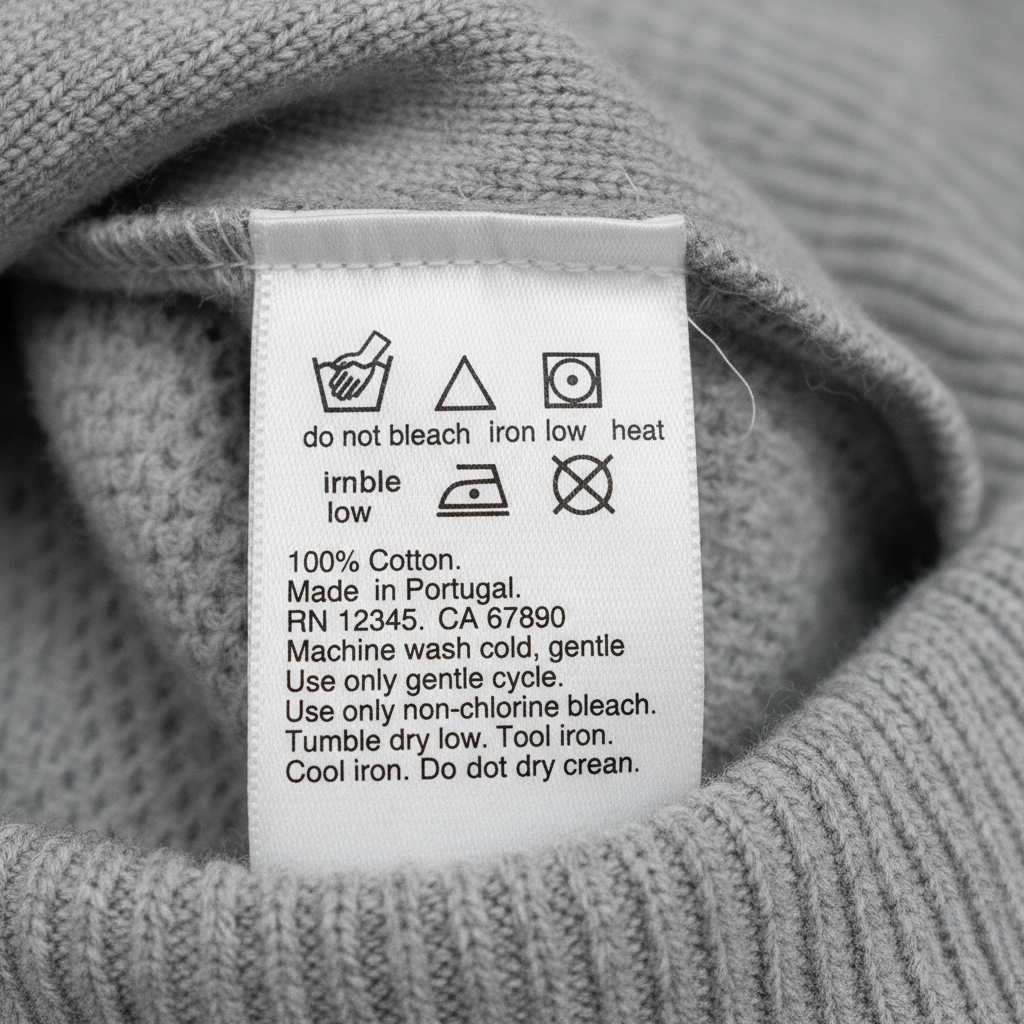
Care labels provide sweater maintenance instructions.
Information Included
- Fabric composition
- Washing instructions
- Drying instructions
- Ironing recommendations
- Care symbols
- Country of origin
Importance
Incorrect care instructions may cause fabric damage and customer complaints, making care-label accuracy extremely important.
Country of Origin Label
Many importing countries legally require country-of-origin identification.
Examples:
- Made in Bangladesh
- Made in Vietnam
- Made in China
- Made in India
Incorrect origin labeling can result in customs issues and shipment delays.
Flag Label / Side Tab
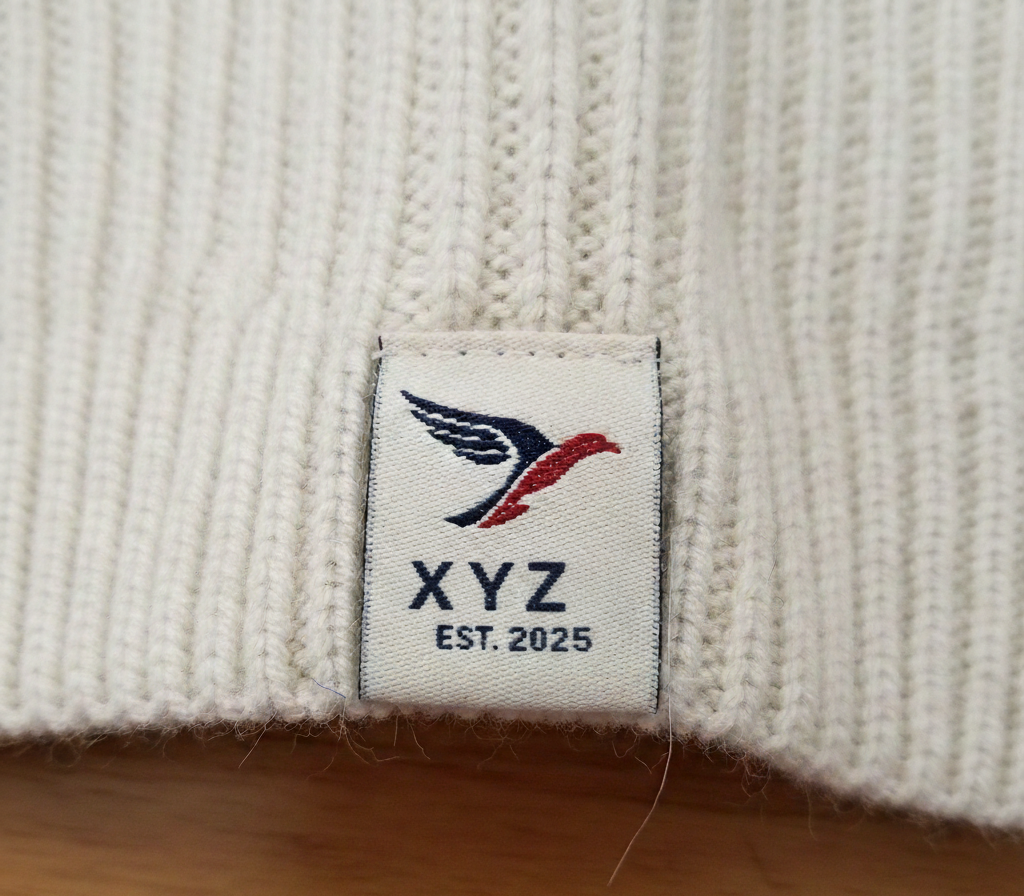
A flag label is a small branding label attached externally.
Typical Locations
- Side seam
- Hem area
- Sleeve seam
Purpose
- Additional branding
- Premium appearance
- Product differentiation
These labels enhance visual appeal without affecting comfort.
Label Sewing Process
The label attachment process follows a systematic sequence.
Step 1: Label Verification
The operator confirms:
- Style number
- Size
- Brand
- Color specification
Step 2: Position Marking
Placement is identified according to:
- Tech pack
- Buyer specification
- Reference sample
Step 3: Label Feeding and Alignment
Labels are positioned correctly before stitching.
Step 4: Sewing Operation
Machines commonly used include:
- Single needle lockstitch
- Bartack machine
- Automated label sewing machine
Step 5: Inspection
Inspectors verify:
- Correct label type
- Alignment
- Stitch quality
- Information accuracy
Label Sewing Quality Standards
A properly attached label should meet the following requirements:
Placement Accuracy
- Centered correctly
- Symmetrical appearance
- Consistent location
Stitch Quality
- Uniform stitches
- Correct SPI (Stitches Per Inch)
- No skipped stitches
Appearance
- Flat appearance
- No wrinkling
- No puckering
Durability
- Strong attachment
- Wash-resistant
- Secure edge stitching
Comfort
- Soft against skin
- No sharp edges
- No irritation
Common Label Sewing Defects
Wrong Label Used
Causes:
- Poor sorting
- Operator error
Impact:
- Buyer rejection
- Rework costs
Misaligned Label
Causes:
- Inaccurate placement
- Lack of guides
Impact:
- Poor appearance
Loose Stitching
Causes:
- Thread tension issues
- Machine setting errors
Impact:
- Label detachment
Puckering
Causes:
- Excessive stitching tension
- Fabric distortion
Impact:
- Poor appearance
Incorrect Information
Causes:
- Wrong label issuance
- Printing errors
Impact:
- Compliance violations
Skin Irritation
Causes:
- Rough label material
- Sharp edges
Impact:
- Customer dissatisfaction
Button, Zipper & Badge (Patch) Attachment
Critical sweater construction and decorative operations that add functionality, aesthetics and brand identity.
After main assembly and before final finishing/packing, sweaters often require buttons, zippers and badges/patches. These components must be attached with high precision to ensure durability, comfort, safety and compliance with buyer and export standards.
This chapter provides a comprehensive explanation of the process flow, machinery, techniques, quality checks and common defects for each component.
Button Attachment in Sweaters
Buttons are used in:
- Cardigans
- Henley neck sweaters
- Plackets
- Women’s fashion styles
- Kid’s sweaters
Correct button attachment is crucial because sweaters are stretchable and require reinforced stitching to withstand repeated use.
Types of Buttons Used
Plastic Buttons
Most widely used due to:
- Low cost
- Durability
- Color availability
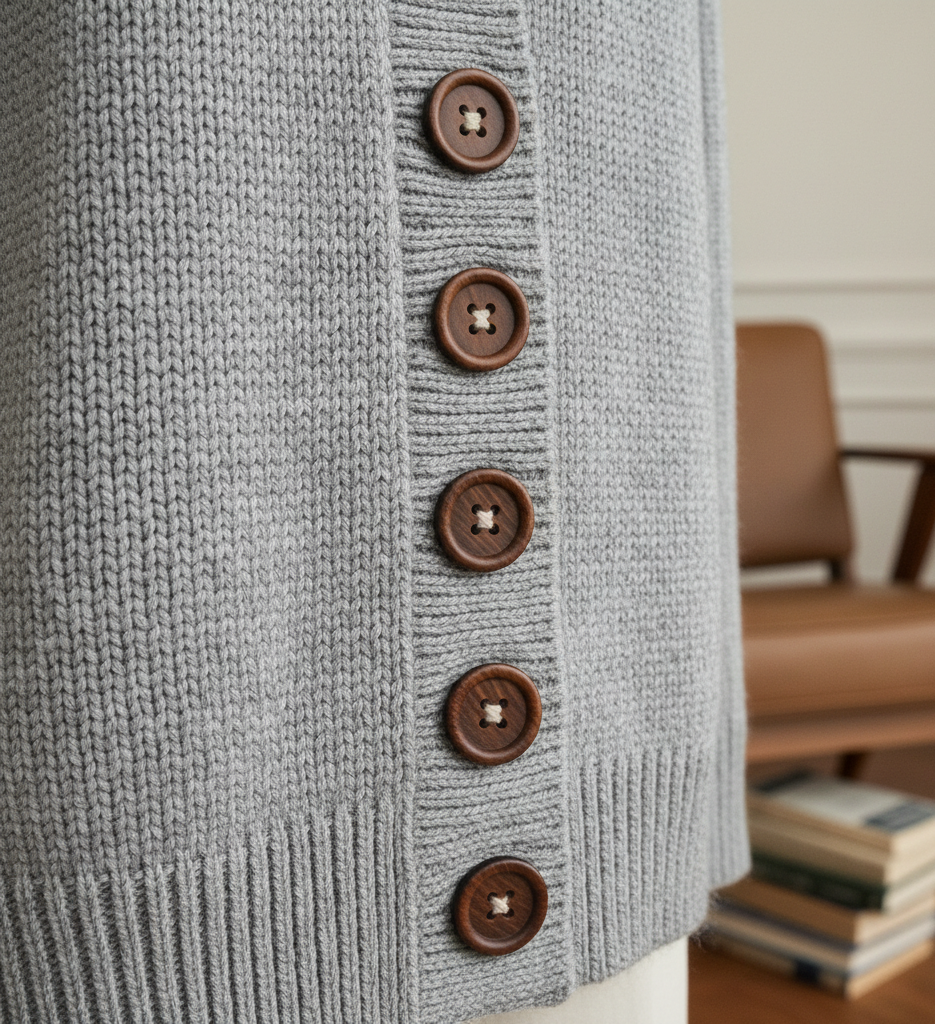
Wooden Buttons
Used in:
- Fashion styles
- Premium sweaters
Metal Buttons
Used for:
- Decorative appearance
- Premium products
Horn and Coconut Buttons
Popular for sustainable and natural fashion collections.
Resin Buttons
Known for durability and attractive finishes.
Shank Buttons
Feature a raised loop underneath and are suitable for thicker sweaters.
Button Sewing Machines
Common machines include:
Flat Button Sewing Machine
Used for:
- Two-hole buttons
- Four-hole buttons
Shank Button Machine
Used for:
- Shank-type buttons
Bartack Reinforcement Machine
Provides extra strength.
Hand Sewing
Used for:
- Luxury sweaters
- Delicate products
- Small production runs
Button Sewing Techniques
Lockstitch Sewing
The most common attachment method.
Advantages:
- Strong fastening
- Consistent appearance
- High productivity
Cross Stitch and Parallel Stitch
Selection depends on:
- Button design
- Buyer requirements
- Fashion preference
Shank Button Attachment
Suitable for:
- Thick sweaters
- Fashion sweaters
- Outerwear
Provides space between sweater and button.
Reinforced Button Attachment
Methods include:
- Bartacking
- Backing buttons
- Under-taping
Benefits:
- Prevents button pull-out
- Increases durability
- Reduces repair costs
Button Placement Rules
Placement must follow the tech pack.
- ✓ Buttons must be evenly spaced
- ✓ Must align perfectly with buttonholes
- ✓ Checked with templates and measuring guides
- ✓ Avoid stretching the knit during sewing
- ✓ Keep seam flat and irritation free
Button Quality & Safety Standards
Buttons must meet international quality requirements.
Pull Strength Testing
Buttons undergo pull testing to verify attachment strength.
Typical standards range from:
- 15 N to 90 N
depending on buyer specifications.
Wash Durability
Buttons should withstand:
- Multiple wash cycles
- Dry cleaning
- Daily wear
Children's Product Safety
Children's sweaters require stricter standards to prevent choking hazards.
Common Button Defects
Loose Buttons
Cause:
- Insufficient stitches
Wrong Button Size
Cause:
- Incorrect accessory issuance
Misaligned Buttons
Cause:
- Poor marking accuracy
Buttonhole Mismatch
Cause:
- Measurement errors
Cracked Buttons
Cause:
- Impact damage
- Material defects
Color Variation
Cause:
- Mixed production batches
Zipper Attachment in Sweaters
Zippers add convenience, functionality and modern styling to sweaters.
Zippers are commonly used in:
- Cardigans
- High-neck sweaters
- Hooded sweaters
- Sports knitwear
- Children’s sweaters
Zipper attachment in knitwear is technically challenging due to fabric stretch.
Types of Zippers Used
Nylon Coil Zipper
Most common zipper type.
Advantages:
- Flexible
- Lightweight
- Cost-effective
Vislon Zipper
Made from molded plastic teeth.
Advantages:
- Strong
- Corrosion resistant
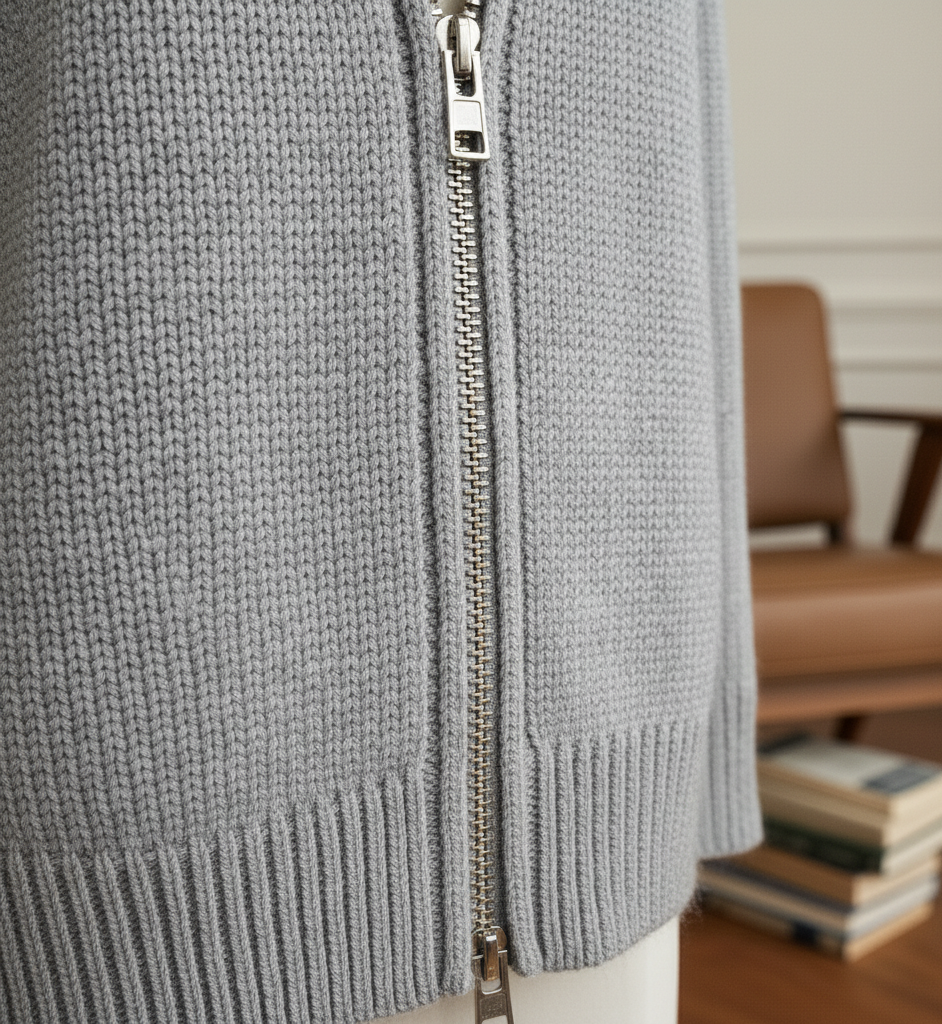
Metal Zipper
Used for premium styles and fashion sweaters.
Invisible Zipper
Provides a clean appearance by concealing zipper teeth.
Reversible Zipper
Suitable for reversible sweaters.
Chunky Gauge Zipper
Popular in winter sweaters and outerwear.
Provides a bold aesthetic appearance.
Zipper Attachment Machines
- Single needle lockstitch machine
- Zipper foot sewing machine
- Overlock machine (for biting seam)
- Flatlock machine (optional for decorative zippers)
Zipper Attachment Process
Step 1: Pre-attaching Preparation
- Center front measurements taken
- Panel edged evenly
Step 2: Zipper Position Marking
- Using chalk/heat erasable pen
- Ensure straight alignment
Step 4: Final Sewing
- Sew zipper on both sides
- Ensure smooth, flat application
- Strengthen bottom stop area
Step 5: Top Stitching (if required)
Added to:
- Reinforce
- Improve aesthetics
Step 6: Cleaning & Finishing
- Remove excess yarn, threads
- Check zipper operation
Quality Requirements
- Zipper must open & close smoothly
- No waviness or rippling on knit fabric
- Zipper teeth must align perfectly
- No needle damage to zipper tape
- Bottom and top stops must be secure
- Must maintain alignment after wash
Common Zipper Defects
Wavy Zipper
Cause:
- Fabric stretching during sewing
Misalignment
Cause:
- Poor positioning
Broken Teeth
Cause:
- Mechanical damage
Hard Slider Movement
Cause:
- Defective assembly
Missing Top Stop
Cause:
- Manufacturing oversight
Wrong Length
Cause:
- Incorrect accessory selection
Color Mismatch
Cause:
- Mixed dye lots
Badge / Patch Attachment
Badges (also called patches) add branding, decoration and design value.
Types of Badges / Patches
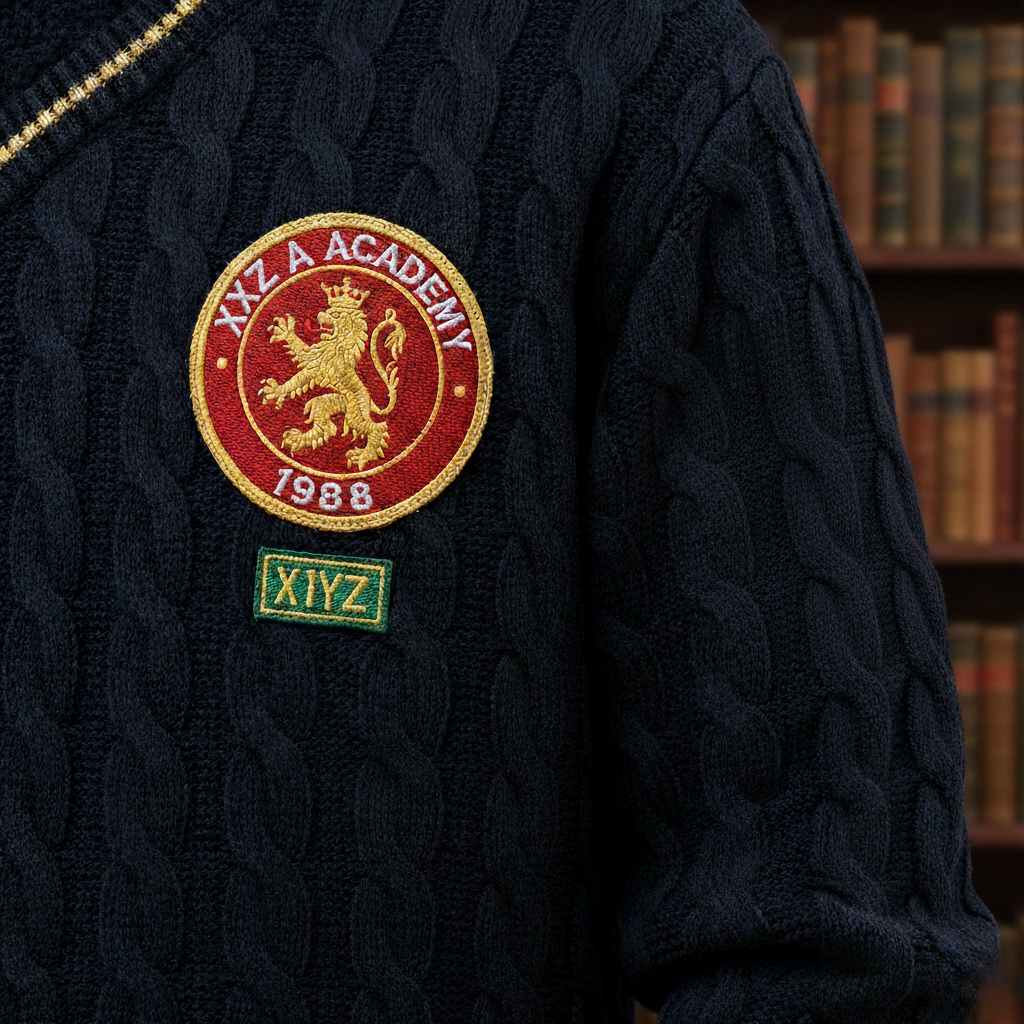
- Embroidered badges
- Felt patches
- Terry patches
- Leather or PU patches
- Silicone / Rubber patches
- Fabric appliqués
- Knit patches
Badge Placement Areas
Common placements:
- Chest
- Sleeve (especially forearm)
- Shoulder
- Side body
- Hem rib
- Back neck (outer)
Placement must follow:
- Tech pack
- Size scaling
- Aesthetic symmetry
Badge Attachment Methods
Lockstitch Sewing
Used for most fabric and embroidered patches.
Zigzag Sewing
Used for:
- Felt
- Fashion patches
- Appliqué styles
Heat Press (Thermo Patch)
Used for:
- Silicone patches
- PU badges
- Thermal-adhesive woven labels
Temperature, pressure and time must be controlled.
Hand Stitching
Used for delicate or uneven patches.
Embellishment in Sweater Manufacturing
All decorative elements added to enhance appearance, style or brand value.
Sweater embellishment includes any value‑added process applied after knitting and before final finishing.
The goal is to improve aesthetics, highlight design features and meet fashion or brand requirements.
Types of Embellishments for Sweaters
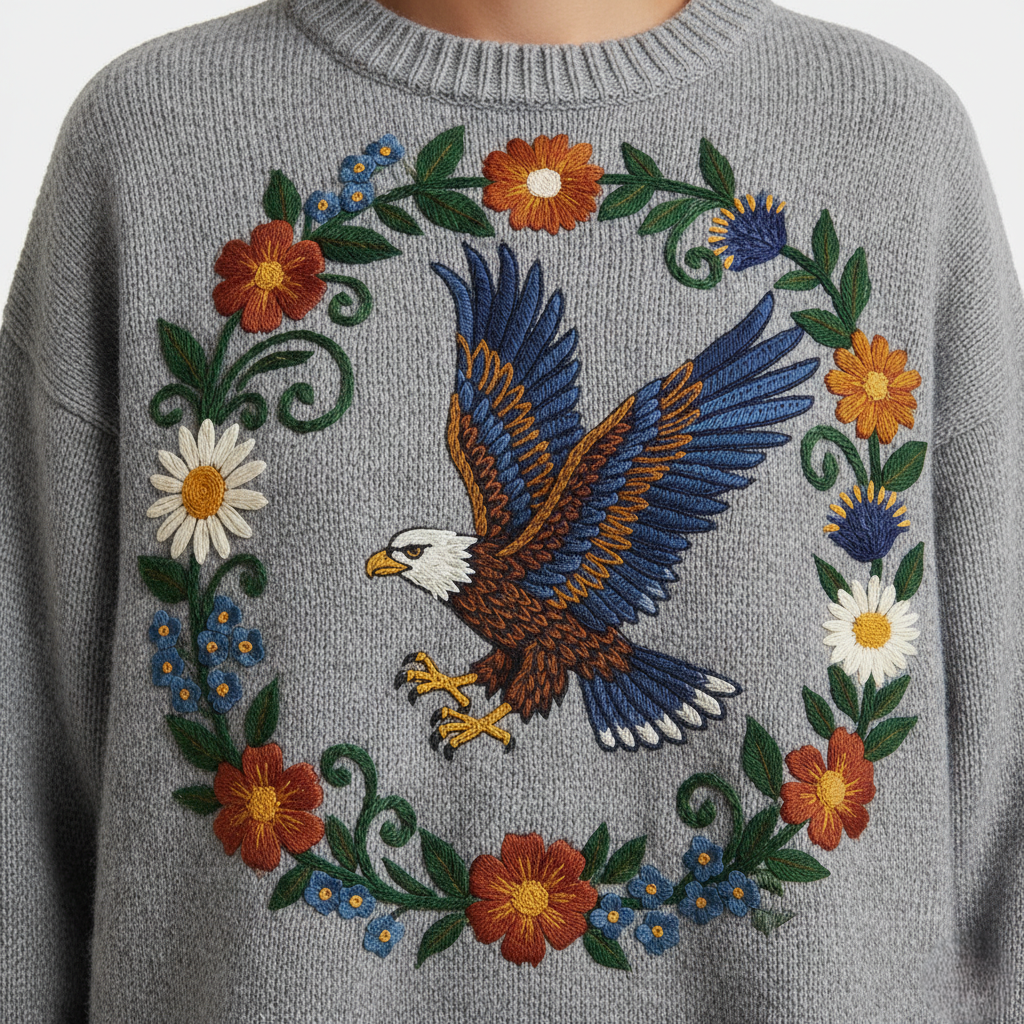
Embroidery
Types:
- Flat embroidery
- Chain-stitch embroidery
- Chenille embroidery
- 3D puff embroidery
Used for:
- Logos
- Motifs
- Brand designs
- Decorative textures
Printing on Sweaters
Although less common, printing is used on:
- Cotton sweaters
- Lightweight jacquard knits
- Cut‑and‑sew sweater fabric
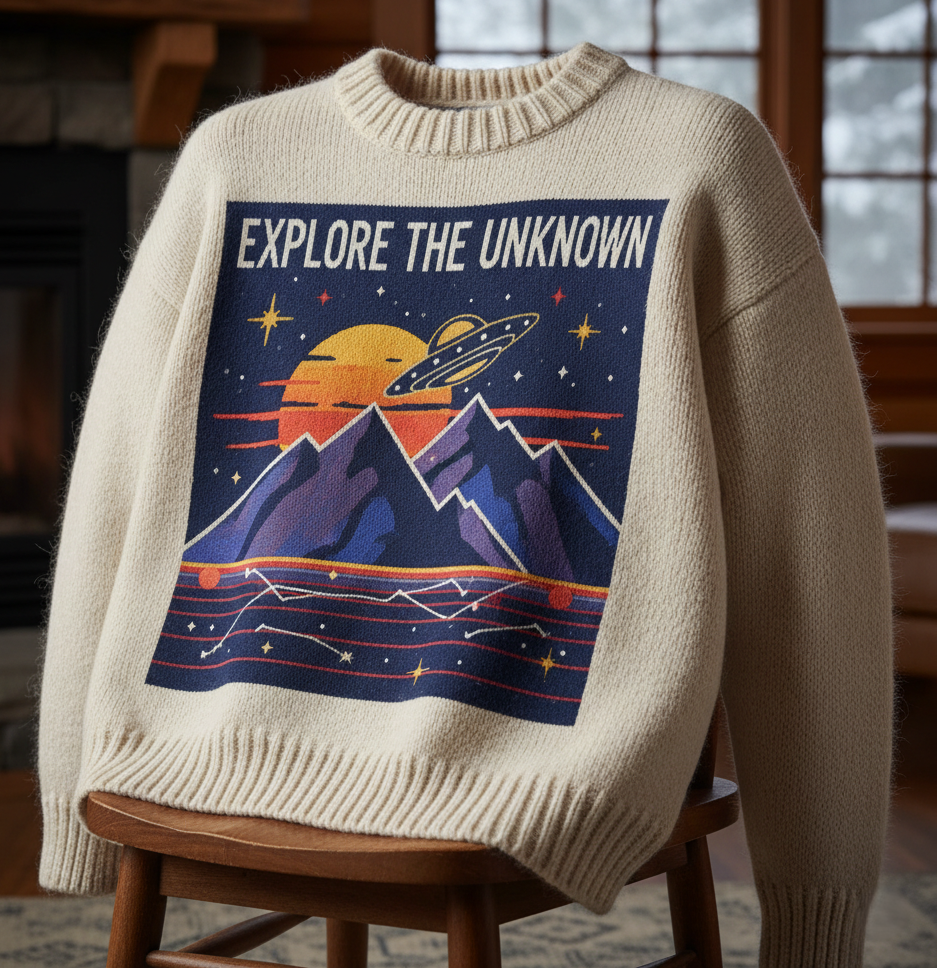
Printing types include:
- Rubber print
- Pigment print
- Flock print
- High-density print
- Foil print
- Glitter print
- Heat transfer print
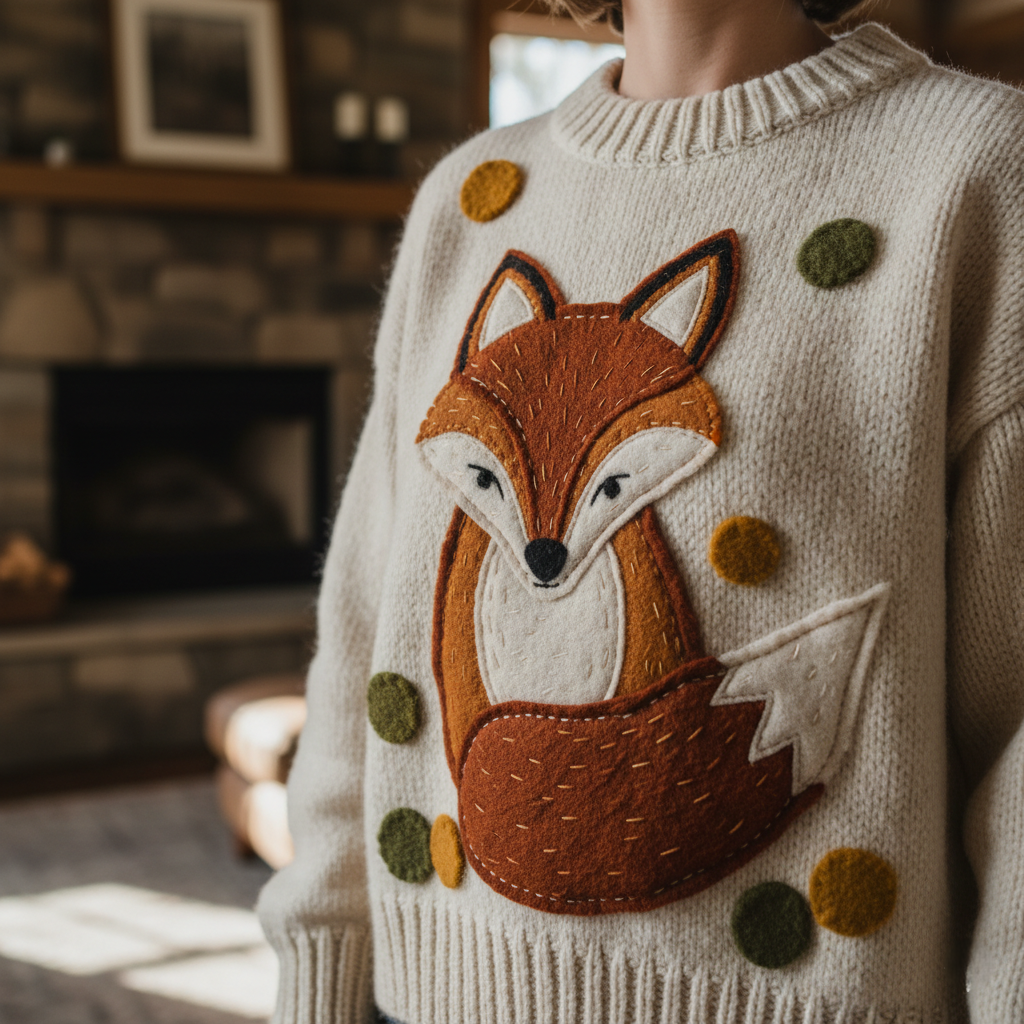
Appliqué Work on Sweaters
Appliqués are patched graphics or fabrics sewn onto sweaters.
Types:
- Felt appliqué
- Fabric appliqué
- Embroidered patches
- Terry patches
- Leather or PU badges
Sequins, Beads & Hand Embellishment on Swaeater
Used in:
- Women’s fashion sweaters
- Boutique / premium styles
- Kids’ fashion designs
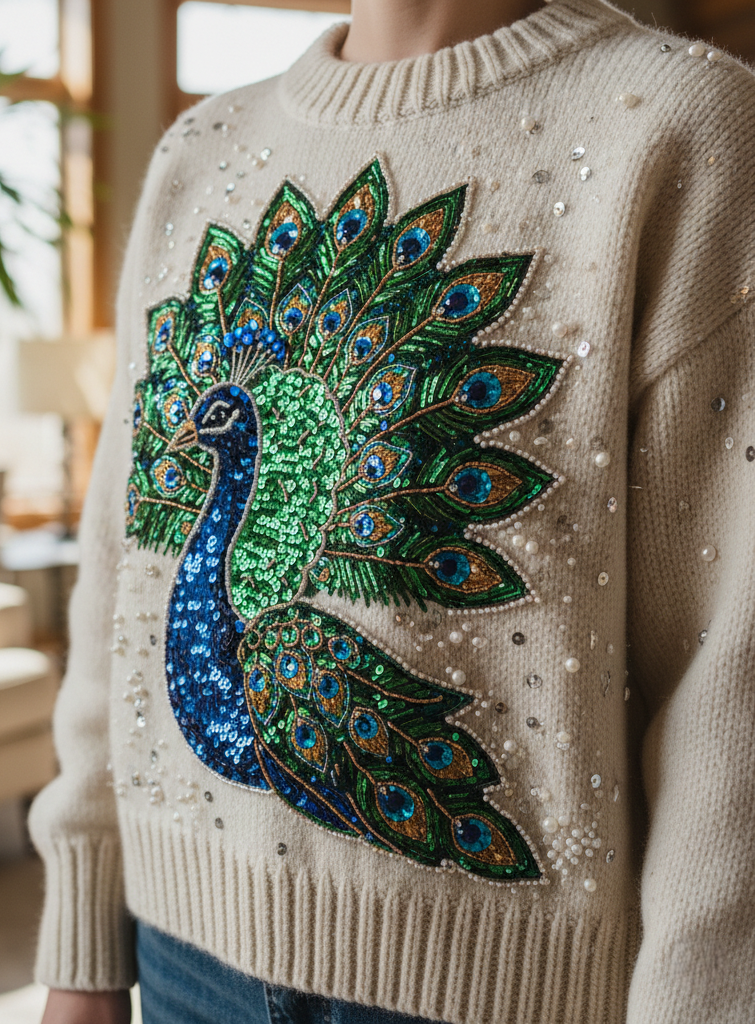
Techniques:
- Beadwork
- Sequin stitching
- Stone fixing
- Hand embroidery
Metal Accessories
- Rivets
- Eyelets
- Decorative pins
- Snap buttons
Requires:
- Careful attachment
- No sharp edges
- Zero needle breakage risk
Final Thoughts
Label sewing, button attachment, zipper installation, badge application and embellishment operations are crucial value-added processes in sweater manufacturing. Although these activities occur after knitting and major sweater assembly, they significantly influence product quality, functionality, durability, visual appeal and customer satisfaction.
Labels provide essential information for branding, compliance, care guidance, sizing and traceability. Buttons and zippers contribute functionality and convenience while requiring precise attachment techniques to ensure durability throughout the sweater's life cycle. Badges and patches enhance brand recognition and decorative appeal, whereas embellishments such as embroidery, printing, appliqué work, sequins, beads and metal accessories transform ordinary sweaters into fashionable and premium products.
To achieve world-class sweater quality, manufacturers must maintain strict control over machinery settings, operator skills, attachment methods, quality inspection procedures and safety standards. Careful adherence to buyer specifications, technical packages and quality requirements ensures that every sweater not only looks attractive but also performs reliably throughout repeated wear and laundering. In today's competitive apparel industry, excellence in these seemingly small details often distinguishes premium products from average sweaters, ultimately contributing to customer satisfaction, brand reputation and long-term business success.