Linking and Assembly in Sweater Manufacturing: Techniques for Quality and Efficiency
5 min read
Linking is a vital finishing process that joins knitted panels together by using a loop-by-loop method to produce neat, strong and virtually invisible seams. This technique is often used in sweaters to guarantee the best comfort, shape retention and premium appearance.
Sweater linking, also called loop linking or point-to-point linking, is the process of exactly matching each knit loop to connect sweater components (body, sleeves, collars, cuffs). Linking aligns loops seamlessly, keeping the original knit structure, not like overlock stitching.
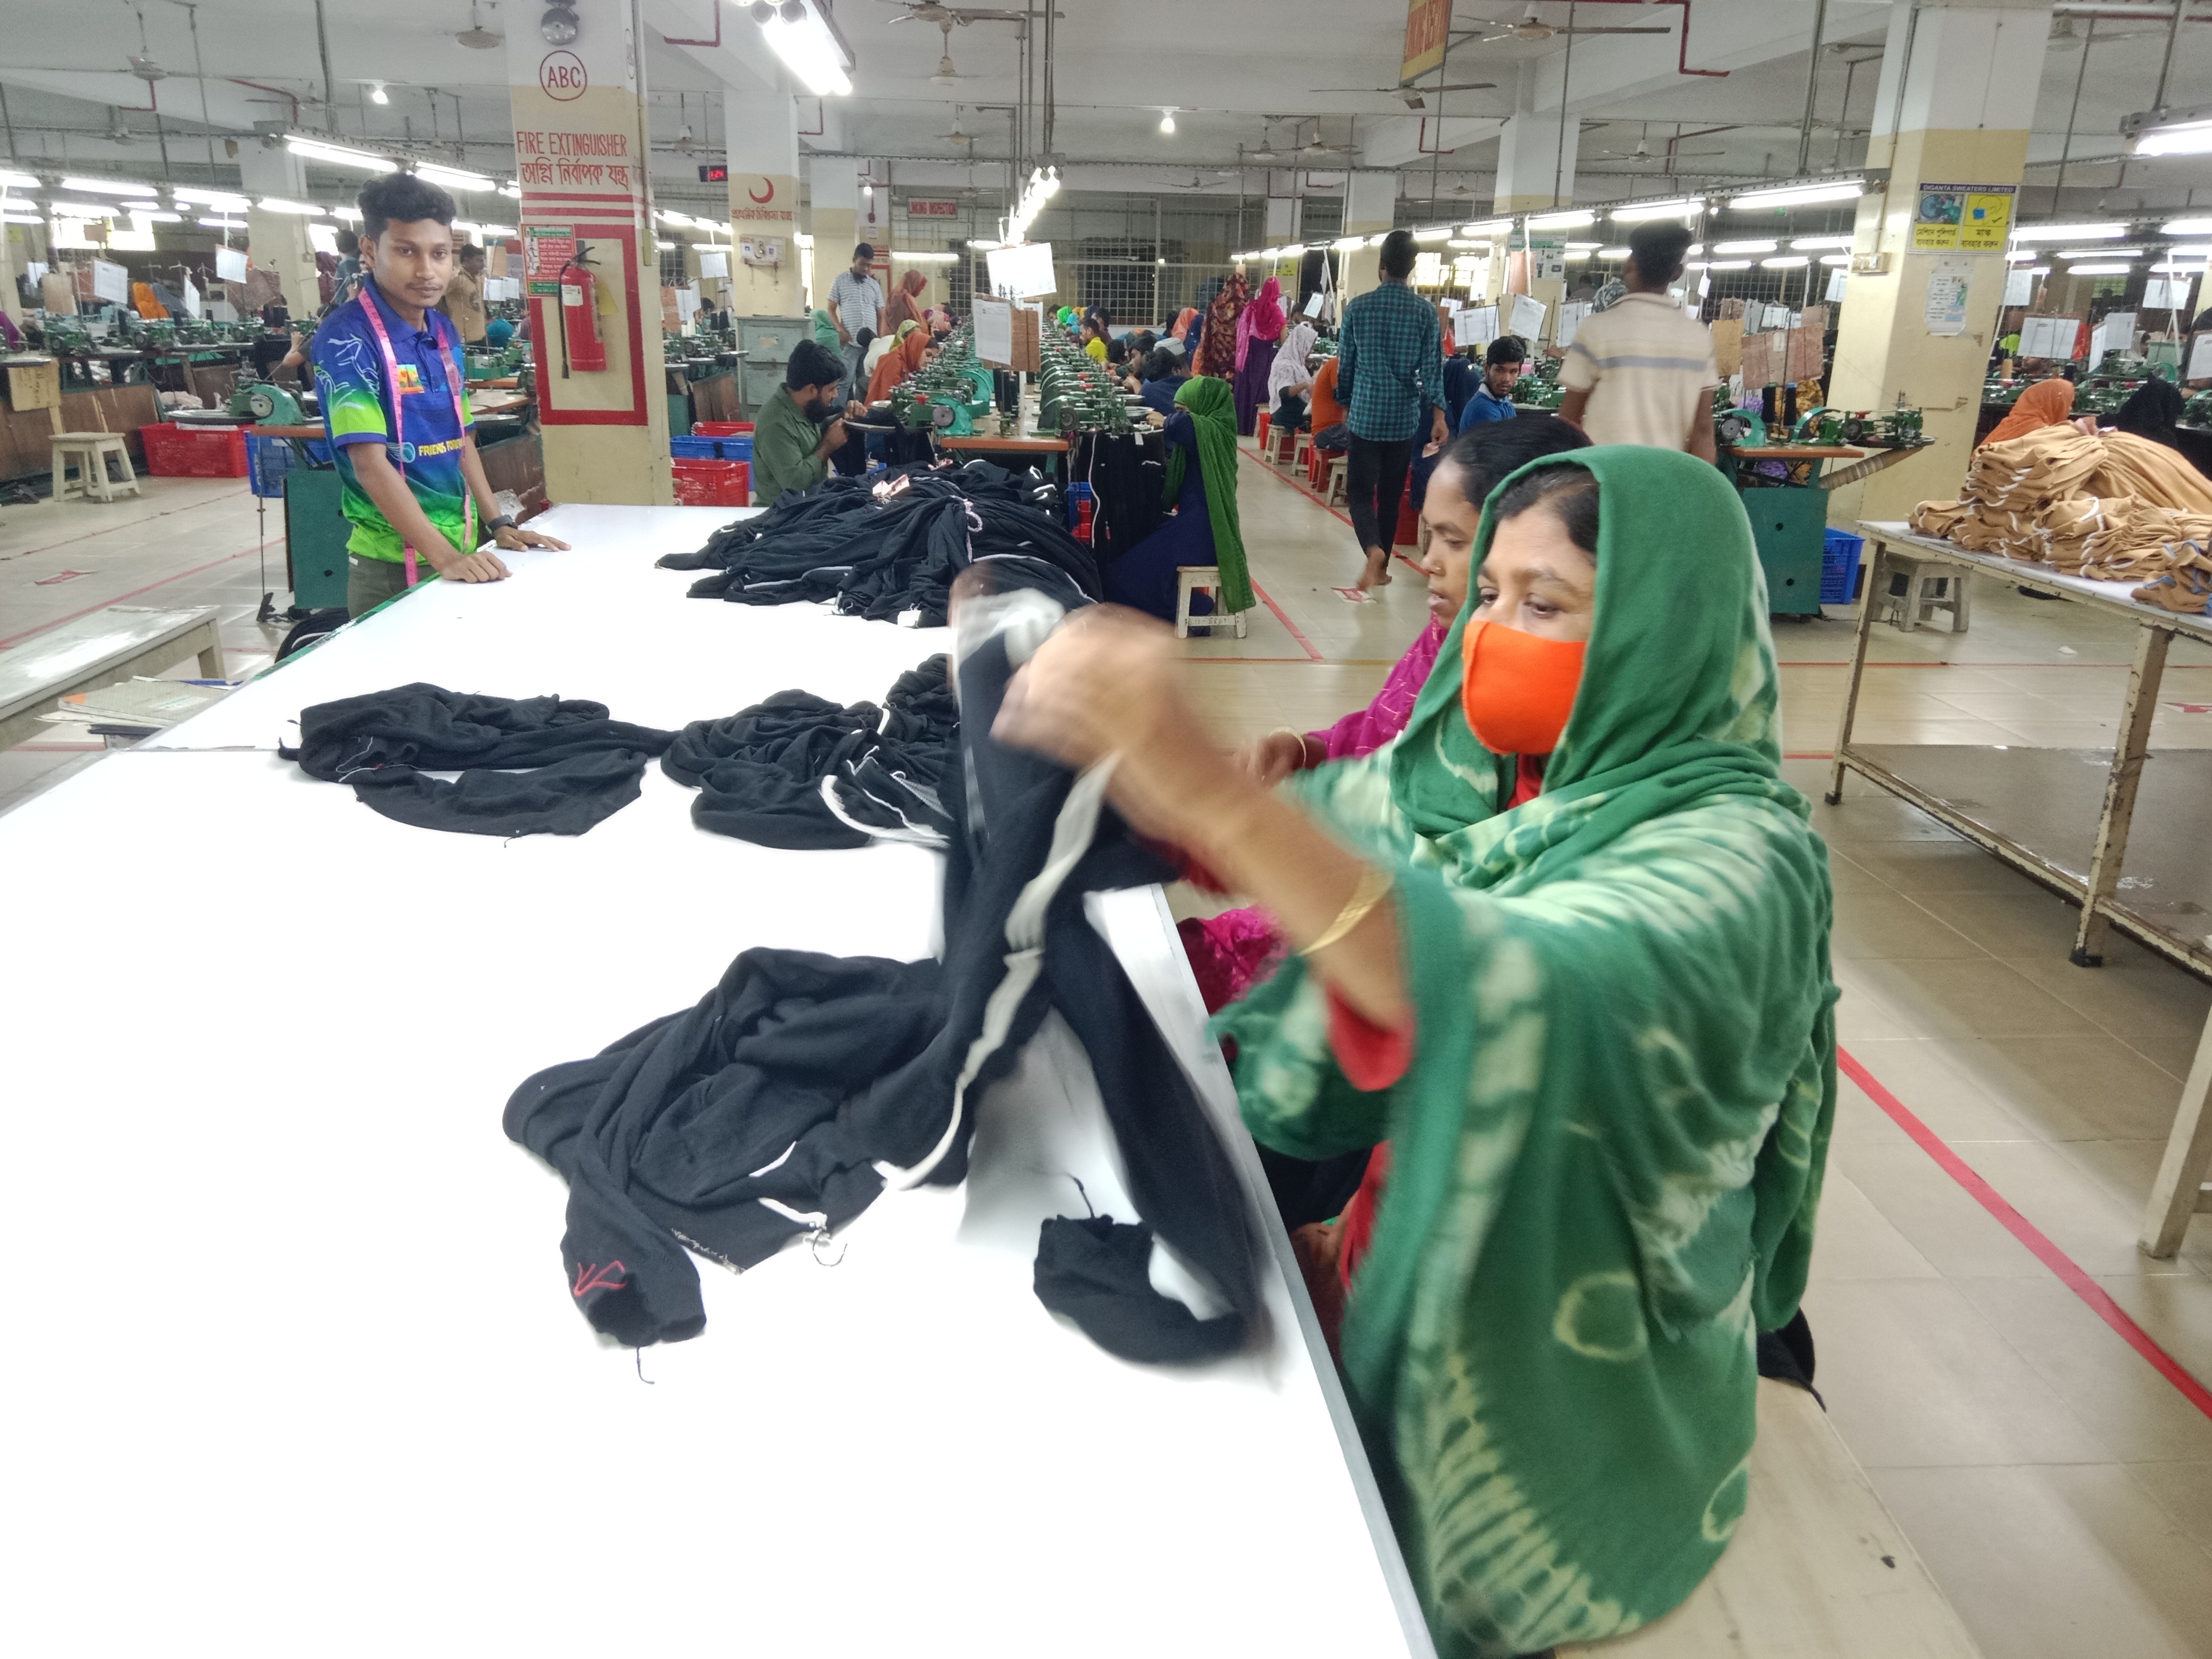
Sweater panels come off the knitting machine looking okay on their own. Flat, shaped, mostly there.
But they’re not ready.
They still need to be:
matched by size
checked for defects
joined properly
reinforced in stress areas
prepared for washing and finishing
And honestly… this is where the sweater starts to feel like a sweater.
Bad assembly? Doesn’t matter how good the yarn or knitting was—you’ll see issues right away. Fit looks off, seams feel bulky, shape doesn’t hold.
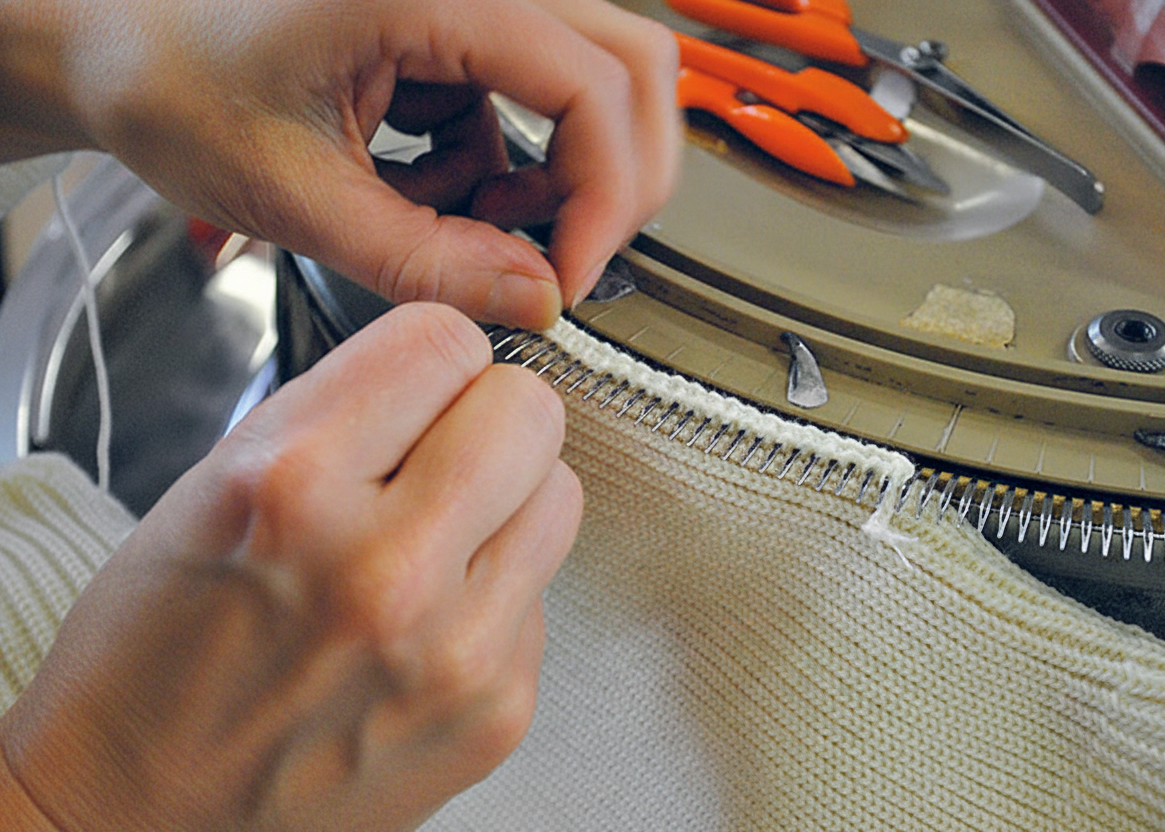
Linking Process (Loop-to-Loop Joining)
This is the signature method for premium knitwear.
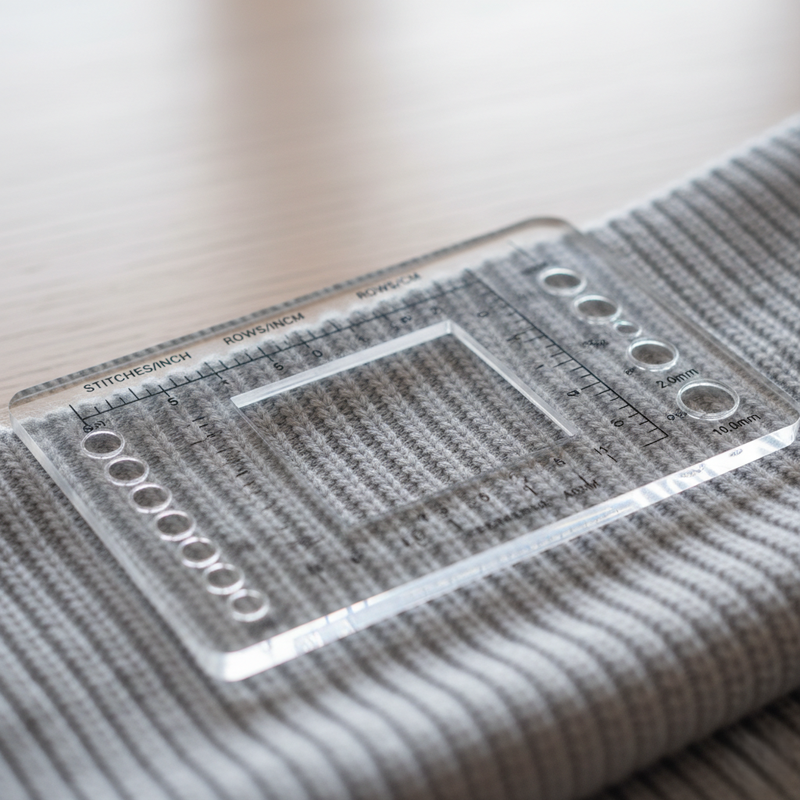
Each loop on one panel is matched with the exact loop on the other. One by one. Using a linking machine.
What it achieves:
clean, almost invisible seams
full stretch retention
proper shaping (especially in fully fashioned garments)
no bulky or uncomfortable joins
That’s why high-end sweaters use linking. It just looks… more natural.
Loop to Loop linking
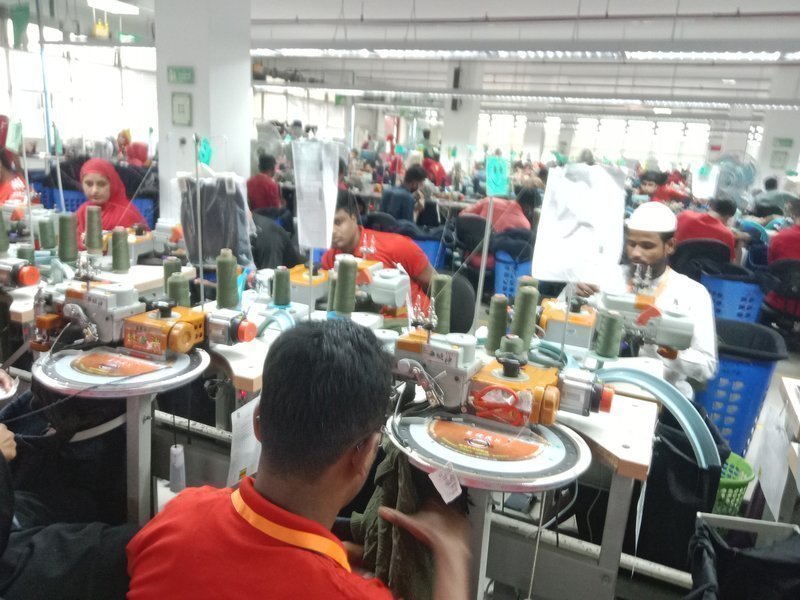
Linking Process (Putting Everything Together)
The transformation from individual panels to a complete sweater.
Linking
Linking Workflow
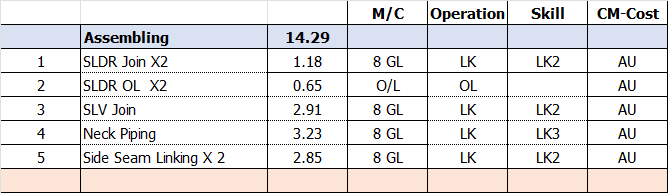
Below is a detailed breakdown of the full linking process as it happens in a modern knitwear production environment.
Linking Process flowLinking Process flow
It doesn’t happen in one go. There’s a flow to it.
Ultimately sweater linking is where it all comes together – literally and technically. It’s not just about putting pieces together; it’s about maintaining the integrity of the knit, safeguarding the fit and making separate panels feel like a finished garment. The contrast is striking: good linkages melt into the design, poor assembly leaps out at you.
The special quality of this stage is the balance between machine precision and human skill. Even with modern equipment, the results still depend largely on the eye, control and understanding of knit structure of the operator. Each loop where it should be and every seam matched carefully, it adds up.
A sweater is no longer just fabric from a knitting machine by the time it leaves the linking section. It has form, structure and purpose. It is ready to move forward — but more importantly it already has the quality (or mistakes) of everything that has been done before.
STOLL Technical Documentation – Knitwear production systems, garment construction, and linking-related manufacturing practices.
Disclaimer: The information provided is intended for educational and industry reference purposes only. Linking methods, assembly sequences, machine settings, quality requirements, productivity levels, and production practices may vary depending on garment construction, gauge, yarn type, machine technology, factory standards, and customer specifications. Actual manufacturing parameters should be verified through factory procedures, technical standards, and production trials before commercial use.
Written by
Alam Mohammad Shafiqul
Lead Editor, Contributor
Textile Technology
Over 15 years of experience in textile engineering, Sweater & tech development. Passionate about bridging the gap between factory-floor practice and technical knowledge.