As cutting directly impacts fabric usage, garment accuracy and overall production efficiency. A well-organized and controlled cutting room ensures that the right garment parts are cut with precision and delivered to the sewing line without delays or defects.
When cutting operations are managed properly, it helps reduce material wastage, avoid costly mistakes, and maintain consistent quality throughout production. Since fabric cost forms a major portion of garment cost, even small improvements in cutting efficiency can lead to significant savings.
Objectives of the Cutting Department
Provide defect-free garment parts: Ensures that only high-quality components are sent to the sewing line
Maintain size accuracy and shape consistency: Guarantees that all pieces match the required measurements and patterns
Minimize fabric wastage: Optimizes marker efficiency and cutting techniques
Ensure shade control (lot-wise): Prevents mixing of different dye lots, avoiding color variation in finished garments
Maintain planned production feeding schedule: Supports smooth workflow and timely production
Prevent common cutting defects: Helps avoid issues like:
- Off-grain cutting
- Panel mismatch
- Fusible or bonding defects
Complete Cutting Process Flow
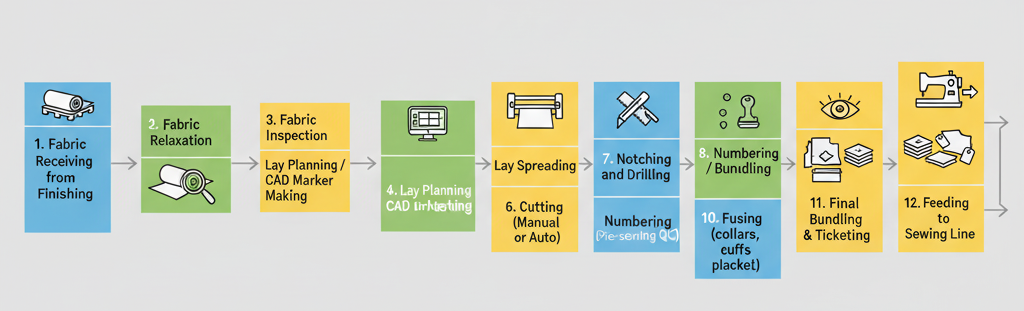
- Fabric Receiving from Finishing
- Fabric Relaxation
- Fabric Inspection
- Lay Planning / CAD Marker Making
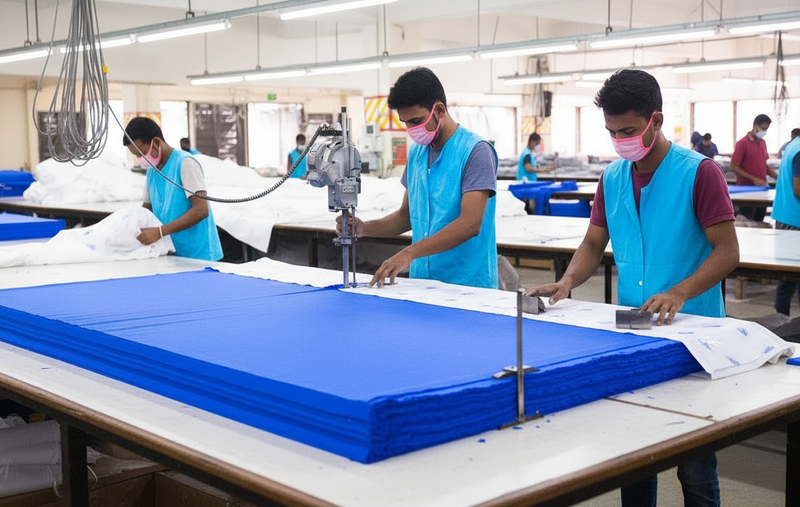
- Lay Spreading
- Cutting (Manual or Auto)
- Notching and Drilling
- Numbering / Bundling
- Panel Inspection (Pre-sewing quality check)
- Fusing (collars, cuffs, placket)
- Final Bundling & Ticketing
- Feeding to Sewing Line
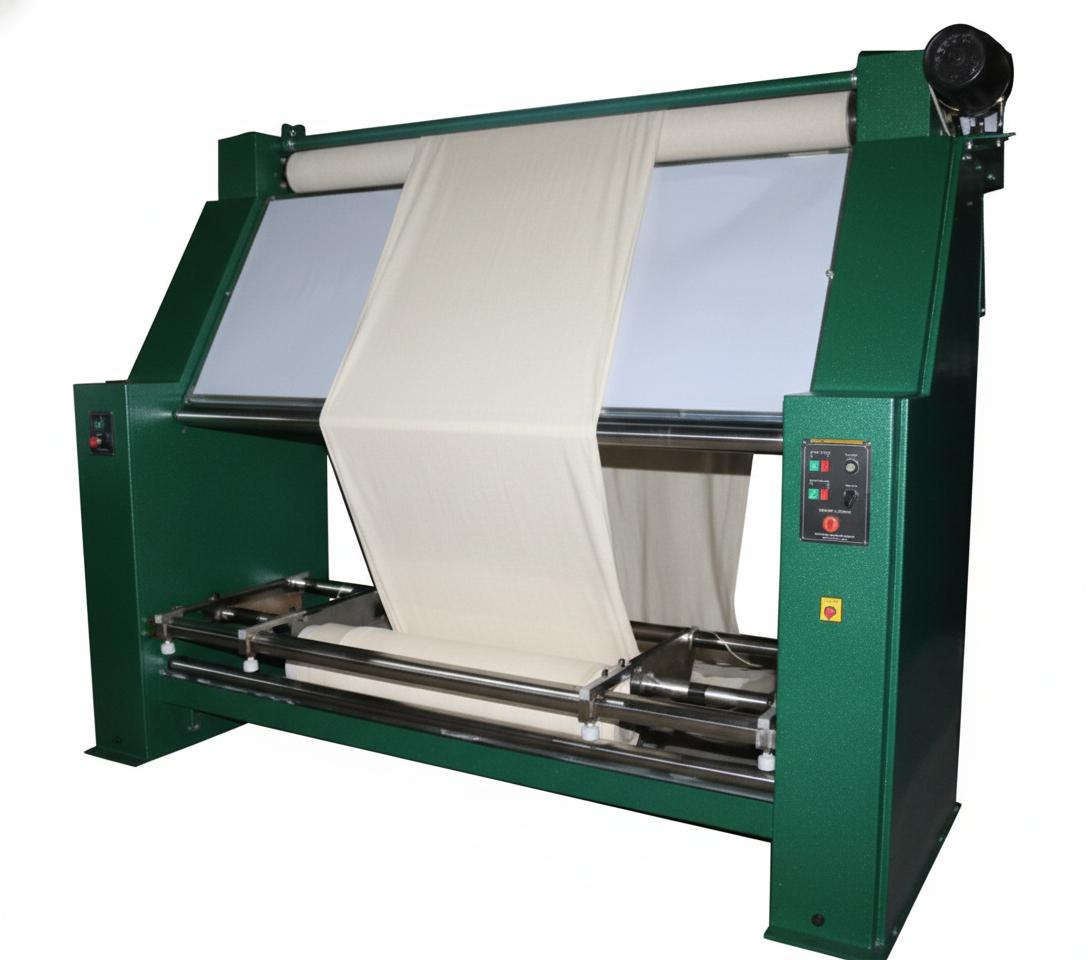
Fabric Relaxation
Knitted fabric must be relaxed for 24–48 hours to eliminate tension, ensure:

- dimensional stability
- correct GSM
- accurate shrinkage
- prevention of twisting & spirality
Relaxation methods:
- Tubular relaxation
- Open-width relaxation
- Mechanical relaxation machines
Fabric Inspection
Fabric is checked following the 4 Point System:
- Bowing
- Skewing
- Dyeing defects
- Holes, slubs, thick-thin places
- GSM variation
Inspection ensures no defective fabrics enter cutting.
Marker Making / Lay Planning
Marker making is the process of arranging garment pattern pieces to:
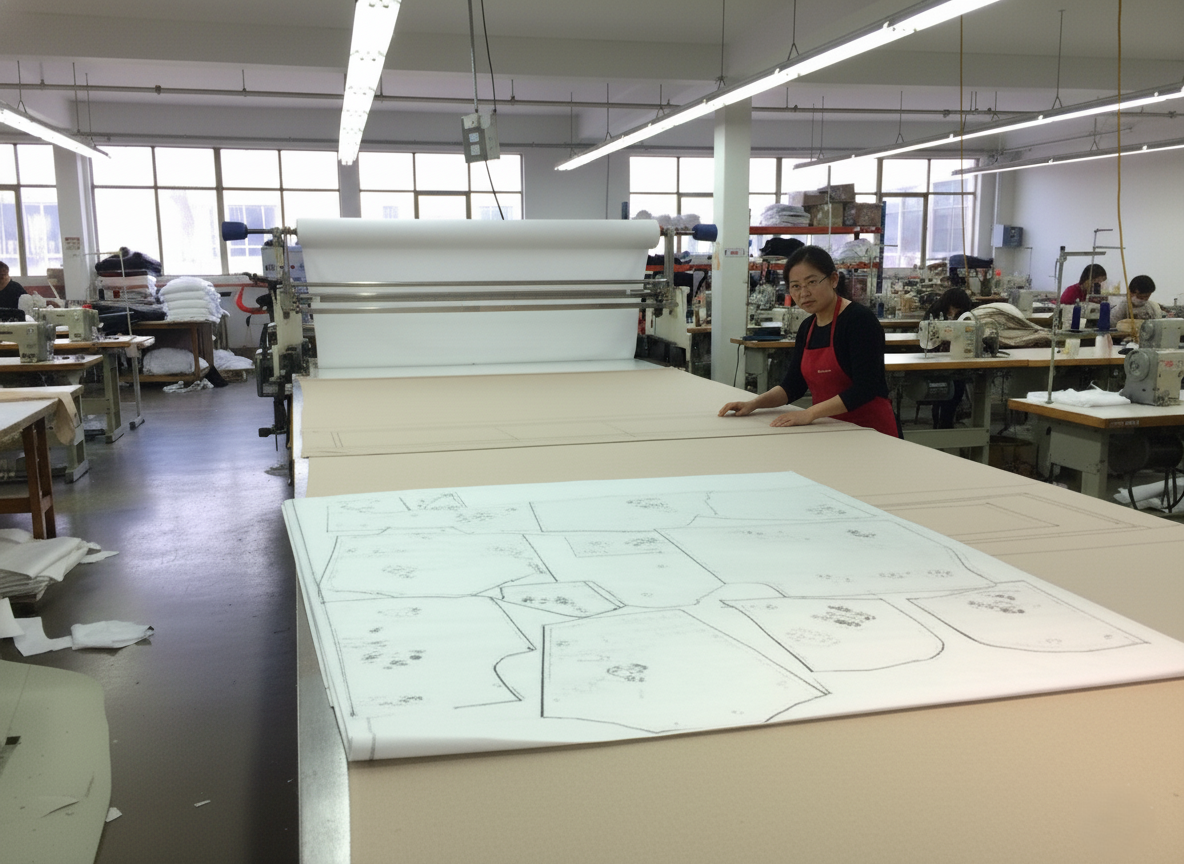
- maximize fabric utilization
- reduce wastage
- maintain grain line
- ensure shade control
Methods:
Manual marker
CAD marker using software like:
- Optitex
- Gerber AccuMark
- Lectra
- Tukatech
- Marker efficiency (%)
- Fabric consumption per garment
- Lay length & lay height
Lay Spreading
Spreading is layering the fabric in multiple plies, aligned properly.

Types of spreading:
Manual Spreading
Using hand tools, best for small batches.
Semi‑Automatic Spreading Machines
Improved accuracy, speed and productivity.
Fully Automated Spreading Machines
High volume, consistent tension control, minimal defects.
Important considerations:
- No wrinkles
- Alignment of selvage-to-selvage
- Shade segregation
- Elimination of tension
Fabric orientation:
- Face-to-face
- Face-up only
- Nap-one-way / nap-two-way
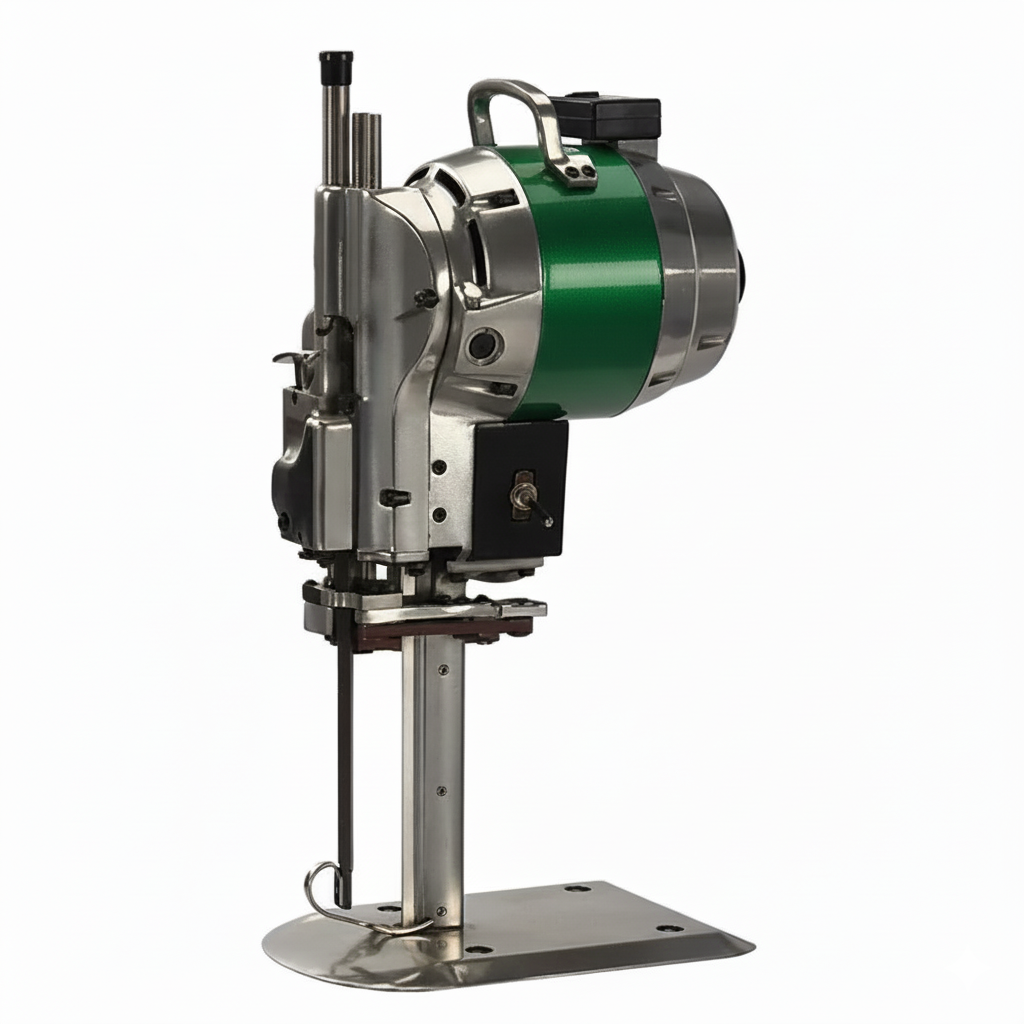
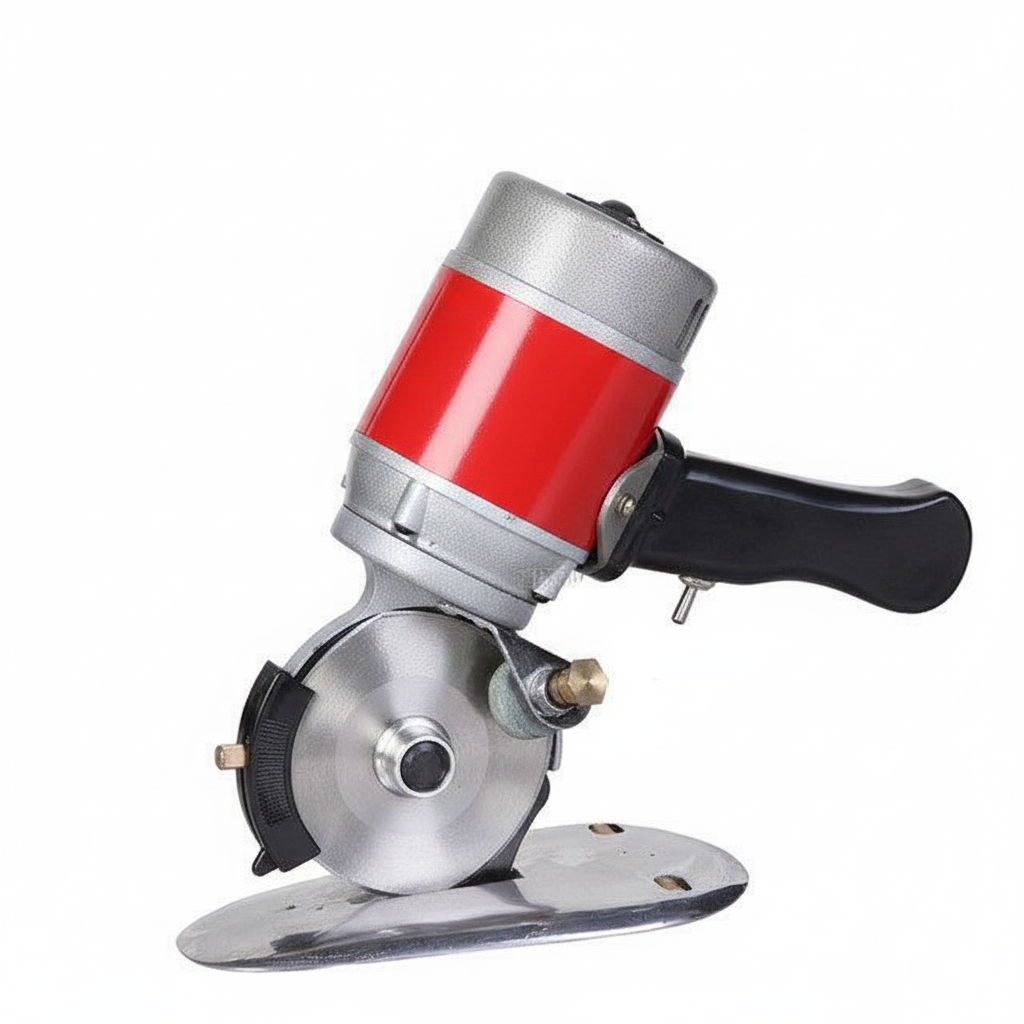
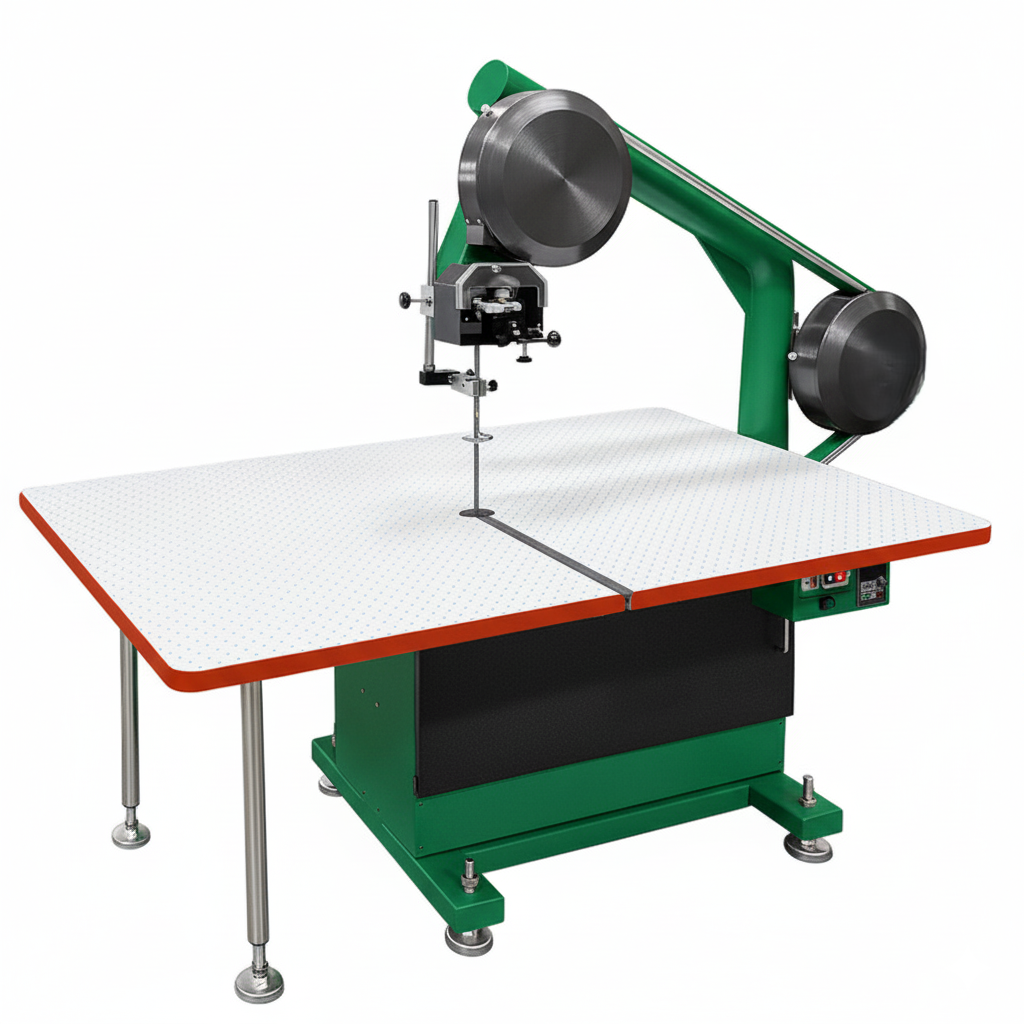
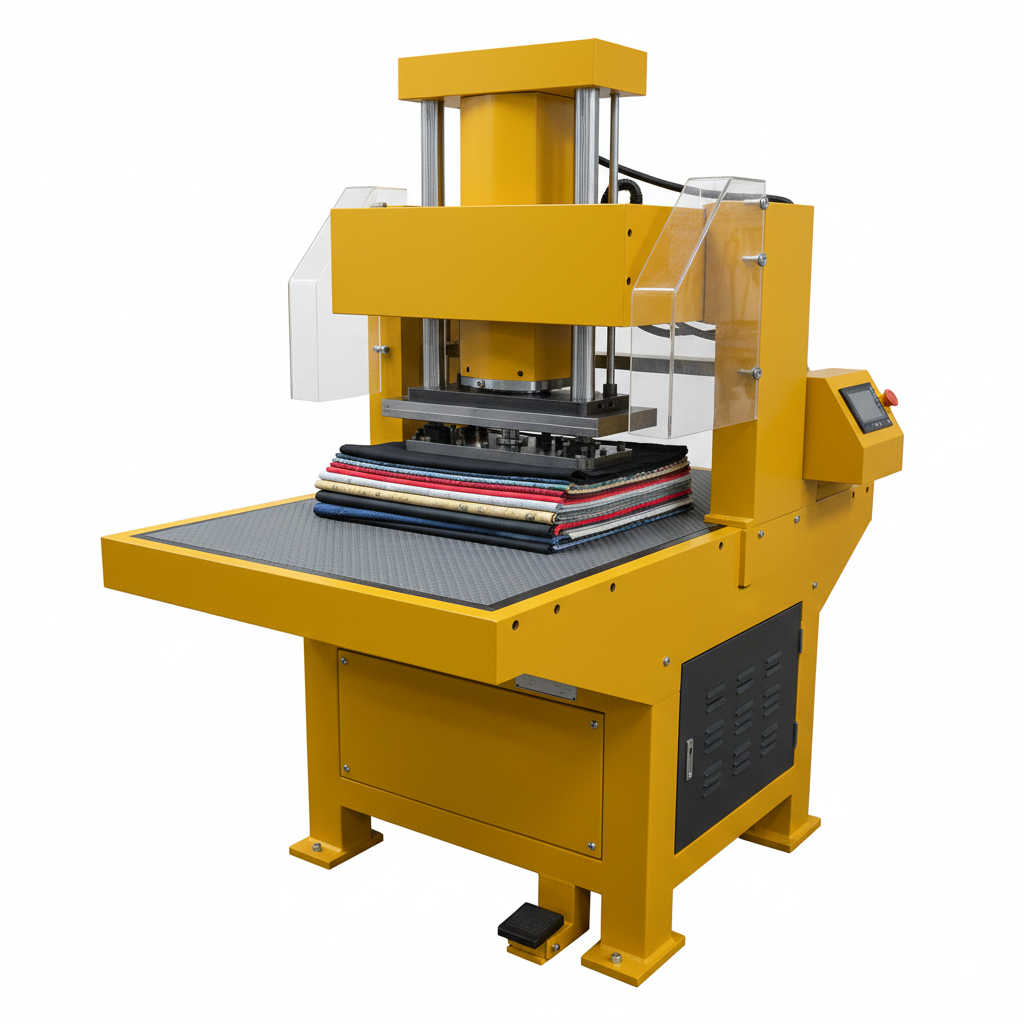
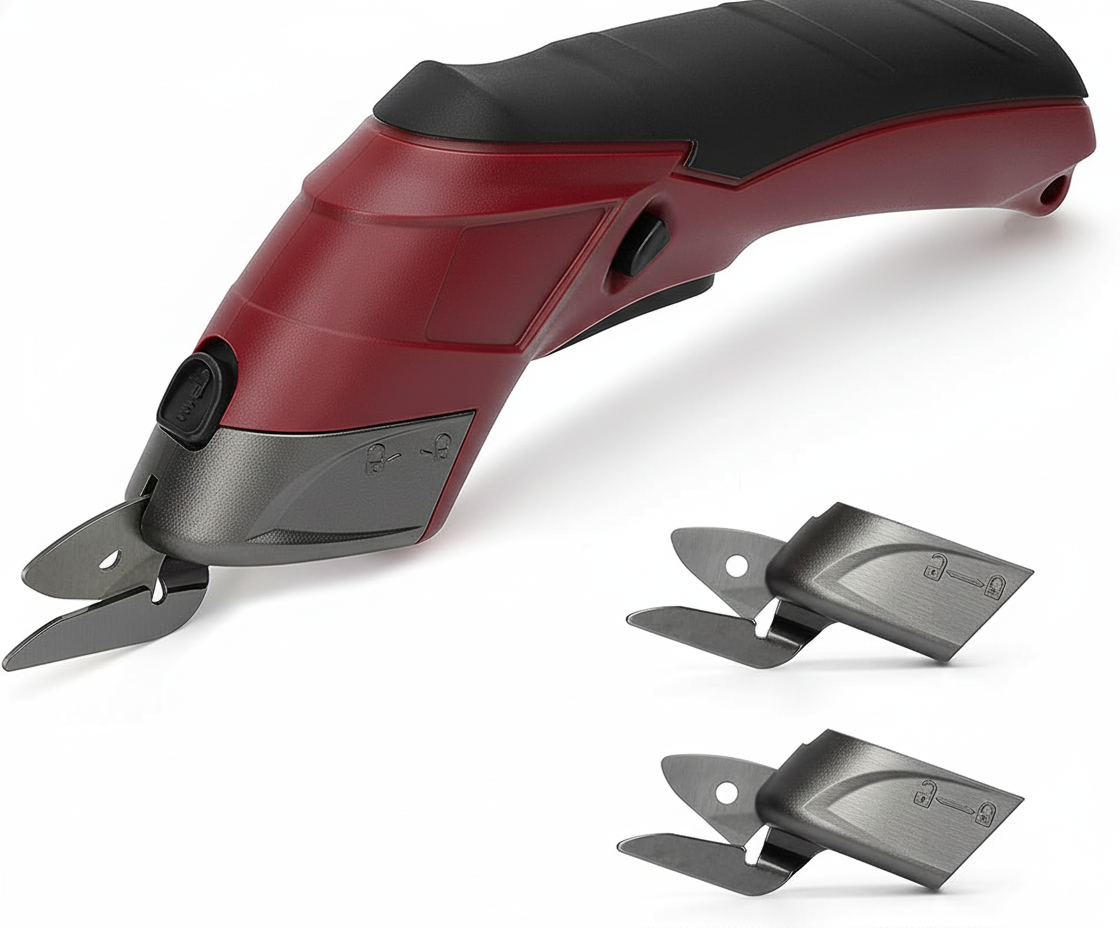
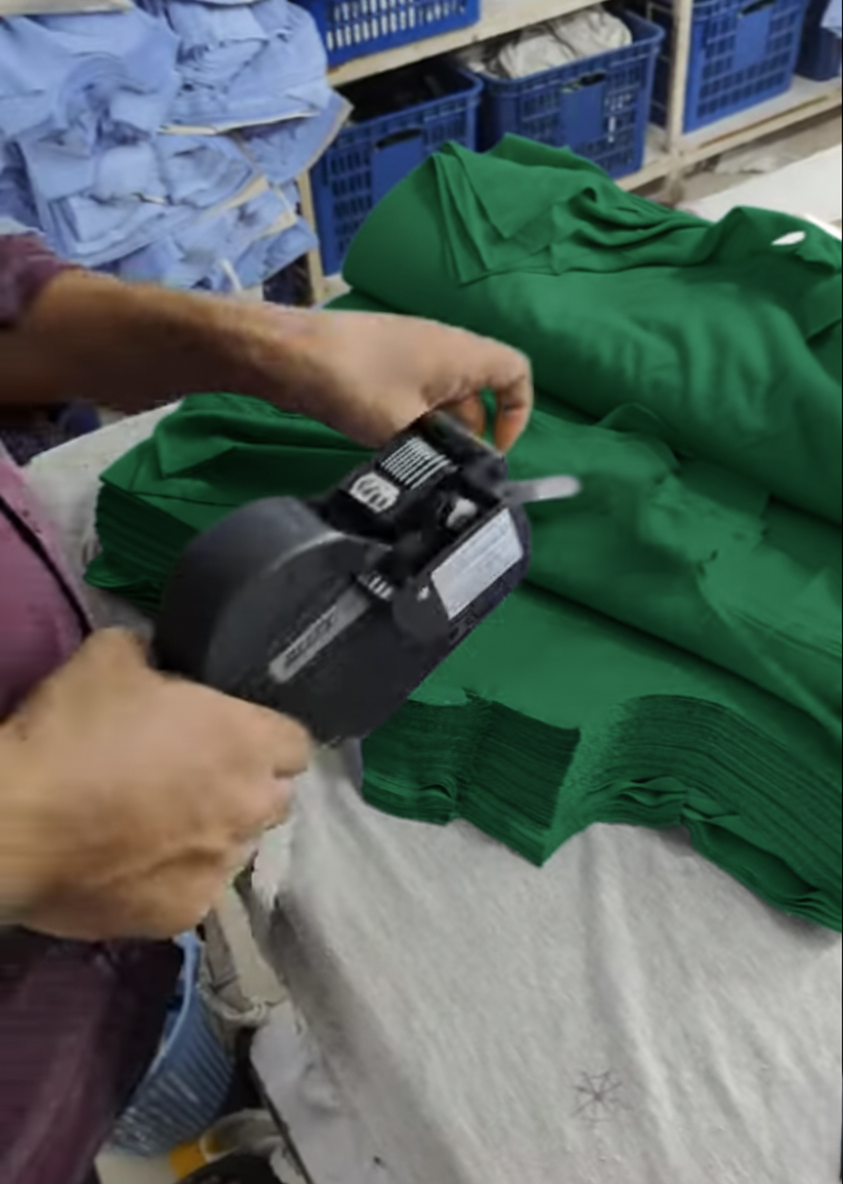
Types of Cutting Machines Used in Garment Manufacturing
 |  |  |  |  |
|---|
| Machine Type | Key Features | Common Uses |
|---|---|---|
| Straight Knife Cutter | Most common; suitable for high lay heights | T‑shirts, trousers, fleece cutting |
| Round Knife Cutter | Best for small lay heights; handles straight lines & small curves | Small batch cutting, precise curved areas |
| Band Knife Cutter | High precision; ideal for difficult curves | Panel trimming, complex shapes |
| Die Cutting / Punch Cutting | Uses metal dies to punch shapes | Collars, cuffs, patches, small components |
| Electric / Pneumatic Scissor | Easy handling; for small corrections | Minor adjustments, sample room use |
| Automatic CNC Cutting Machines | Fast, precise, minimal human error; ideal for large orders; brands include Lectra, Gerber, Bullmer | Mass production cutting, bulk orders, high accuracy |
Notching & Drilling
Used to mark:
- pocket placement
- zipper level
- pleat position
- construction points
- center front/back
Accurate marking ensures smooth sewing and correct assembly.
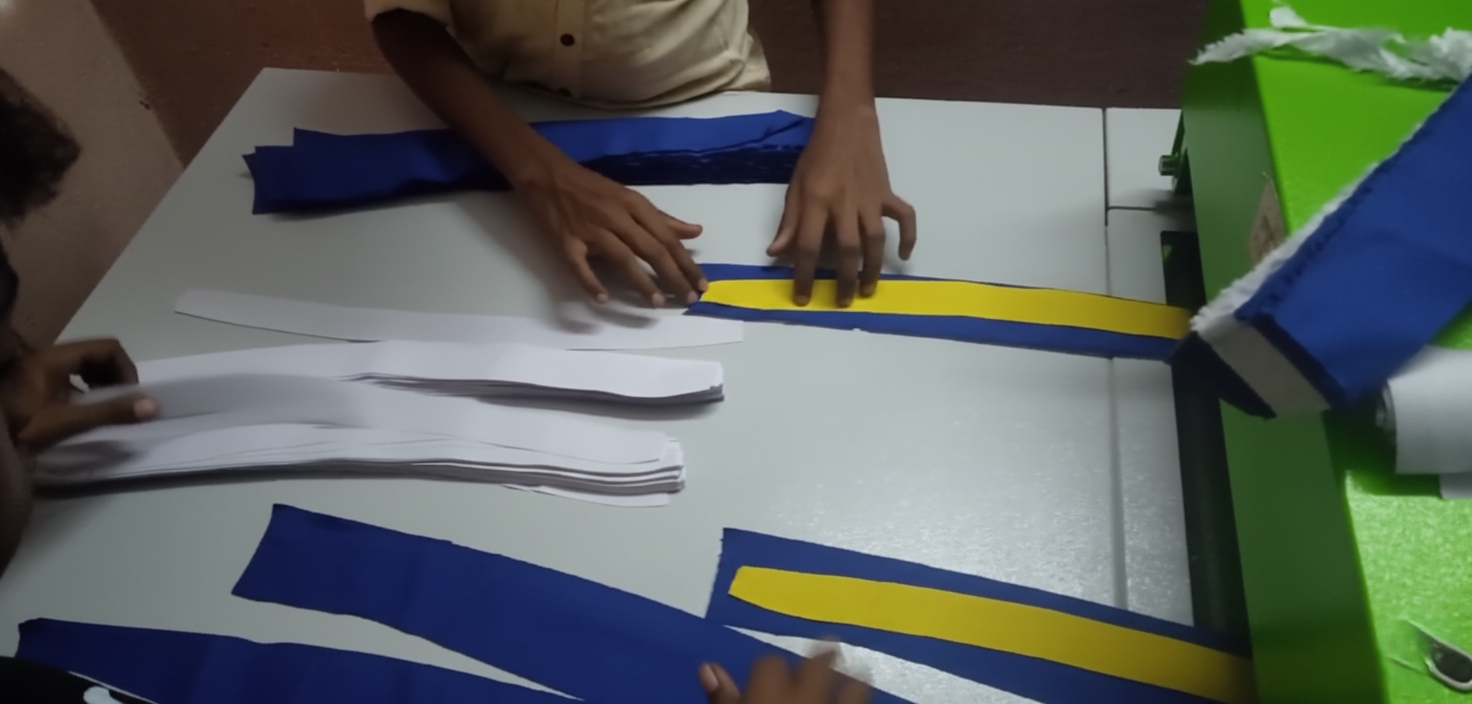
Bundling & Numbering
After cutting, pieces are:
- bundled size-wise
- shade-wise
- numbered for identification
This prevents:
- mixing of sizes
- shade variation
- sewing mismatches
Typical bundle size: 12–36 pcs
Fusing Section (for Collars & Cuffs)
Fusing is the process of applying interlining to:
- collar
- cuff
- placket
- waistband
Fusing machine controls:
- Temperature (depends on interlining type)
- Pressure
- Time
Defects from poor fusing:
- Bubble
- Delamination
- Shrinking
- Shining marks
Cutting Quality Control (QC)
QC checks for:
- Panel matching
- Grain line
- Symmetry
- Notches accuracy
- Fabric flaws
- Cut edge smoothness
QC Areas:
- In-line inspection
- End-of-line inspection
- Bundle integrity check
Cutting Floor Layout
The cutting floor is a highly structured and organized area within the garment factory, designed to ensure smooth workflow and efficient material handling. A well-planned layout allows fabric to move seamlessly from one stage to another, minimizing movement time, reducing errors, and improving overall productivity. Each section in the cutting room has a specific purpose and contributes to maintaining quality and production flow.
A typical cutting room layout includes the following key areas:
Relaxation area – Fabric is kept here to release tension before cutting
Inspection table – Fabric is checked for defects before spreading
CAD office – Marker making and planning are done digitally
Spreading tables – Fabric layers are prepared for cutting
Cutting zone – Fabric is cut into garment components
Fusing area – Interlining is applied where required
Bundling section – Cut panels are grouped and labeled
QC area – Quality inspection of cut panels
Storage & staging – Temporary holding before feeding to sewing
KPIs of the Cutting Department
To maintain efficiency and quality, the cutting department is measured using key performance indicators (KPIs). These metrics help monitor performance, identify issues, and improve overall operations.
Important KPIs include:
Cutting accuracy (%) – Measures precision of cut components
Marker efficiency (%) – Indicates how well fabric is utilized
Fabric utilization (%) – Overall material usage performance
Wastage (%) – Includes both hard waste and soft waste
Cutting production (lays/day) – Number of fabric lays processed
Feeding timeliness to sewing – Ensures no delay in production flow
Cut panel pass rate (CPPR) – Percentage of panels passing QC
Rejection rate at sewing – Defects caused by cutting errors
Common Cutting Defects
Despite careful planning, cutting errors can occur and may lead to quality issues in the finished garment. Identifying and controlling these defects is essential.
Common cutting defects include:
- Off-grain cutting (fabric not aligned properly)
- Pattern mismatch or incorrect shape
- Uneven or rough cutting edges
- Shade mixing between different lots
- Incorrect notches or missing marks
- Improper spreading tension
- Fabric skewing or bowing
- Numbering mistakes in bundles
- Slippage between fabric plies
Corrective Actions
To reduce defects and improve cutting efficiency, factories adopt specific corrective measures and process improvements.
Key actions include:
- Improving fabric spreading techniques
- Using automatic cutting machines for precision
- Training cutting operators regularly
- Implementing strict in-process quality checks
✅ Simply put, the cutting section is where garment production accuracy begins. Accurate layout, performance monitoring and defect control guarantee high quality and consistent parts for the sewing line – making cutting really 'The heart of garment quality'.