Wet processing defects are faults that appear during or after:
- Scouring
- Bleaching
- Dyeing
- Washing‑off
- Finishing (stenter, compactor, softening)
These defects often do not appear clearly in grey fabric, but become highly visible after dyeing or finishing, making them more dangerous and costly.
Many dyeing defects are irreversible and lead directly to fabric or garment rejection.
Why These Defects Are Critical
- Occur at high value‑added stage
- Cause re‑dyeing, re‑processing or rejection
- Increase water, energy and chemical cost
- Directly affect shade approval and bulk acceptance
- Lead to buyer claims and audits
Major Wet Processing & Dyeing‑Related Defects
Shade Variation (Within Roll / Roll to Roll)
Appearance
Shade Variation
- Lighter or darker areas
- Shade difference between rolls of same lot
- End‑to‑end or side‑to‑side variation
Causes
- GSM or thickness variation
- Uneven stitch length (knits)
- Unequal liquor circulation
- Temperature or pH fluctuation
- Batch‑to‑batch process inconsistency
Impact
- Cutting mismatch
- Panel shading in garments
- Buyer rejection
Prevention
- Batch fabric by GSM, width and construction
- Strict time–temperature–pH control
- Consistent liquor ratio
- Shade continuity planning
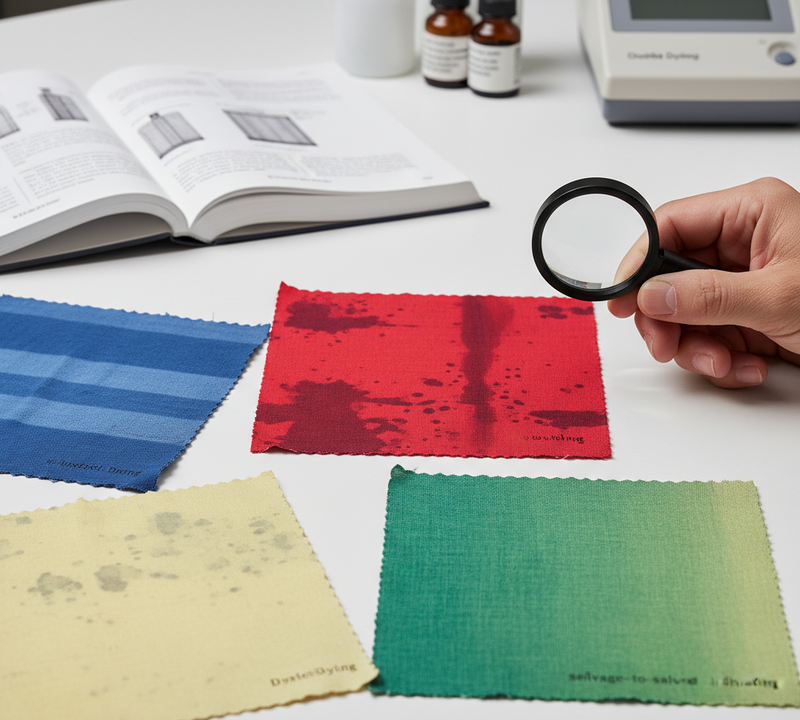
Patchy / Mottled Dyeing
Appearance
Patchy dyeing
- Cloudy, uneven dye uptake
- Blotchy or marble‑like effect
Causes
- Incomplete scouring
- Residual oil, wax or silicone
- Poor wetting
- Rapid temperature rise
- Insufficient leveling agent
Impact
- Poor visual appearance
- Re‑dyeing required
- Unacceptable in solid shades
Prevention
- Ensure effective scouring & bleaching
- Use proper wetting and leveling agents
- Controlled temperature ramping
- Avoid overloading machines
Barre Effect (After Dyeing)
Appearance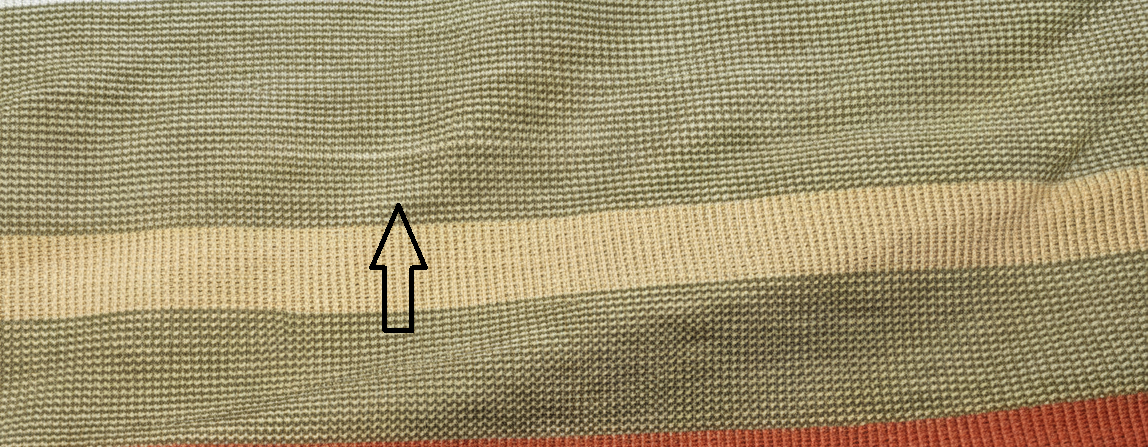
Barre Effect
- Horizontal stripes or bands
- Often visible only after dyeing
Causes
- Yarn lot variation
- Count or twist variation
- Feeder‑wise stitch length difference
- Different cotton maturity or blend ratio
Impact
- One of the most common rejection reasons
- Cannot be corrected after dyeing
Prevention
- Same yarn lot for one fabric lot
- Stitch length control (knits)
- Pre‑production barre testing
- Fabric lot segregation
Crease Marks / Rope Marks
Appearance
Crease Marks / Rope Marks
- Permanent crease or fold lines
- Diagonal or longitudinal marks
Causes
- Fabric folded or twisted in rope form
- Low liquor movement
- Overloading
- Insufficient anti‑crease agent
Impact
- Visible lines after dyeing
- Fabric rejection in open‑width garments
Prevention
- Proper loading
- Adequate liquor flow
- Anti‑crease chemicals
- Open‑width dyeing where possible
Tailing (Shade Tailing)
Appearance
Tailing (Shade Tailing)
- One end of fabric darker than the other
- Progressive shade change
Causes
- Dye exhaustion imbalance
- Poor circulation
- Long rope length
- Improper dosing sequence
Impact
- Cutting difficulty
- Garment shading problem
Prevention
- Correct dosing method
- Uniform circulation
- Shorter rope length
- Proper machine selection
Oil Stains (Visible After Dyeing)
Appearance
Oil Stains
- Dark or greasy spots
- Halo marks around stains
Causes
- Knitting oil not removed in scouring
- Machine oil leakage
- Silicone contamination
Impact
- Very difficult to remove
- High rejection risk
Prevention
- Use emulsifiable knitting oil
- Strong scouring with emulsifier
- Preventive maintenance
- Oil spot detection before dyeing
White Spots / Undyed Spots
Appearance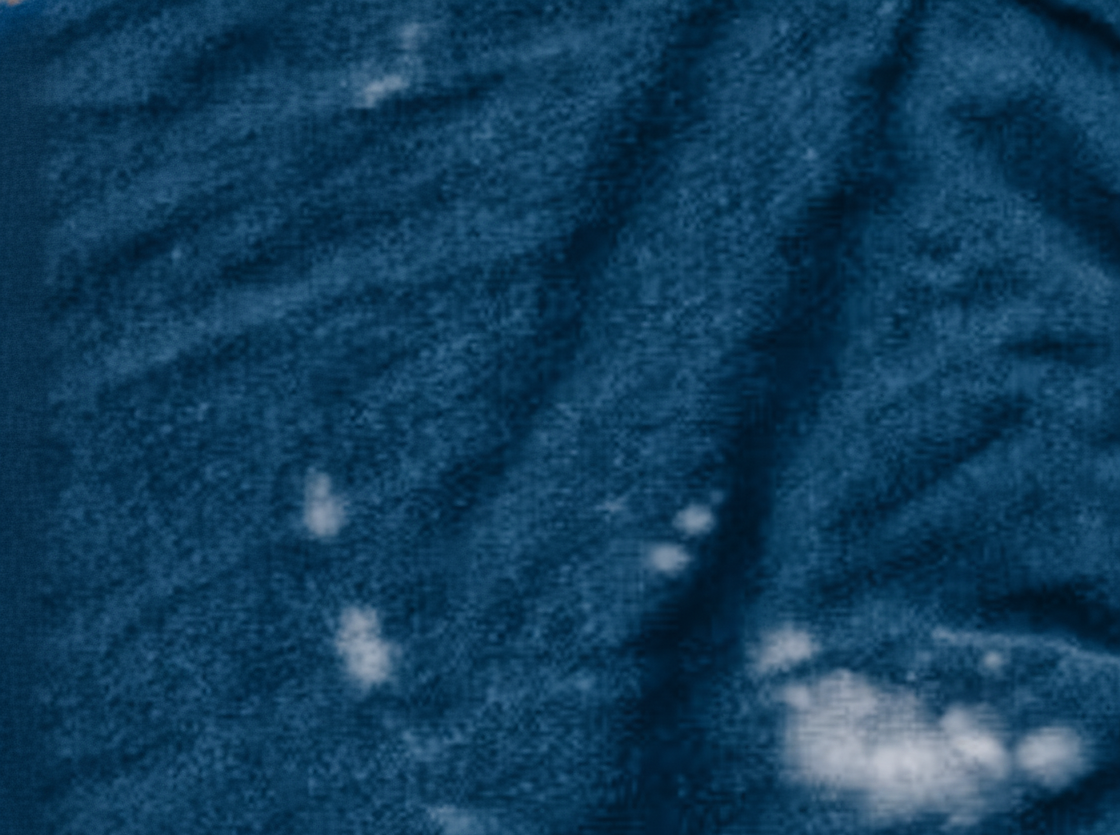
White Spots / Undyed Spots
- Small white or lighter spots after dyeing
Causes
- Neps or seed coat
- Silicone or oil contamination
- Poor wetting
- Foreign matter
Impact
- Severe defect in dark shades
- Garment rejection
Prevention
- Proper raw material selection
- Effective scouring and bleaching
- Use chelating agents
- Yarn quality control
Uneven Bleaching / Low Whiteness
Appearance
Uneven Bleaching / Low Whiteness
- Yellowish or dull white
- Uneven base shade
Causes
- Inadequate peroxide stabilization
- Poor temperature control
- Hard water
- Incomplete scouring
Impact
- Poor brightness in light shades
- Shade deviation
Prevention
- Proper peroxide stabilizer
- Controlled pH and temperature
- Use of chelating agents
- Monitor whiteness index
Migration / Back‑Staining
Appearance
Migration / Back‑Staining
- Dye redeposits on lighter areas
- Staining of white parts
Causes
- Inadequate washing‑off
- Poor soaping
- Insufficient dispersant (disperse dye)
- Sulfur/vat dye back‑staining
Impact
- Poor fastness
- Shade dullness
Prevention
- Thorough washing‑off
- Proper soaping at high temperature
- Use anti‑back‑staining agents
Uneven Dyeing
Appearance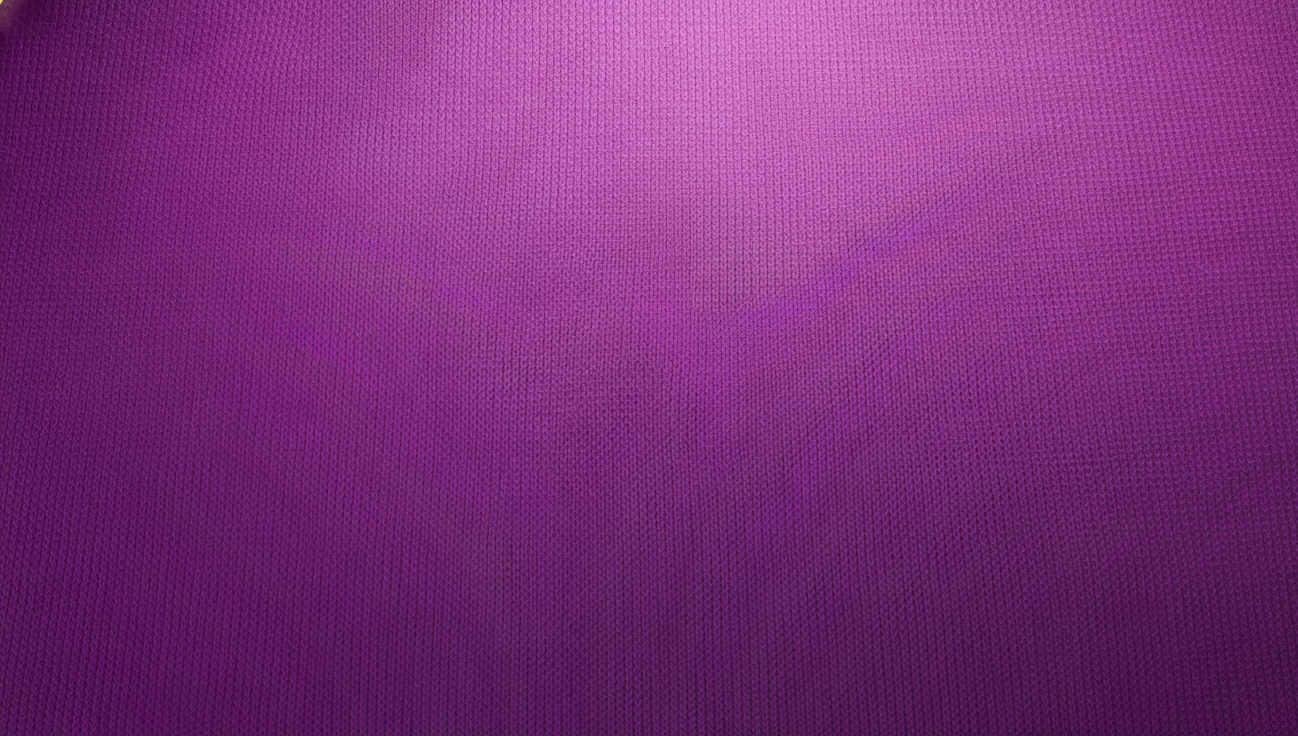
Uneven Dyeing
- Patchy, cloudy or streaky shade
- Light and dark areas within the same fabric panel
- More visible after washing or finishing
Causes
- Uneven fabric absorbency
- Improper scouring or bleaching
- Inconsistent dye liquor ratio or circulation
- Crease marks or rope marks during dyeing
- Variation in yarn quality or fiber blend
- Incorrect temperature rise or dyeing time
Impact
- Shade inconsistency within one garment lot
- High risk of buyer rejection
- Re‑dyeing often not possible or uneconomical
Prevention
- Proper and uniform pre‑treatment (scouring/bleaching)
- Maintain correct liquor ratio and machine loading
- Ensure smooth fabric movement and circulation
- Controlled temperature and dosing during dyeing
- Fabric absorbency testing before bulk dyeing
- Strict process standardization and monitoring
Poor Wash Fastness
Appearance
- Color fading
- Staining of adjacent fabric
Causes
- Incomplete dye fixation
- Excess surface dye
- Improper dye selection
- Poor washing‑off
Impact
- Buyer test failure
- Claims after use
Prevention
- Correct dye and recipe selection
- Complete fixation
- Proper washing‑off sequence
Poor Rubbing (Crocking) Fastness
Appearance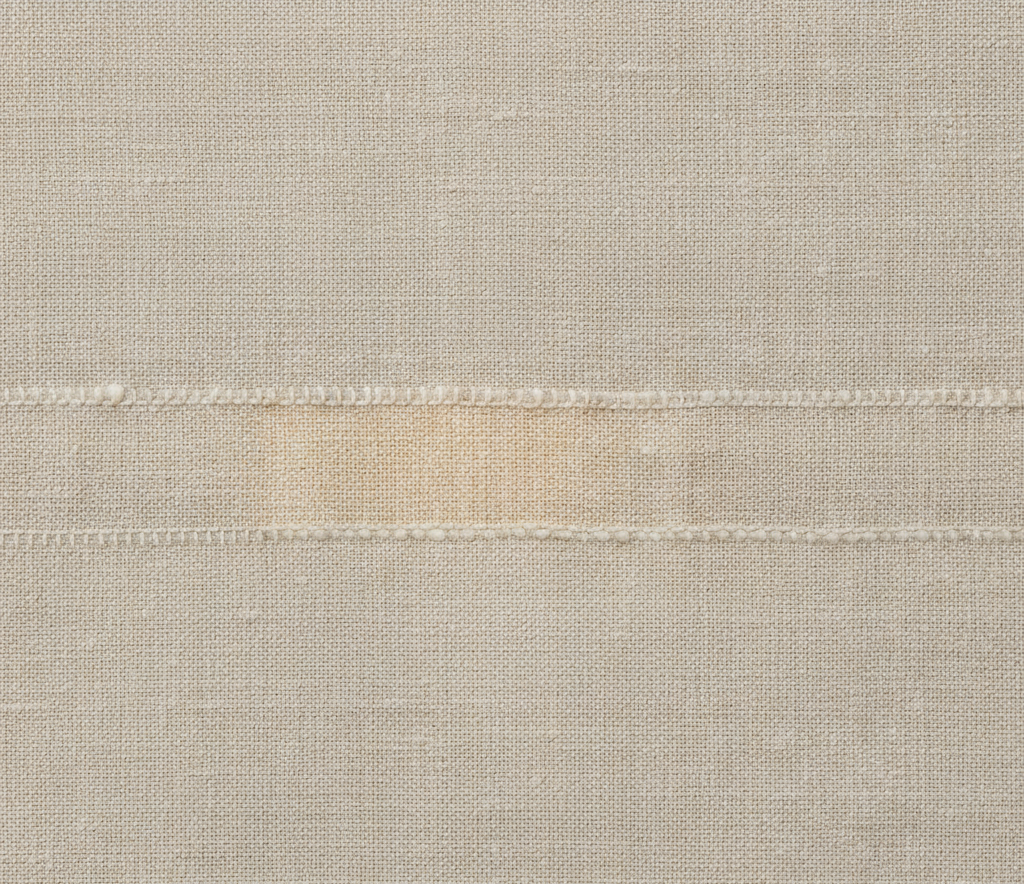
Poor Rubbing (Crocking) Fastness
- Color transfer during dry or wet rubbing
Causes
- Surface dye presence
- Over‑depth shades
- Pigment dyeing with low binder
- Inadequate washing‑off
Impact
- Serious issue for dark shades
- Garment staining complaints
Prevention
- Improve washing‑off
- Use fixing agents where applicable
- Optimize binder system (pigment)
Shade Change After Finishing
Appearance
Shade Change After Finishing
- Shade becomes lighter/darker after stenter or compactor
Causes
- Thermo‑migration (polyester)
- Over‑heating
- Softener interaction
Impact
- Shade mismatch vs approval
Prevention
- Heat‑stable dyes
- Controlled stenter temperature
- Compatibility check of finishes
Width & GSM Variation After Finishing
Appearance
- Uneven width
- GSM variation across fabric
Causes
- Uneven stenter tension
- Incorrect overfeed
- Uneven moisture content
Impact
- Cutting loss
- Fit problems
Prevention
- Stenter width control
- Uniform overfeed
- Moisture equalization before finishing
Excessive Shrinkage / Growth
Appearance
- Fabric shrinks or grows after washing
Causes
- Insufficient relaxation
- Poor compacting
- Elastane damage
Impact
- Garment size failure
- Buyer rejection
Prevention
- Proper relaxation drying
- Controlled compacting
- Shrinkage testing before bulk release
Skew / Spirality After Dyeing
Appearance
- Fabric twists diagonally
- Side seam twist in garments
Causes
- Yarn twist imbalance
- Uneven tension in stenter
- Improper overfeed
Impact
- Poor garment appearance
Prevention
- Balanced yarn twist
- Proper stenter alignment
- Skew control process
Quality Control & Monitoring Tools
- Shade measurement (ΔE)
- GSM & width monitoring
- pH and temperature log
- Fastness testing (wash, rub, perspiration)
- Whiteness index
- Shrinkage & spirality tests
Common Root‑Cause Summary
| Defect | Root Cause |
|---|---|
| Patchy dyeing | Poor scouring |
| Barre | Yarn variation |
| Crease mark | Rope handling |
| Poor fastness | Incomplete fixation |
| Oil spot | Knitting oil residue |
| Shade variation | Process inconsistency |