Yarn Preparation and Winding in Fabric Manufacturing: Process, Techniques and Applications
14 min read
The foundation of smooth knitting, uniform panel quality and top sweater performance.
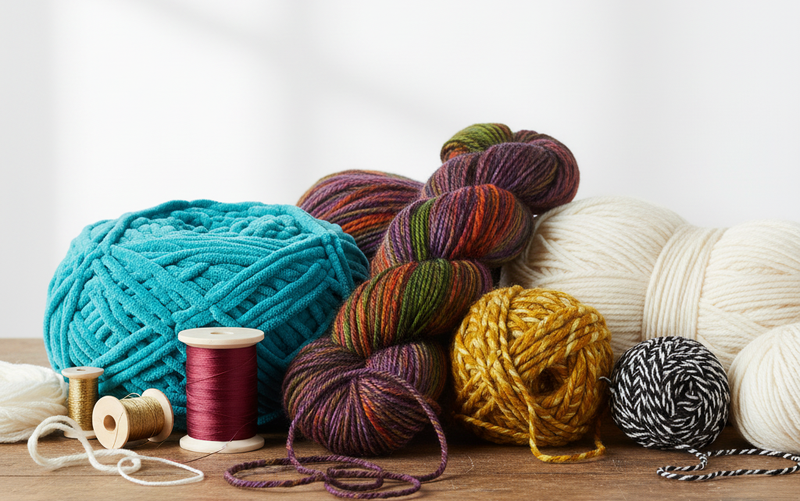
One of the most important stages of pre-production of jumper manufacturing is yarn preparation. Sweaters are constructed using a loop-based structure, so the quality, condition and stability of the yarn has a direct impact on the appearance, durability, shrinkage, pilling resistance and fit of the garment.
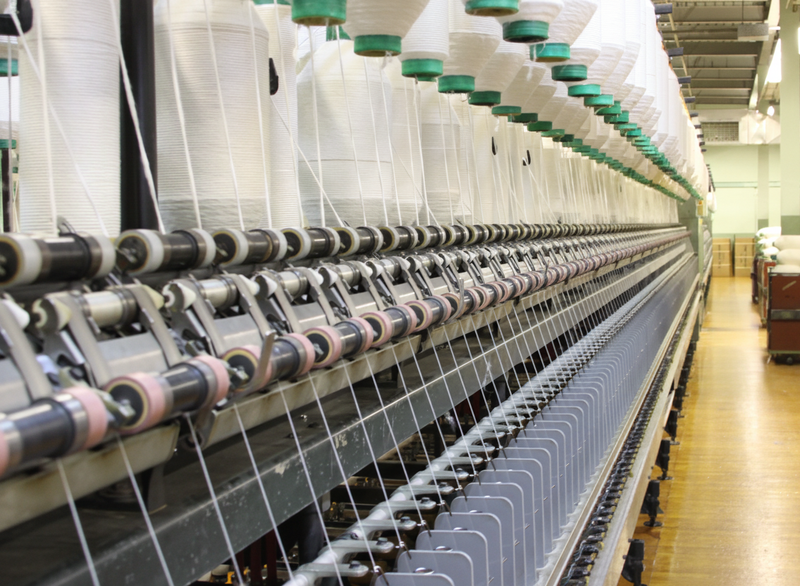
Yarn winding
Good yarn preparation makes a bigger difference than most people realize. When the yarn is handled right from the start, everything downstream gets easier—machines run smoother, stitches stay uniform, and defects drop noticeably.
This chapter walks through the full picture of yarn preparation in modern sweater factories. Step by step. Nothing fancy—just what actually matters on the floor.
Purpose of Yarn Preparation
At the end of the day, the goal is simple: get the yarn ready for knitting. Properly ready.
Miss any of these, and problems start showing up—sometimes immediately, sometimes later after finishing or washing.
When Yarn preparation
is done well, it quietly prevents a lot of trouble, like:
Yarn breakage that slows everything down
Machine stoppages (the ones operators hate)
Dropped stitches
Panel size variations that mess with quality
Pilling issues after washing
It’s one of those processes where you don’t always notice when it’s done right—but you definitely notice when it’s not.
Components of Yarn Preparation Workflow
Yarn preparation isn’t just one step. It’s a sequence—each part playing its role.
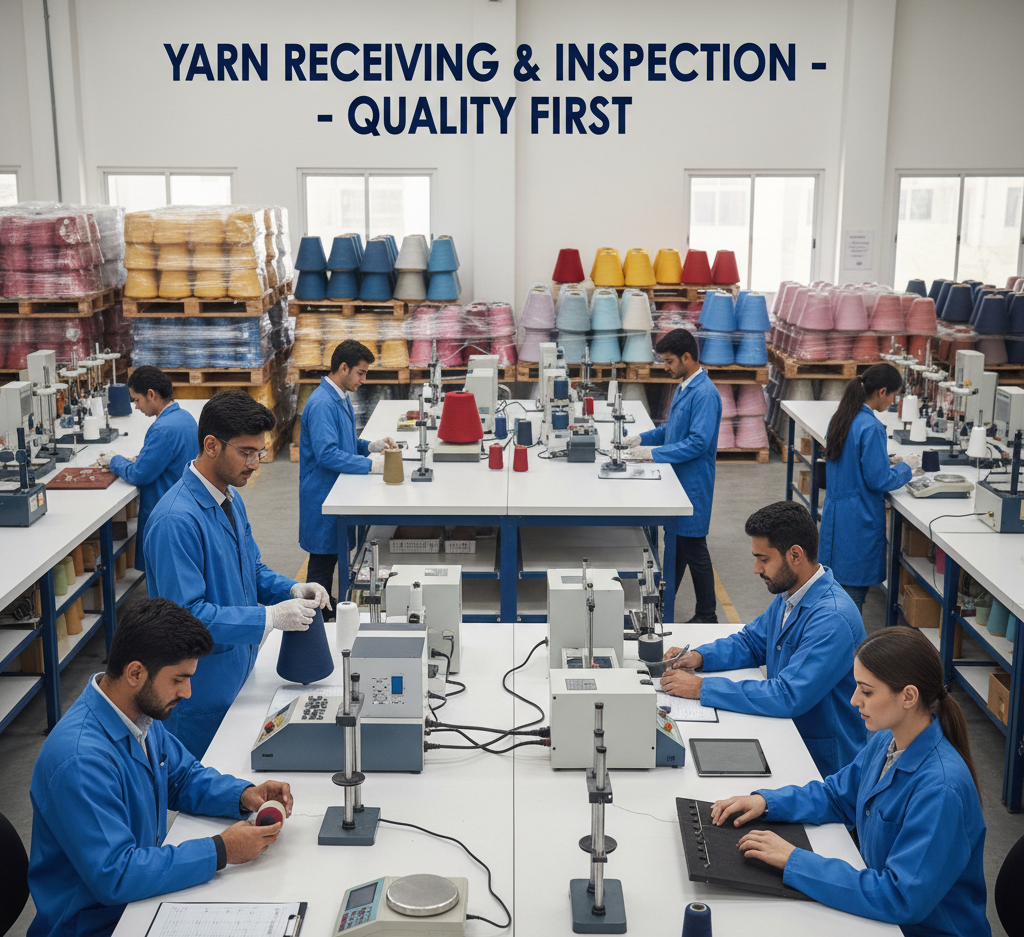
Yarn Receiving & Inspection
First checkpoint. This is where obvious issues are caught early—before they spread into production.
Checking Yarn Labels & Specifications Sounds basic, but critical. Count, composition, shade—everything has to match exactly.
Yarn Conditioning
Adjusting the yarn to the right moisture level so it behaves properly during knitting.
Cone Winding / Rewinding
Fixing uneven winding, improving package quality, removing weak spots along the way.
Tension Control Adjustment
Getting the tension just right—not too tight, not too loose. Small difference… big impact.
Yarn Splicing / Knot Removal
Knots are trouble. Splicing creates smoother joins and keeps the yarn running clean.
Moisture Check & Humidity Stabilization
Yarn is sensitive. Too dry or too damp, and performance drops. This step keeps it balanced.
Yarn Feeding to Knitting Floor
The final handoff—making sure the yarn reaches the machine in the best possible condition.
Yarn Receiving & Inspection
When yarn arrives from the spinning mill or supplier, it doesn’t go straight to production. First, it gets checked—properly. A few quick looks aren’t enough here. This stage sets the tone for everything that follows.
Yarn Receiving & Inspection
Visual Inspection
This is the first pass. Simple, but important.
The team looks for things like:
Color consistency (any shade variation stands out later)
Cone uniformity
Yarn contamination
Excess lint or shedding
Physical damage to cones during transport
Sometimes issues are obvious. Sometimes you have to look a bit closer. Either way, catching them early saves a lot of trouble later.
Detail Verification
Next comes the label check. Sounds routine, but mistakes here can quietly mess up an entire batch.
From the supplier’s label, they verify:
Yarn composition
Count / ply (like 2/28Nm, 1/1Nm)
Lot number
Dye batch
Gross and net weight
Supplier name
Lot matching is especially critical. Even a small mix-up can lead to shade variation—and that’s the kind of issue that shows up right in the finished panels.
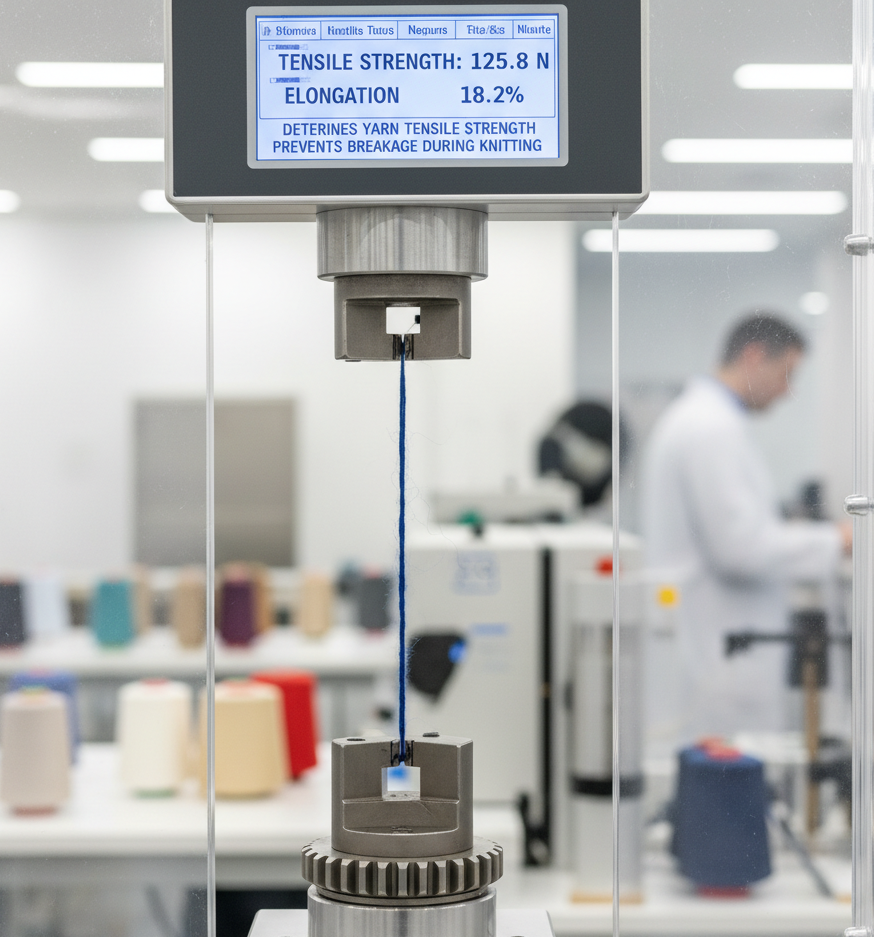
Yarn Testing (Quality Evaluation)
Before going into bulk knitting, the yarn is tested. No shortcuts.
This is where its actual behavior gets checked—not just what the label claims.
Strength Test
Measures tensile strength.
If the yarn isn’t strong enough, breakages start happening on the machine. And once that starts, production slows down… fast.
Test parameter
Load at peak (N)
Elongation at peak (mm)
Strain at peak (%)
Energy at peak (Nm)
Load at break (N)
Elongation at break (mm)
Strain at break (%)
Energy at break (Nm)
Minimum value
6.42
12.45
12.11
0.04
3.38
12.66
12.34
0.04
Mean value
7.58
14.63
14.18
0.07
6.71
14.82
14.29
0.07
Maximum value
8.24
16.02
15.66
0.08
8.13
16.18
15.79
0.08
Standard deviation
0.58
1.31
1.09
0.02
1.64
1.26
1.21
0.02
Coefficient of variation (%)
7.65
8.95
7.68
15.27
24.44
8.50
8.47
15.01
Test Conditions
Parameter
Value
Sample length
120 mm
Test speed
90 mm/min
Pretension
1.5 N
Yarn Count Test
Confirms that the supplied count matches what was ordered.
If the count is off, stitches won’t come out right. You’ll see unevenness in the fabric almost immediately.
Twist Level Test
Twist affects more than people expect:
High twist → more stable, firm yarn
Low twist → softer feel, but less durability
It also impacts pilling and how the fabric looks overall.
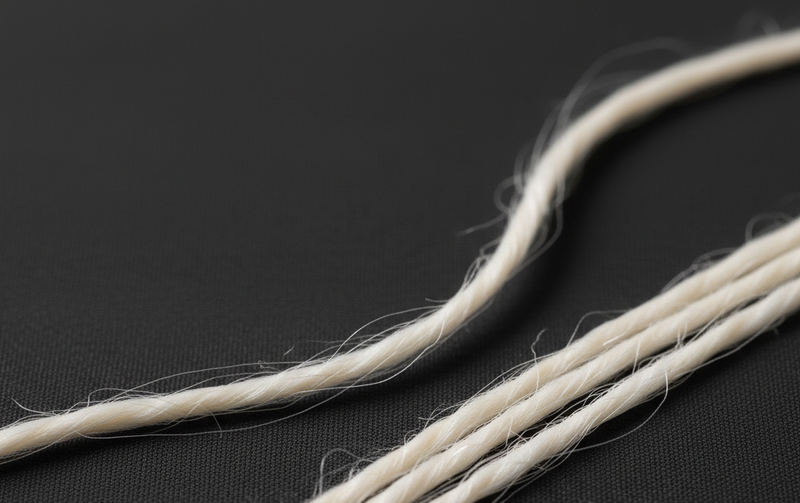
Evenness & Hairiness Test
This one digs into surface quality. It checks for:
Slubs
Thick or thin spots
Yarn fuzz (hairiness)
Too much hairiness? You’re looking at pilling issues later—and possibly loop distortion during knitting.
Shrinkage Test
This matters a lot, especially for wool, acrylic, and blends.
The yarn is washed before knitting to see:
Shrinkage percentage
Relaxation behavior
Felting tendency (for wool)
Better to know now than after the garment is made.
Colorfastness
Checked against:
Washing
Rubbing
Light exposure
If the dye isn’t stable, you’ll end up with patchy panels. And that’s not easy to fix.
Yarn Strength Test
Yarn Conditioning
Before yarn even touches the knitting machine, it needs to settle a bit. Conditioning isn’t optional—it’s essential. You’re basically letting the yarn adjust under controlled temperature and humidity so it behaves properly later on.
Purpose of Conditioning?
A few reasons, actually:
Helps the yarn regain the right level of moisture
Makes it more elastic (less brittle, more forgiving)
Cuts down static — which can be a real headache
Reduces breakage during knitting
Keeps cone tension stable
And overall… things just run smoother on the machine
Ideal Conditioning Environment
You don’t need anything extreme, just controlled:
Temperature: around 20–25°C
Humidity: typically 55–70% RH (depends on the yarn type)
How it’s usually done:
Letting yarn sit in a conditioning room
Using steam-based conditioning chambers
Or simply leaving it overnight to stabilize
Nothing fancy, but it works.
When yarn is properly conditioned, you’ll notice the difference immediately — smoother knitting, steadier tension, fewer interruptions.
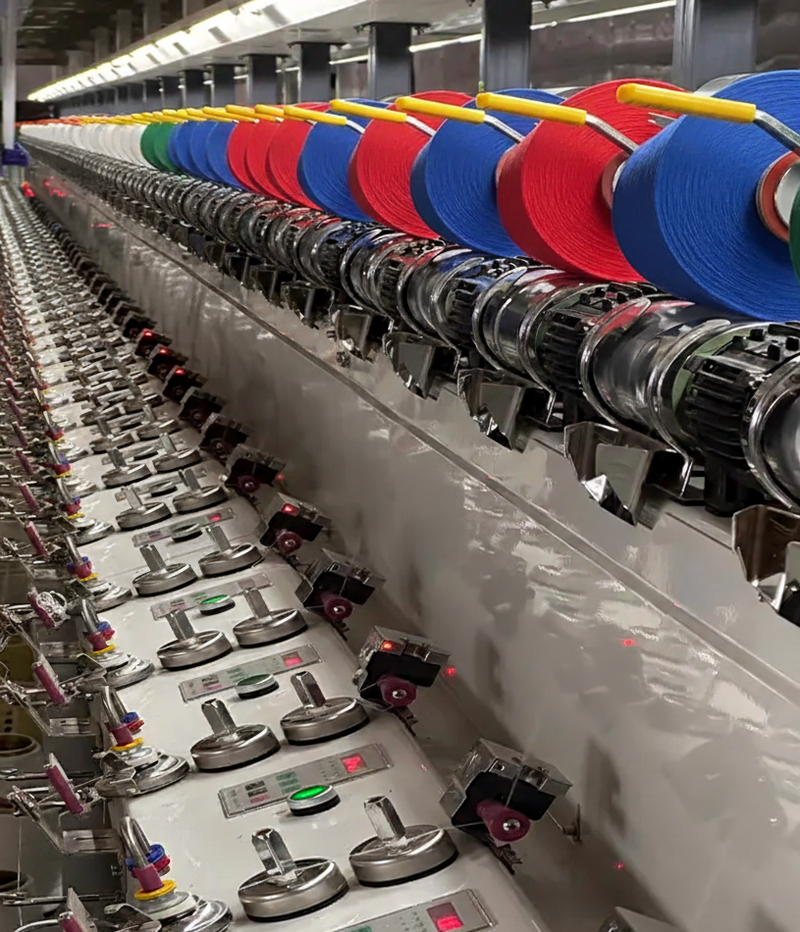
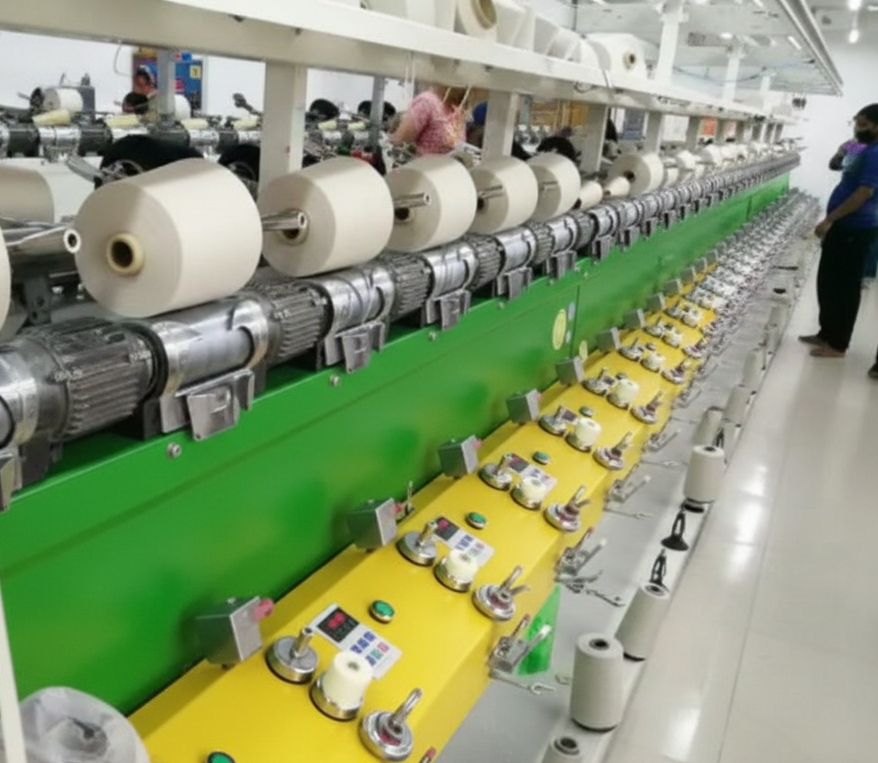
Cone Winding / Rewinding
This is where the yarn gets cleaned up and prepped for actual use. Cone winding makes sure everything feeding into the machine is consistent, neat, and reliable.
Cone Winding / Rewinding
Why do we need winding?
Because raw yarn isn’t perfect. Not even close.
Removes weak sections
Gets rid of slubs or thick spots
Evens out tension across the yarn
Replaces knots with stronger joins (splices)
Builds uniform cone density
And importantly, reduces machine stoppages
Less downtime. More production. Simple as that.
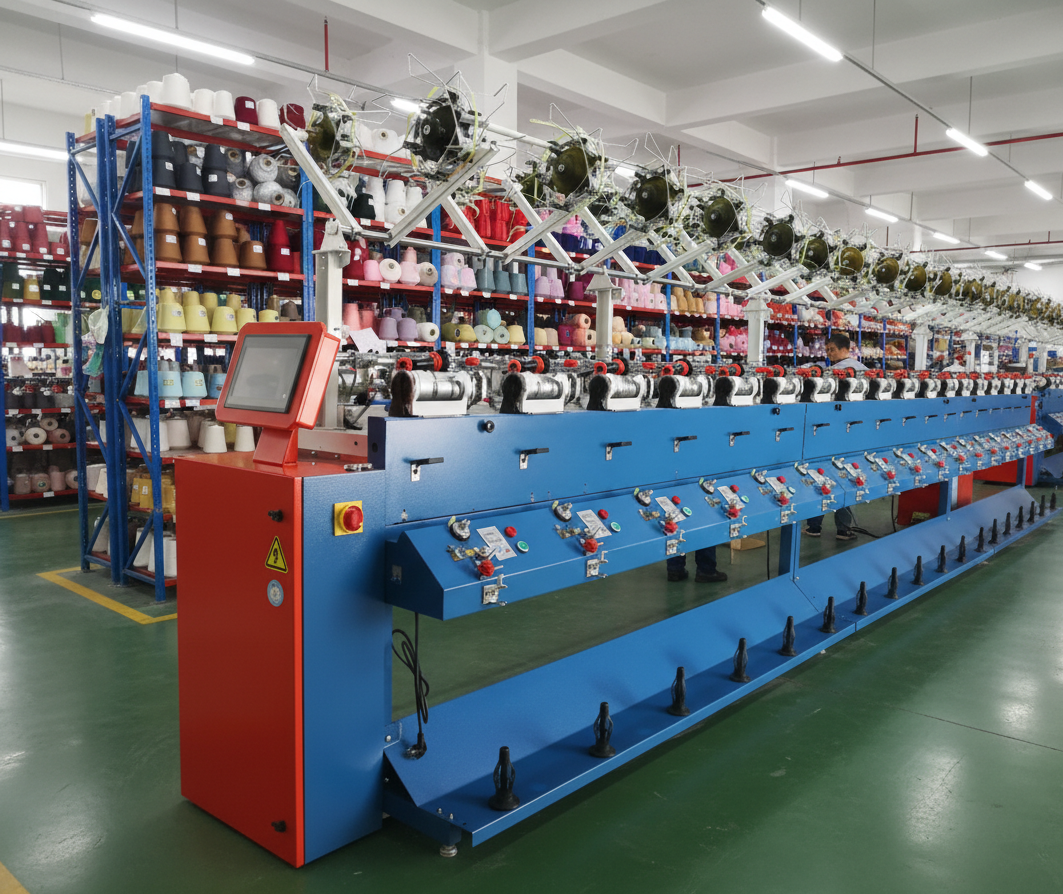
Types of winding machines:
Soft winding machines
Precision winders
Auto-winders with electronic yarn clearers
Each has its place depending on quality requirements and volume.
Yarn Clearer Settings
This is the quality checkpoint during winding. Yarn clearers scan the yarn and cut out defects in real time.
They typically catch:
Thick places
Thin places
Slubs
Foreign particles
Anything off gets removed before it becomes a bigger problem downstream.
Yarn Splicing & Knot Removal
In sweater knitting, knots are trouble. Especially in detailed work like:
Jacquard panels
Intarsia designs
High-gauge knitting (12–16 GG)
Even a small knot can show up or disrupt the pattern.
Ways to join yarn:
Mechanical splicing (most reliable)
Air splicing
Water splicing
Manual knotting (used only when necessary… not ideal)
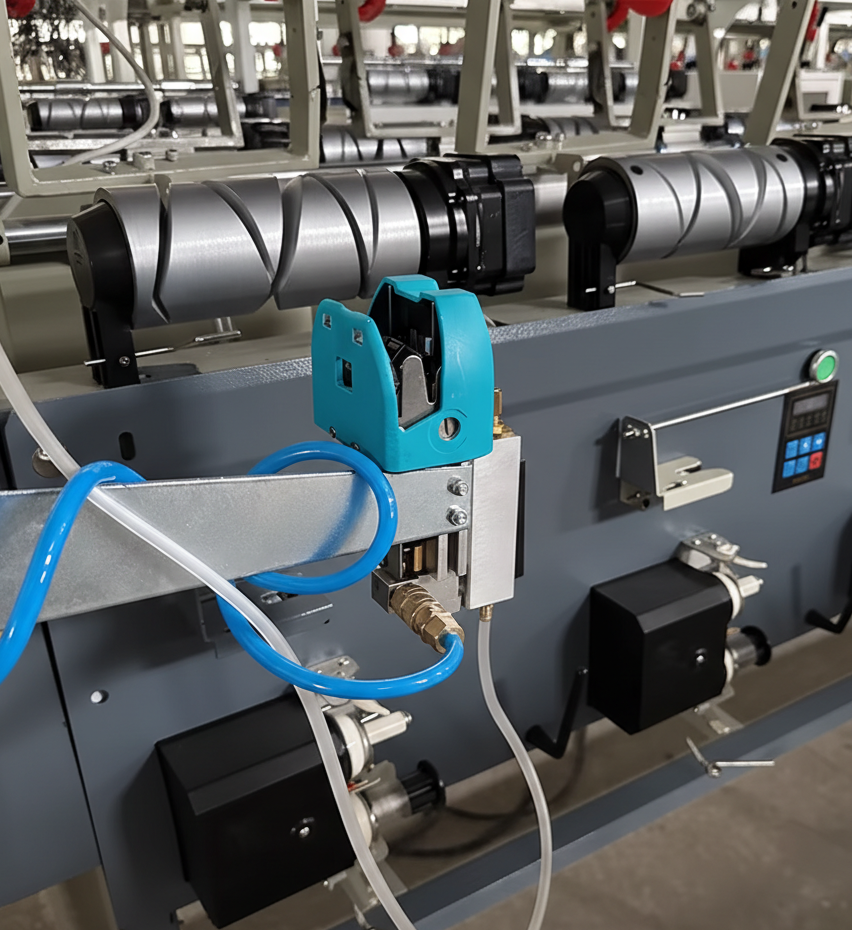
Air splicing, in particular, is widely used—it creates almost invisible joins. The yarn flows smoothly, and you don’t get those annoying bumps in the fabric.
Air Splicing
Yarn Tension Control
Everything comes down to tension at the end of the day. Too tight, too loose—either way, you'll see defects in knitting.
Get it right, and the process runs clean. Fabric looks good. Machines stay happy.
And honestly, that’s the goal
Tension Control & Feeding Preparation
Right before yarn hits the knitting machine, there’s this quiet but critical step—dialing in the tension and making sure the feeding setup is clean. Skip it, or rush it, and problems show up fast.
Yarn Tension
This part needs attention. Not just “good enough,” but properly even.
Tension has to stay consistent across:
All feeders
All cones
Every color or ply in use
If something’s off—even slightly—you’ll start seeing it in the fabric:
Panels won’t match in size
Loops look uneven or stretched
The overall appearance feels… off
And fixing that later? Not fun.
Creel Setup
Creel setup sounds simple, but it’s easy to mess up if you’re not careful.
Yarn placement should allow:
Smooth, uninterrupted flow
Zero tangling (or as close as possible)
No friction points that slow things down
Even height alignment across cones
Small misalignments here can turn into bigger issues once the machine is running at speed.
Feed Path Check
This is where you trace the yarn’s journey before knitting. Every guide point matters.
You’re looking at:
Eyelets
Guide rings
Tension disks
Yarn brakes
Each one should be clean, aligned, and doing its job.
Because when the feed path is right, things just move—no jerks, no sudden pulls, no unnecessary breaks.
And that smooth flow? It makes all the difference once production kicks in.
Waxing in the Winding
Waxing happens quietly in the winding section, but it plays a bigger role than most people expect. Especially in sweater manufacturing, circular knitting, flat knitting, and even hosiery — it’s one of those small steps that keeps everything running right.
In simple terms, a thin layer of wax is applied to the yarn during winding. Nothing dramatic. But the effect? Very noticeable once knitting starts.
Waxing in winding
Purpose of Waxing
It’s mainly about making the yarn easier to handle inside the machine. Less resistance, fewer problems.
Reduce Yarn-to-Metal and Yarn-to-Yarn Friction
This is the big one.
Yarn passes over metal parts constantly — needles, feeders, guides
Without waxing, friction builds up fast
What happens then?
Yarn starts breaking more often
Feeding becomes inconsistent
Heat builds up at high speeds
With proper waxing, the yarn just glides through. Less stress, fewer interruptions.
Improve Knitting Efficiency
When friction drops, everything else improves almost automatically.
Machines can run faster
Fewer stoppages to fix breaks
Stitch formation stays more consistent
It’s not magic—just smoother movement leading to better output.
Enhance Yarn Surface Properties
There’s also a noticeable change in how the yarn feels and behaves.
Slightly softer, smoother surface
Less chance of knots catching in guides
Lower abrasion as yarn moves
And in dry conditions? Waxing helps control static too—which can otherwise cause all kinds of random issues.
Improve Finished Garment Quality
At the end of the line, this is what really counts.
Reduces streakiness in sweaters
Keeps loop formation even
Gives a cleaner, more uniform look
You may not “see” the wax itself, but you definitely see the difference in the final fabric.
It’s a small addition during winding. Easy to overlook.
But skip it—or do it poorly—and the whole knitting process feels it.
Raw Materials Used for Waxing
Wax used in yarn winding is specially formulated for textile applications.
Not all wax is the same. The kind used in yarn winding is actually made specifically for textile use—so it behaves properly under machine speed, temperature, and pressure. Regular wax just wouldn’t cut it.
Different yarns, different machines… so naturally, different types of wax come into play.
Wax for winding
Types of Wax Used in Winding
a. Paraffin Wax (Most Common)
This is the standard choice in most mills. Reliable, easy to use, and gets the job done.
Petroleum-based
Melting point typically between 55–70°C
Provides smooth, consistent lubrication
You’ll see it used a lot with:
Cotton yarn
Acrylic
Blended yarns
Nothing fancy here—but it works well in everyday production.
b. Microcrystalline Wax
A bit more refined compared to paraffin.
Has a finer internal structure
Higher melting point
Holds up better under stress
This one usually shows up when machines are running faster than usual. High-speed knitting needs something that won’t break down easily, and this fits the role.
c. Silicone-Based Wax
Now we’re stepping into premium territory.
Extremely smooth lubrication
Strong anti-static properties
Leaves a cleaner, more controlled surface feel
Used when quality matters more than cost—or when yarn behavior needs tighter control.
d. Blended Waxes
Sometimes one wax isn’t enough. So they mix.
Combination of paraffin + microcrystalline wax + softeners
Better adhesion to the yarn
More stable performance across different conditions
Kind of a balanced approach. Not too basic, not overly specialized.
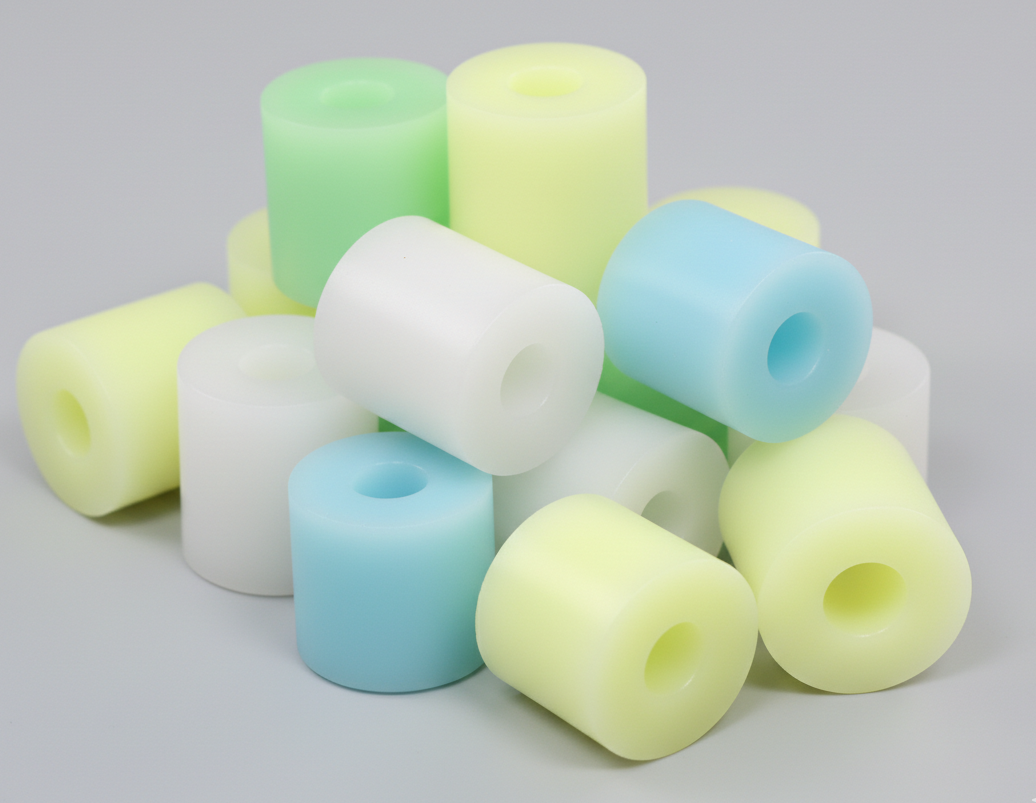
Form of Yarn Wax
In practice, yarn wax doesn’t come in random shapes. It’s designed for the winding setup.
Usually solid cylindrical pucks (or cakes)
Diameter around 50–60 mm
Thickness roughly 20–40 mm
Color: mostly white or off-white
Hardness can vary a bit depending on the yarn type and application. Softer wax transfers easily, harder wax lasts longer—it’s always a trade-off.
Yarn Moisture Control Before Knitting
This part tends to get underestimated. But honestly, moisture control can make or break knitting performance—especially with yarns like wool, acrylic, and cotton blends.
Yarn reacts to the environment. A lot more than people expect.
When it’s too dry, things go wrong pretty quickly:
Yarn becomes brittle and starts breaking
Static builds up (and causes random feeding issues)
Knitting turns uneven—no consistency
On the flip side, too much moisture isn’t great either:
Yarn stretches while knitting
Then shrinks more than expected during washing
Panel measurements drift out of tolerance
So yeah, balance matters here. Factories usually keep moisture levels controlled before yarn even reaches the machines. Not perfect all the time—but close enough to avoid trouble.
Yarn Storage & Handling SOP
Even after preparation, yarn can lose its condition if it’s stored or handled poorly. So there’s usually a basic system in place—nothing fancy, just discipline.
Storage Rules
Keep yarn in clean, dry spaces
Avoid direct sunlight
Protect from dust exposure
Follow FIFO (First-In, First-Out) — older yarn gets used first
Simple habits. But they prevent a lot of small issues from piling up.
Handling Rules
This is where people slip up sometimes.
Don’t drop cones (it damages structure)
Don’t squeeze or compress them
Always keep dye lots separate — mixing them leads to shade variation
Store cones upright, not tilted or stacked awkwardly
Nothing complicated. Just careful handling.
Output of Yarn Preparation
When everything is done right, the difference is obvious—even before knitting starts.
You get:
Even, well-built cones
Balanced and stable moisture content
Proper winding and consistent tension
Yarn that’s already been checked physically
Material that’s genuinely ready for knitting
And because of that:
Fewer knitting defects show up
Machines run more smoothly
Efficiency goes up without forcing it
What This Means for Knitting
A well-prepared yarn setup leads to a much cleaner knitting process:
Less machine stoppage (big win)
Minimal defects
Panels come out with correct measurements
Fabric surface looks smoother, more uniform
Overall productivity improves
You’ll feel the difference on the floor. Things just… flow better.
Why Yarn Preparation Is So Critical in Sweater Production
At the end of the day, yarn preparation isn’t just a “pre-step.” It sets the tone for everything that follows.
It directly affects:
Fabric quality
Stitch consistency
Machine efficiency
Rework and wastage levels
Final garment performance
And here’s the part people don’t always realize—up to 70% of knitting problems actually trace back to poor yarn preparation.
Which says a lot.
Get this stage right, and knitting becomes easier. Get it wrong… and you spend the rest of production fixing problems that shouldn’t have been there in the first place.
References & Sources
V.K. Kothari – Testing and Quality Management in Textiles.
The Textile Institute (UK) – Textile Terms and Definitions.
Uster Technologies AG – Technical publications on yarn quality, yarn imperfections, hairiness, winding optimization, and knitting performance.
Savio Macchine Tessili S.p.A. – Technical documentation on auto winding, yarn clearing, splicing, and package building.
ASTM International – Standards relating to yarn testing, moisture measurement, tensile testing, and textile quality evaluation.
ISO Textile Standards – Standards covering yarn conditioning, testing, moisture content determination, and textile quality control.
Disclaimer: This content is intended for educational and training purposes only. Yarn preparation procedures, conditioning parameters, waxing methods, winding settings, tension requirements, and knitting performance may vary depending on yarn type, machine specifications, environmental conditions, factory practices, and customer requirements. For production decisions, users should follow supplier recommendations, machine manufacturer guidelines, and applicable industry standards.
Written by
Alam Mohammad Shafiqul
Lead Editor, Contributor
Textile Technology
Over 15 years of experience in textile engineering, Sweater & tech development. Passionate about bridging the gap between factory-floor practice and technical knowledge.