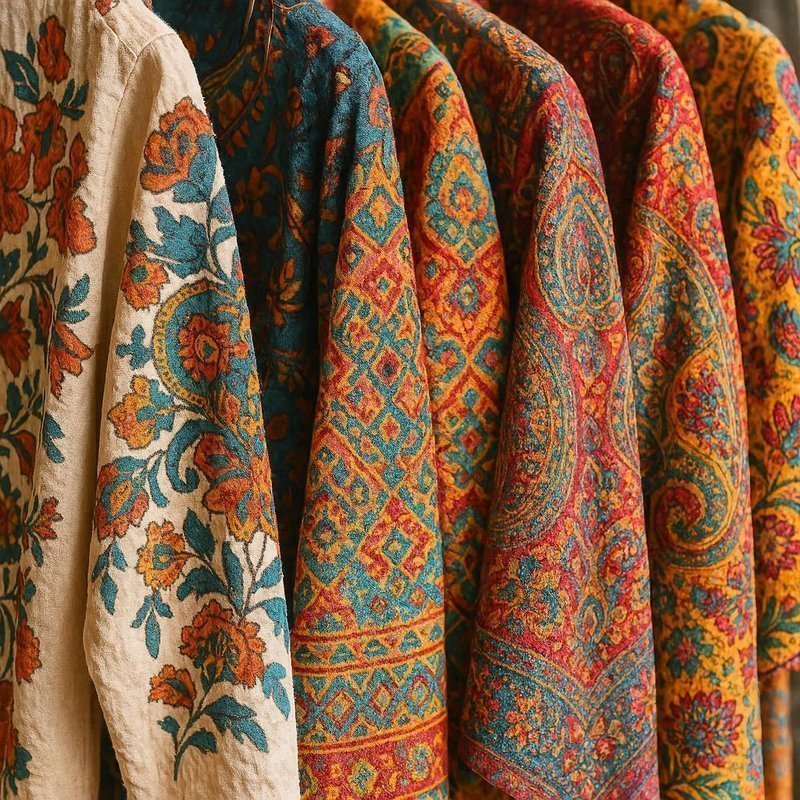
Transfer Printing in Textiles: Techniques, Materials and Applications in Fashion Fabrics
15 min read
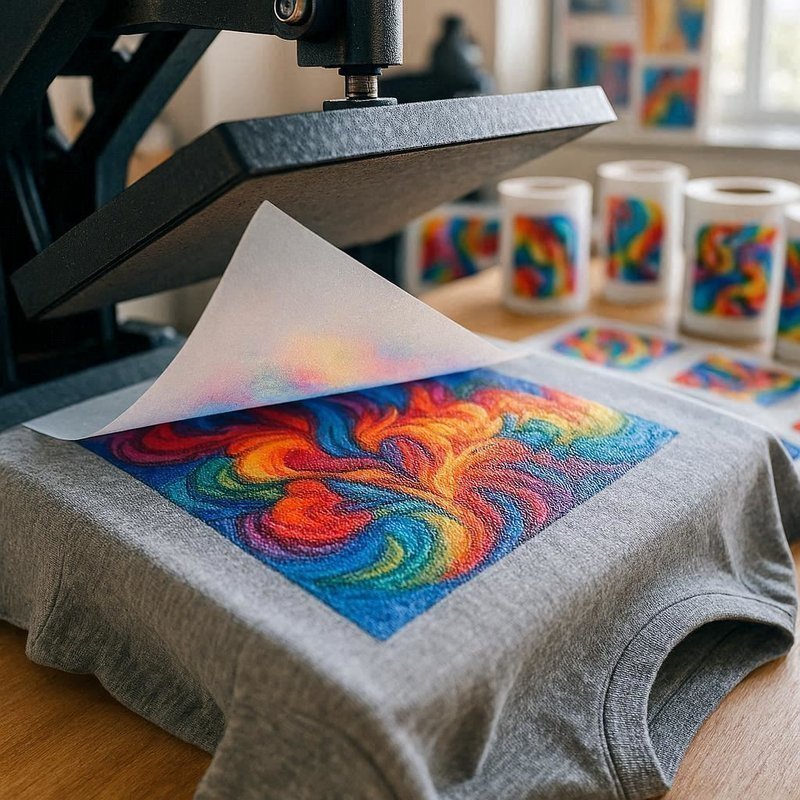
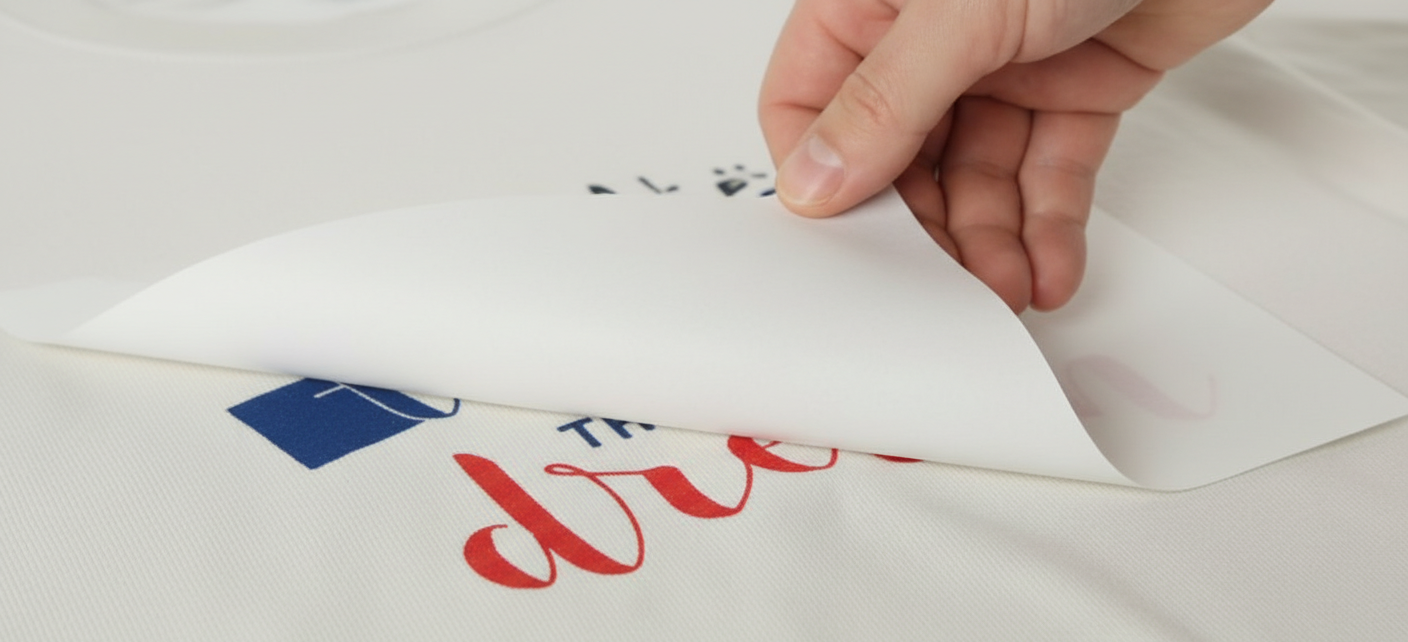
Transfer printing is the process of printing an image on paper, film or vinyl and then transferring that image to a fabric surface using a heat press. The result is excellent detail, vibrant colours and compatibility with a wide range of textiles.
Transfer printing is when an image is printed on paper, film or vinyl and then transferred to a fabric surface with a heat press. This process provides high details, bright colours and compatibility with a wide range of textiles.
Transfer Printing
Transfer printing is pretty straightforward when you break it down.
You don’t print directly on the fabric—instead, you print the design first on something else… paper, film, vinyl—and then move it onto the garment using heat.
That heat press step does the magic. It bonds the design to the fabric.
Result?
Sharp details. Bright colors. And a lot of flexibility with different materials.
Transfer Printing
General Transfer Printing Process Flow
Before even talking about types, the base flow is almost the same:
Design preparation
Printing onto transfer medium
Preparation of garment
Heat transfer process
Cooling & peeling
Post-finishing check
Each stage matters more than it seems.
Step 1: Design Preparation
Everything starts here.
The artwork is created or adjusted in design software—Photoshop, Illustrator or CAD tools depending on the setup.
If the design isn’t prepared correctly here, nothing downstream can fix it.
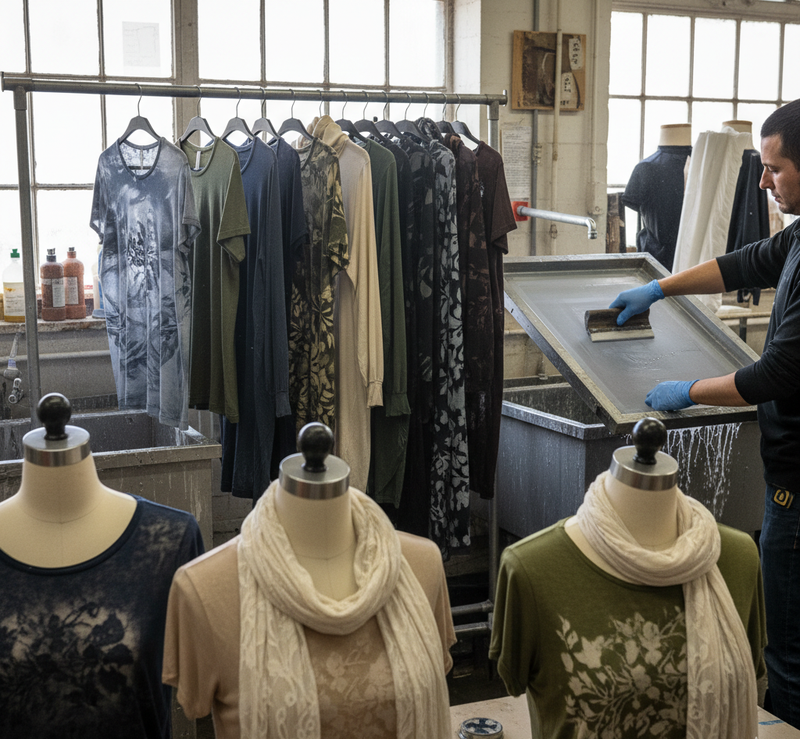
Step 2: Printing on Transfer Medium
Depending on the method, the design gets printed on:
Sublimation paper
PET film (DTF)
Transfer paper (inkjet/laser)
Vinyl sheets (HTV cut, not printed)
The printing stage also involves:
Ink compatibility
Printer settings
Drying or curing (for some methods)
For example:
In DTF, adhesive powder is applied after printing
In sublimation, the ink must stay stable until heat transfer
Small variations here affect color output later.
Step 3: Garment Preparation
Before pressing, the garment isn’t just thrown onto the machine.
A few checks happen:
Surface must be clean (no dust, lint, oil)
Fabric moisture should be low
Pre-press might be done (2–3 seconds) to remove wrinkles
If you skip this… you may trap moisture or get uneven transfer.
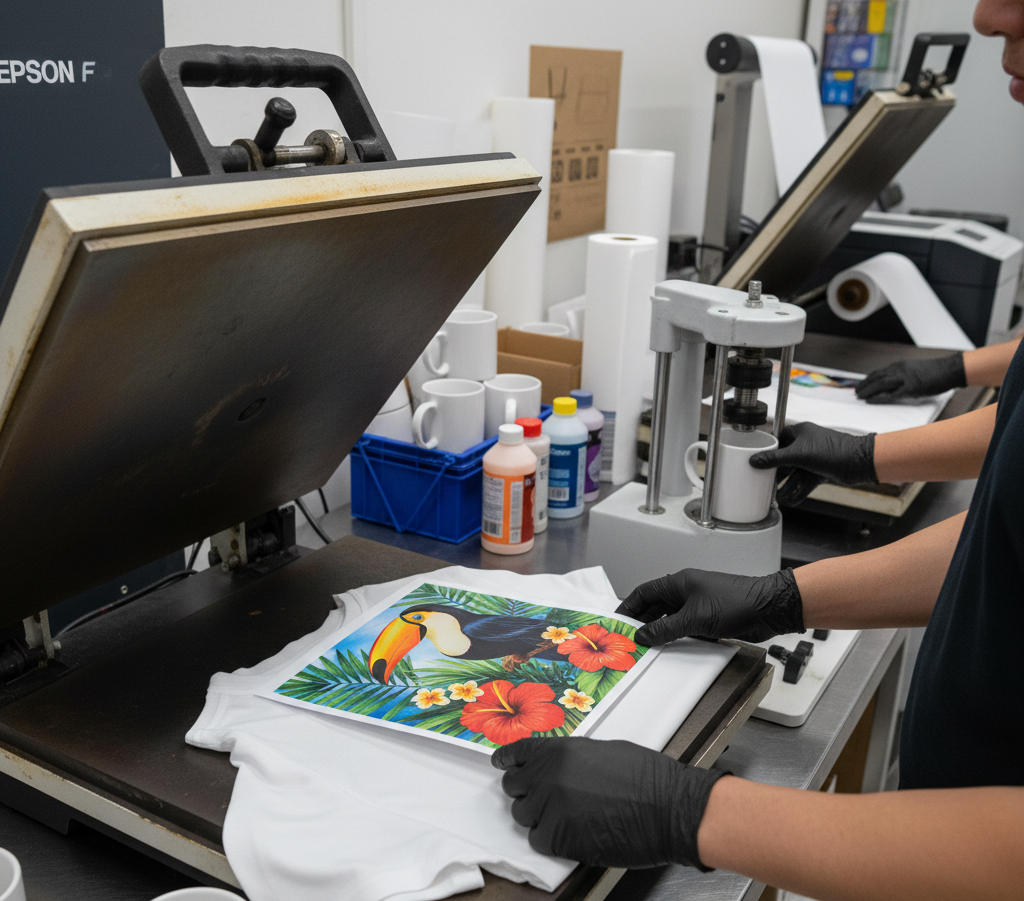
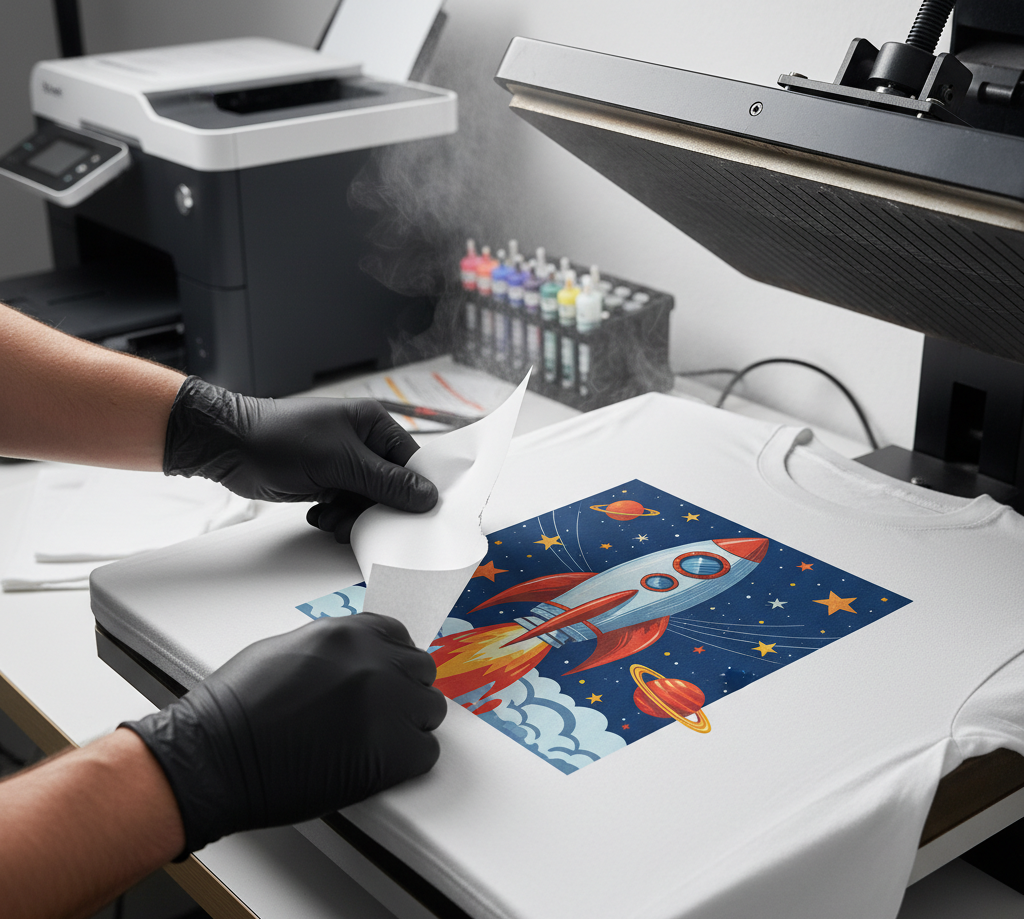
Step 4: Heat Transfer (Core Step)
This is where everything comes together.
The printed design is placed onto the garment, aligned properly and then pressed using a heat press machine.
Typical Control Parameters
Temperature → usually 150°C to 220°C
Pressure → light, medium or heavy depending on material
Time → 8–20 seconds (varies by method)
Not just one fixed setting—each method has its own window.
For example:
Sublimation → high temp (180–220°C), longer dwell
HTV → medium temp, controlled pressure
DTF → moderate temp + curing considerations
Too much heat? Fabric damage.
Too little? weak bonding.
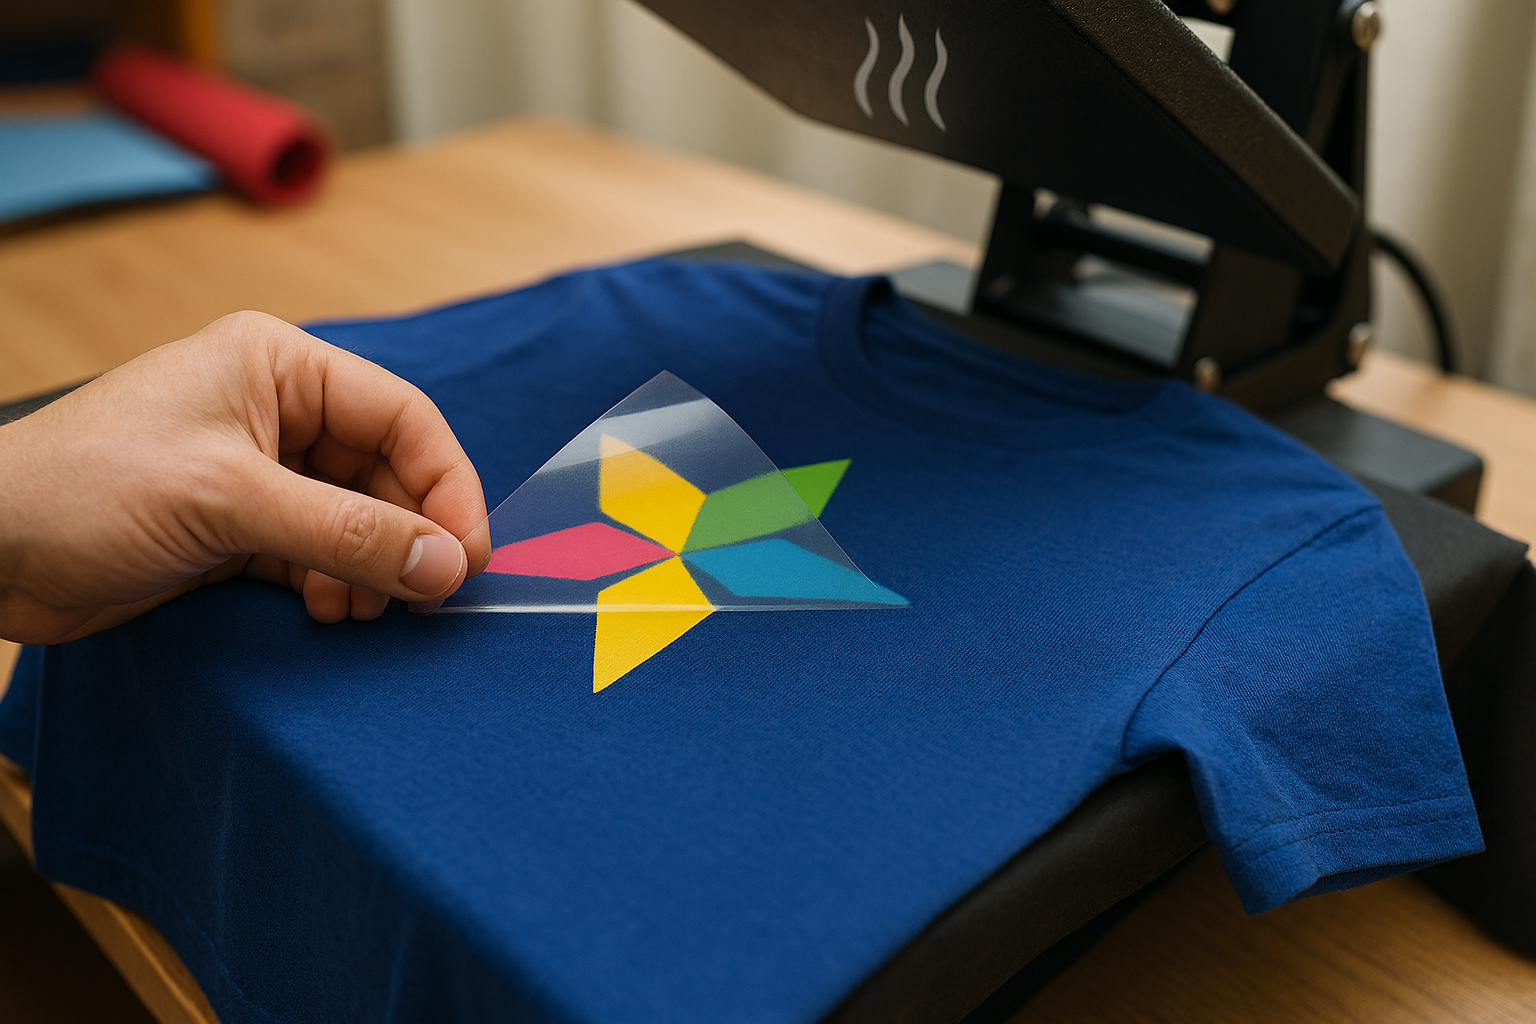
Step 5: Cooling & Peeling
After pressing, you can’t rush.
Depending on the method:
Hot peel → remove immediately
Cold peel → wait until cooled
Warm peel → slight cooling
If you peel too early or too late, the design may not transfer properly.
Step 6: Post-Finishing Check
Once transferred, the garment goes through quick checks:
Adhesion strength
Print clarity
Edge lifting or bubbling
Color accuracy
Sometimes a second press is done (with tissue or protective sheet) to improve bonding and finish.
Major Types of Transfer Printing
There’s no single way to do this. A few methods are commonly used, each with its own personality.
Sublimation Transfer Printing
Sublimation is probably the cleanest-looking option out there.
It works by printing the design onto special paper, then applying heat (around 180–220°C) so the dye turns into gas and bonds directly with polyester fibers. No layer sitting on top—it actually becomes part of the fabric.
Step-by-Step Production Flow
Artwork Preparation
Design created in high resolution
Colors adjusted for sublimation (RGB → CMYK shift matters)
Design mirrored before printing
Design created in high resolution
Colors adjusted for sublimation (RGB → CMYK shift matters)
Design mirrored before printing
Printing Stage
Printed on sublimation transfer paper using sublimation ink
Needs controlled drying—ink should stay stable, not smudge
Printed on sublimation transfer paper using sublimation ink
Needs controlled drying—ink should stay stable, not smudge
Fabric Preparation
Fabric must be polyester or high-poly blend
Usually white or light shade
Pre-press done lightly to remove moisture and wrinkles
Fabric must be polyester or high-poly blend
Usually white or light shade
Pre-press done lightly to remove moisture and wrinkles
Transfer (Heat Press / Rotary Machine)
Temperature: 180–220°C
Time: ~20–40 seconds (depends on machine)
Pressure: medium
During this step, the ink turns into gas and bonds with the fiber.
Temperature: 180–220°C
Time: ~20–40 seconds (depends on machine)
Pressure: medium
Cooling & Output
Paper is removed immediately (hot peel)
No further curing needed
Paper is removed immediately (hot peel)
No further curing needed
Production Reality
Once settings are fixed → very fast repeat production
Ideal for continuous runs (especially roll-to-roll sublimation)
Minimal handling after press
Common Issues on Floor
Paper shifting → ghost images
Inconsistent temp → color variation
Fabric batch changes → shade mismatch
Sublimation Transfer Printing
Best for:
Polyester fabrics
Sportswear, jerseys, leggings
Advantages:
Long-lasting, doesn’t crack or peel
Soft and breathable feel
High-quality, photo-like prints
Limitations:
Only works on polyester
Not suitable for cotton
Heat Transfer Vinyl (HTV)
HTV is more straightforward and very common for customization work.
A vinyl sheet is cut into shape, the extra parts are removed (weeding) and then it’s heat pressed onto the garment. Simple process, but effective.
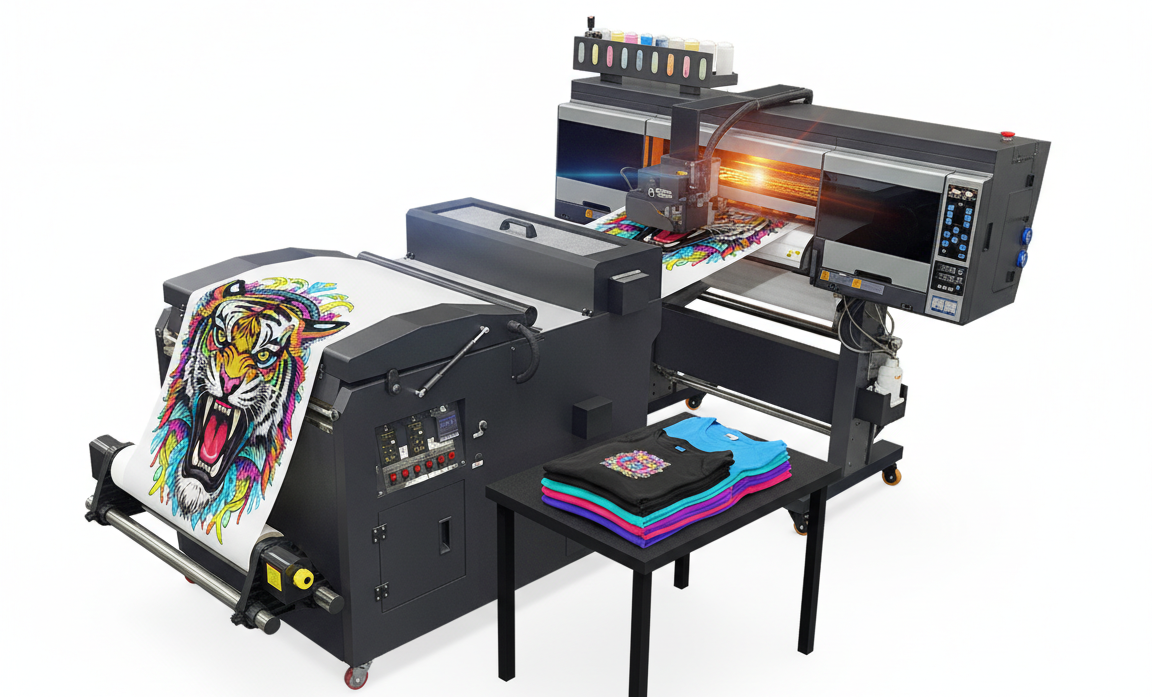
DTF is newer and more flexible compared to older methods.
The design is printed onto a film, adhesive powder is added, then cured and heat pressed onto the garment. A few extra steps—but it handles complex graphics really well.
Step-by-Step Production Flow
Artwork Preparation
No limitation on design complexity
Colors separated digitally
No limitation on design complexity
Colors separated digitally
Printing on PET Film
Special DTF printer used
Ink remains wet initially
Special DTF printer used
Ink remains wet initially
Powder Application
Adhesive powder applied evenly
Excess powder removed
Adhesive powder applied evenly
Excess powder removed
Curing Stage
Film heated (approx. 110–130°C)
Powder melts and bonds to ink
Film heated (approx. 110–130°C)
Powder melts and bonds to ink
Transfer to Garment
Temp: 150–170°C
Time: 10–15 seconds
Pressure: medium
Temp: 150–170°C
Time: 10–15 seconds
Pressure: medium
Peeling
Usually cold peel
Usually cold peel
Final Press (Optional but Recommended)
Adds softness and durability
Adds softness and durability
Production Reality
Works across many fabric types → big advantage
No cutting/weeding
Flexible for multi-color designs
Critical Control Points
Powder thickness → affects feel and adhesion
Curing → too low = weak print, too high = stiff finish
Storage → humidity can damage film
So yes… powerful method, but needs trained handling.
Digital Heat Transfer (DTF Transfer)
Best for:
Cotton, polyester, denim, fleece
Multi-color or detailed designs
Advantages:
Works on almost all fabrics
No weeding required
Good balance of softness and durability
Limitations:
Needs proper curing
Slightly thicker than sublimation
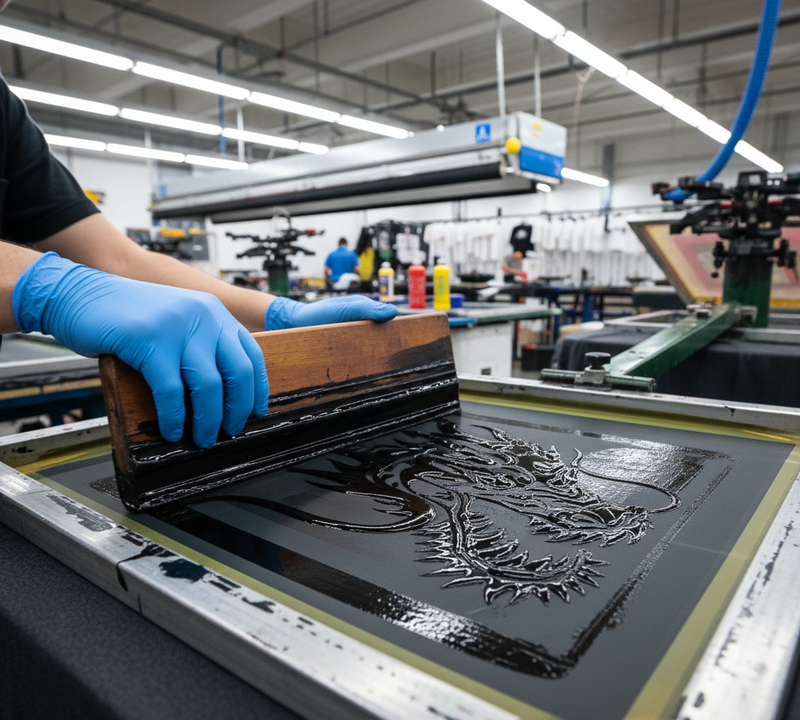
Plastisol Transfer Printing
This is more traditional and often used in bulk production.
Here, plastisol ink is screen printed onto transfer paper, partially cured and then transferred to the garment using heat.
Step-by-Step Production Flow
Artwork Separation
Colors separated for screen printing
Colors separated for screen printing
Screen Preparation
Screens prepared for each color
Screens prepared for each color
Printing on Transfer Paper
Plastisol ink printed layer-by-layer
Each color applied separately
Plastisol ink printed layer-by-layer
Each color applied separately
Partial Curing
Ink is gelled but not fully cured
Keeps it transferable
Ink is gelled but not fully cured
Keeps it transferable
Storage
Transfers can be stored and used later
Transfers can be stored and used later
Heat Transfer on Garment
Temp: ~160–170°C
Time: 10–12 seconds
Pressure: medium-high
Temp: ~160–170°C
Time: 10–12 seconds
Pressure: medium-high
Peeling
Hot or cold peel depending on ink
Hot or cold peel depending on ink
Production Reality
Very efficient for bulk orders
Transfer sheets prepared in advance → flexibility in scheduling
Consistent results once setup is right
Limitations in Practice
Setup time (screen prep)
Less flexible for frequent design changes
Slightly heavier print feel
Plastisol Transfer Printing
Best for:
T-shirts (cotton and blends)
Dark fabrics
Advantages:
High color opacity
Sharp, clean edges
Reliable for large orders
Limitations:
Slight plastic-like feel
Not very eco-friendly
Laser & Inkjet Transfer Printing
This is the easiest entry-level option.
Designs are printed using regular inkjet or laser printers and then heat transferred onto fabric. It’s simple but more suited for smaller scale work.
Step-by-Step Production Flow
Design Preparation
Printed through standard inkjet/laser printer
Usually mirrored
Printed through standard inkjet/laser printer
Usually mirrored
Printing Stage
Printed on transfer paper
Drying required
Printed on transfer paper
Drying required
Garment Preparation
Pre-press to remove moisture
Pre-press to remove moisture
Heat Transfer
Temp: ~160–180°C
Time: 10–20 seconds
Temp: ~160–180°C
Time: 10–20 seconds
Peeling
Depends on transfer paper type
Depends on transfer paper type
Production Reality
Works for small batches, samples, DIY production
No specialized machines needed
Where It Falls Short
Lower durability
Color fade over time
Adhesion weaker than industrial methods
Laser & Inkjet Transfer Printing
Best for:
Small quantity or custom orders
Photo-based designs
Advantages:
Low setup cost
Easy to use
Works on both cotton and polyester
Limitations:
Less durable over time
Colors may fade after washing
Fabrics Suitable for Transfer Printing
Compatibility Chart
Fabric
Suitable Methods
Notes
Polyester
Sublimation, DTF
Best sublimation output
Cotton
HTV, DTF, Plastisol
Sublimation doesn’t work
Blends
Most methods
Sublimation partial
Nylon
DTF, HTV
Heat-sensitive
Silk
Low-temp HTV, DTF
Delicate handling
Advantages of Transfer Printing
Transfer printing has become popular for a reason. It just works well—especially in situations where flexibility matters.
1. High Print Resolution
One of the biggest strengths is the print quality.
You can get:
Sharp lines
Smooth gradients
Almost photo-like images
So if the design has a lot of detail or color variation, transfer printing handles it better than many traditional methods. No rough edges. No messy blending.
2. Cost-Effective for Small Runs
For smaller quantities, this process makes a lot of sense.
There’s no need for screen setup, no heavy initial investment.
You print, transfer and you’re done.
That’s why it’s widely used for:
Samples
Limited collections
Custom orders
You avoid those upfront costs that only make sense in bulk production.
3. Supports On-Demand Production
This is where it really fits modern production.
Need to produce something quickly?
Or personalize garments one by one?
Transfer printing makes that possible.
Fast sampling
Easy design changes
Quick turnaround
It’s flexible. You don’t need to lock into one design for thousands of pieces.
4. Eco-Friendly Options
Not all methods—but some are moving in a better direction.
For example:
Sublimation → minimal water usage
Digital transfers (like DTF) → reduced chemical waste
Compared to older processes, these options are cleaner. Not perfect—but definitely an improvement.
Challenges & Limitations
Of course… it’s not all smooth. There are trade-offs and you feel them in production.
Material Restrictions
Certain methods are limited.
Sublimation → only works on polyester (or high blends)
So if you're working with cotton or mixed fabrics, you have to switch methods. No way around it.
Durability Variations
Not every transfer print behaves the same over time.
A lot depends on:
Ink quality
Powder adhesive (in DTF)
Heat settings
If any of those are off, you’ll see it later:
Cracking
Peeling
Color fading
So durability isn’t just about the method—it’s about how well the process is controlled.
Heat Sensitivity
Everything here depends on heat. That’s both a strength… and a risk.
Some fabrics don’t handle high temperatures well:
Can shrink
Can scorch
Can lose texture
So you have to adjust:
Temperature
Pressure
Press time
Otherwise, you might fix the print but damage the garment.
Trends in Modern Transfer Printing
Transfer printing isn’t standing still. It’s changing fast—partly because of technology, partly because the market itself is shifting. What worked a few years ago doesn’t always make sense now.
A few trends are shaping where things are going.
Emergence of DTF as a Market Leader
DTF has quietly moved from “new option” to something much bigger.
Factories like it because it solves a lot of small problems at once:
Works on different fabrics (cotton, polyester, blends… no switching stress)
Handles complex, multi-color designs easily
Gives decent wash durability when done right
So instead of changing methods depending on the fabric, many setups now lean toward DTF as a flexible solution.
Not perfect, but practical. And that’s why it’s growing.
Green Chemistry (Slow but Growing)
There’s more pressure now—buyers, brands, regulations… everyone’s asking about sustainability.
So you’re seeing shifts like:
Waterless processes (especially in sublimation)
Lower chemical usage
Reduced waste in digital transfers
It’s not fully “green” yet, but compared to older methods, things are improving.
Bit by bit.
On-Demand Fashion Manufacturing
This is probably one of the biggest changes.
Instead of producing huge quantities and storing inventory, brands are moving toward:
Smaller batches
Faster turnaround
Made-to-order production
And transfer printing fits perfectly into that.
No heavy setup.
Easy design changes.
Quick switching between styles.
So production becomes more flexible… and waste is reduced at the same time.
Dyes Used in Transfer Printing
Now coming to the chemistry side—because that still matters.
Most transfer printing, especially sublimation printing, relies on disperse dyes. These dyes are specially developed for synthetic fibers and are the most important colorants used in transfer printing technology.
During the transfer process, the dye is first printed onto transfer paper and then, under heat and pressure, changes directly from a solid to a gas (sublimates). The dye molecules penetrate the synthetic fiber and become permanently embedded within the fiber structure.
Chemical Components
Common disperse dye classes include:
Dye Class
Typical Chemical Group
Azo Disperse Dyes
–N=N–
Anthraquinone Disperse Dyes
Anthraquinone Structure (C₁₄H₈O₂)
Nitro Disperse Dyes
–NO₂
Disperse Orange 3
C₁₂H₁₀N₄O₂
Disperse Red 60
C₂₀H₁₃NO₄
Disperse Blue 56
C₁₄H₉BrN₂O₄
Suitable Fabrics
Polyester (main application)
Polyester blends (depending on polyester content)
Microfiber polyester
Recycled polyester (rPET)
Why Polyester?
Polyester fibers soften slightly when exposed to high temperatures (typically 180–210°C). At this temperature, disperse dye molecules can diffuse into the fiber structure. As the fabric cools, the dye becomes trapped inside the fiber, producing excellent wash fastness and color durability.
Key Characteristics
Bright and vibrant colors
Excellent wash resistance
No ink feel on the fabric surface
High resistance to cracking, peeling, or fading
Ideal for photographic and high-resolution designs
Best Applications
Sportswear
Jerseys
Activewear
Fashion apparel
Promotional products
Flags and banners
Soft signage
Home textiles
Key Chemical Symbols Related to Transfer Printing
Chemical
Formula/Symbol
Polyester (PET)
(C₁₀H₈O₄)ₙ
Azo Group
–N=N–
Anthraquinone
C₁₄H₈O₂
Water
H₂O
Carbon
C
Nitrogen
N
Oxygen
O
Most Important Chemical Pair in Sublimation Transfer Printing:
Disperse Dye (Azo/Anthraquinone based)
Polyester (PET) → (C₁₀H₈O₄)ₙ
This is why sublimation printing is so closely associated with polyester—the disperse dye requires a synthetic polymer such as polyester to achieve permanent bonding and vibrant color transfer.
Final Thought
When you step back and look at the whole transfer printing process… it’s actually pretty simple in idea, but not so simple in practice.
You’re just moving a design from one surface to another using heat. That’s it.
But between design prep, material choice, printing, pressing and all those little adjustments in temperature and timing—there’s a lot that has to line up.
And each method does that differently.
Some, like sublimation, feel seamless once everything is tuned in. Others, like HTV or DTF, need more hands-on control. Plastisol fits nicely into bulk production, while inkjet or laser stays more on the small-scale side.
None of them are “perfect.” They’re just… suited for different situations.
That’s really the key point.
Because in real production, the result doesn’t depend only on the printing method.
It depends on how well you match:
the fabric
the design
the volume
and how carefully the process is controlled
Get that balance right and the output looks effortless—sharp prints, strong colors, good durability.
Miss it, even slightly… and issues start showing up. Maybe not immediately, but after a few washes or under closer inspection.
So yeah, transfer printing isn’t just about putting a design onto fabric.
It’s about getting all those small steps to work together—quietly, consistently.
And when they do… the final product speaks for itself.
References & Sources
The Textile Institute – Transfer printing, sublimation printing, heat-transfer technologies, textile coloration, and apparel decoration systems.
AATCC (American Association of Textile Chemists and Colorists) – Textile printing, colorfastness, durability evaluation, and garment performance standards.
Society of Dyers and Colourists (SDC) – Transfer printing chemistry, disperse dyes, sublimation technology, and textile coloration principles.
Broadbent, A.D. – Basic Principles of Textile Coloration.
Miles, L.W.C. – Textile Printing.
Archroma, Huntsman, Epson, Mimaki, Roland DG, Sawgrass, STAHLS’, and leading textile printing technology suppliers' technical resources covering sublimation, DTF, HTV, plastisol transfers, and digital textile printing systems.
Disclaimer: This information is intended for educational and industry reference purposes only. Transfer printing methods, ink formulations, adhesive systems, curing parameters, transfer temperatures, dwell times, pressure settings, and fabric compatibility may vary depending on equipment type, substrate composition, supplier recommendations, production environment, buyer specifications, and factory operating standards. All transfer printing processes should be validated through laboratory testing, strike-offs, adhesion testing, wash durability testing, and approved production standards before bulk manufacturing. Compliance with applicable safety, environmental, ZDHC, OEKO-TEX®, REACH, and buyer-specific requirements should be verified prior to commercial implementation. Results may vary depending on fabric characteristics, heat sensitivity, print design complexity, and process control.
Written by
Alam Mohammad Shafiqul
Lead Editor, Contributor
Textile Technology
Over 15 years of experience in textile engineering, Sweater & tech development. Passionate about bridging the gap between factory-floor practice and technical knowledge.