PP Spray is one of those denim finishing steps that instantly changes how a garment looks. You take a plain, evenly dyed piece… and suddenly it has life. Contrast. Character.
At its core, PP spray ( Potassium Permanganate (KMnO₄) is a localized technique. Meaning—you don’t touch the whole garment. Just specific areas. The parts where fading makes sense.
That’s where the magic happens.
So what’s really going on?
It all comes down to chemistry. Simple, but powerful.
Potassium permanganate (KMnO₄) is a strong oxidizing agent. In plain terms—it breaks things down. And in denim, what it targets is indigo dye (C₁₆H₁₀N₂O₂) on the surface.
Once sprayed, it reacts with the dye… slowly eating it away. The more it reacts, the lighter that area becomes.
Not instant. But fast enough.
How the process actually runs
Let’s walk through it in a practical way—not just bullet points.
First, the PP solution is prepared. Usually diluted. Concentration matters a lot here—too strong and you burn the fabric, too weak and nothing shows.
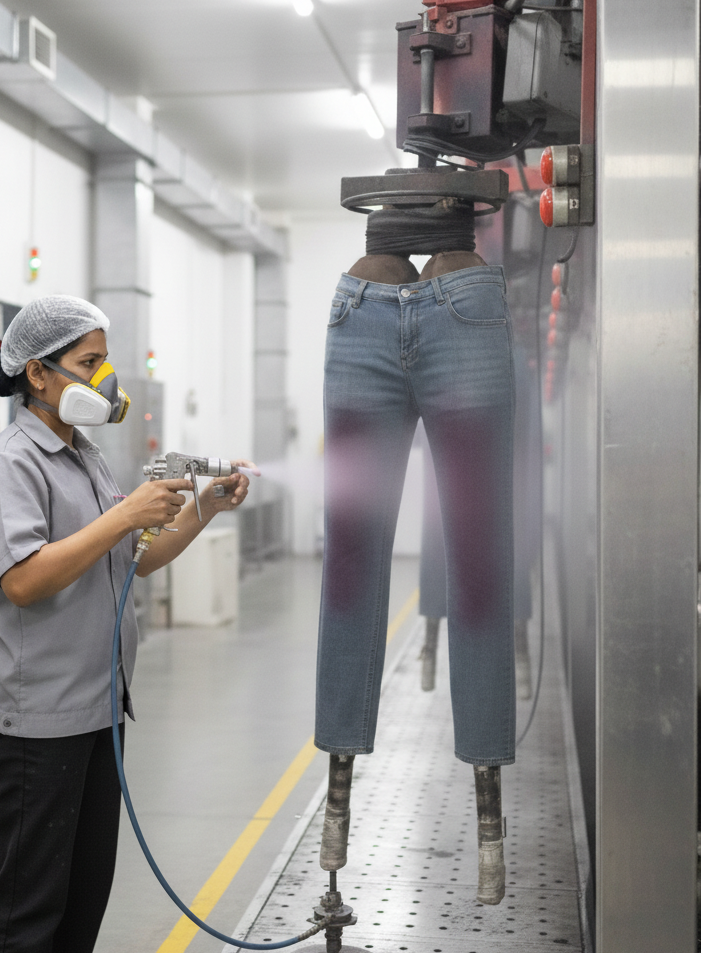
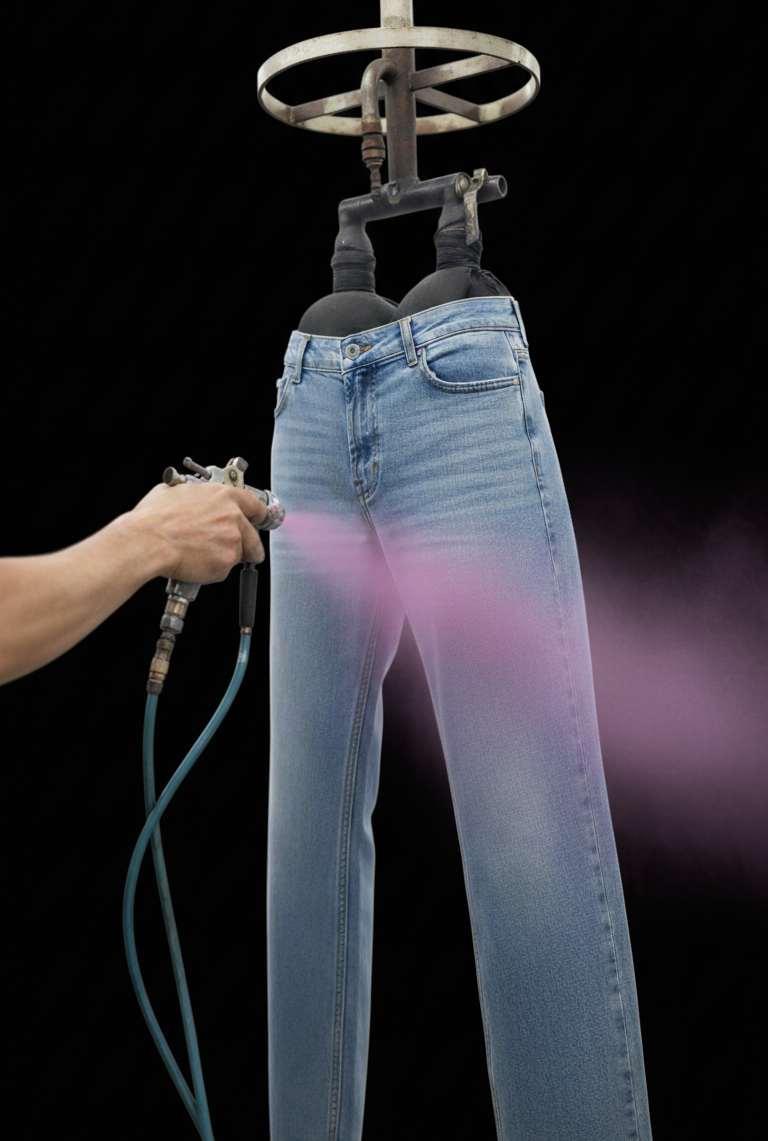
Then comes the spraying.
This part is very hands-on. Operators use spray guns (or sometimes automated setups) to hit specific zones. It’s not random—you’re following design intent. Or sometimes just experience.
Once the chemical lands on the fabric, the reaction starts right away. Indigo begins to break down.
And here’s the trick—timing.
Leave it longer → stronger fading
Short exposure → softer highlights
There’s always a bit of judgment involved.
After the look is achieved, you can’t just leave it. The oxidation has to be stopped. Otherwise, it keeps going… and ruins the shade.
So the garment is neutralized. Washed. Cleaned up.
Only then it’s safe.
Indigo Dye (C₁₆H₁₀N₂O₂)
+
Potassium Permanganate (KMnO₄)
↓
Oxidized Dye Products
↓
Localized Fading Effect
Process Mechanism
- Prepare diluted PP solution.
- Spray onto selected garment areas.
- Oxidation begins immediately.
- Indigo dye breaks down.
- Desired fading develops.
- Neutralization stops the oxidation reaction.
- Garment is rinsed, softened and dried.
What kind of effects do you get?
This is why brands love PP spray.
- Very sharp, localized fading
- Strong contrast—light vs dark areas
- That slightly worn, vintage look
- Highlights that make details stand out
It doesn’t look flat. That’s the point.
Where it’s commonly used
Not just limited to denim, though denim is the main playground.
You’ll see it on:
- Denim (obviously)
- Twill
- Poplin
- Corduroy
Basically, fabrics where surface dye can be manipulated.
here it is typically applied on:
- Whiskers
- Thigh areas
- Knee zones
- Seat area
- Pocket edges
- Hem lines
- Seam areas
Materials & Equipment Used
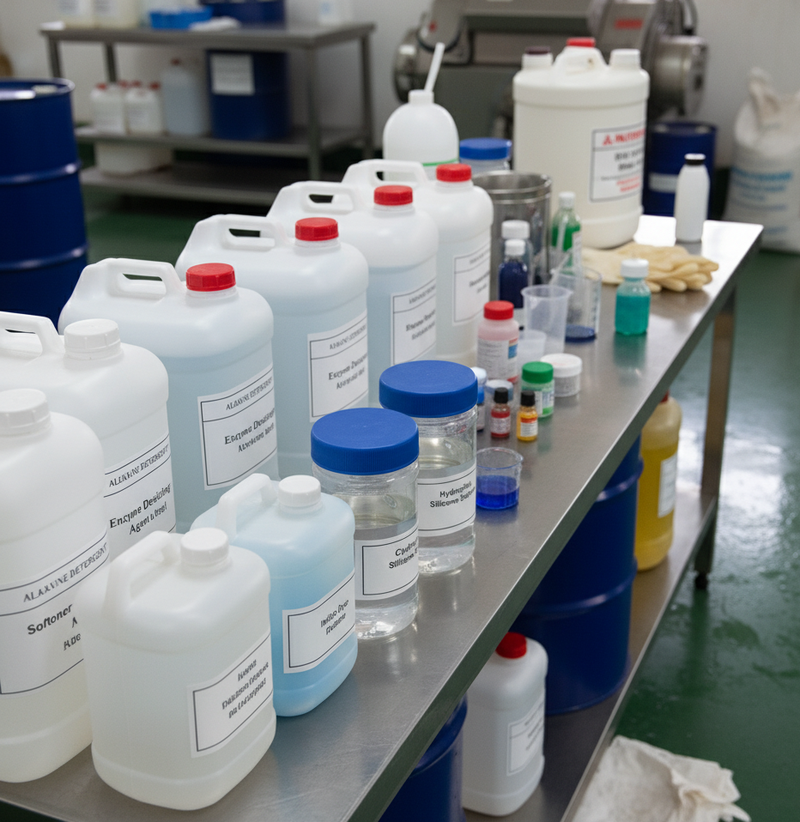
Chemicals
- Potassium Permanganate (KMnO₄)
- Neutralizers
Applied in diluted form (0.5–5%).
Strong oxidizer for color removal.
Sodium Metabisulfite (Na₂S₂O₅): Most common
Hydrogen Peroxide (H₂O₂): Alternative neutralizer
Oxalic Acid: Also used in some laundries
Tools & Equipment
- Pneumatic spray gun (HVLP guns)
- Spray cabin/booth with exhaust system
- PP-proof gloves, masks, goggles (mandatory)
- Compressor
- Mannequin/Stand for garments
- UV light for patch checking (optional)
PP Spray Recipe
Below is a standard PP Spray recipe used in denim laundries.
A. PP Solution Preparation
| Chemical | Dosage | Notes |
|---|---|---|
| Potassium Permanganate (KMnO₄) | 0.5–5% | Higher % → stronger effect |
| Water | As required | Use cold water |
| Wetting agent (optional) R–O–(CH₂CH₂O)nH | 0.5 g/L | Improves penetration |
Preparation Notes:
- Dissolve fully until solution turns deep purple.
- Filter before use to avoid nozzle blockage.
B. Neutralization Recipe
| Neutralizer | Dosage | Temperature | Time |
|---|---|---|---|
| Sodium Metabisulfite Na₂S₂O₅ | 1–3 g/L | 25–40°C | 10–15 min |
| or Hydrogen Peroxide H₂O₂ | 0.5–1 mL/L | 35–45°C | 10–12 min |
| or Oxalic Acid H₂C₂O₄ | 1–2 g/L | 30°C | 10–15 min |
Purpose:
To remove PP stains and stop further bleaching.
PP Spray – Detailed Process Flow
The PP spray process includes dry application followed by wet neutralization.
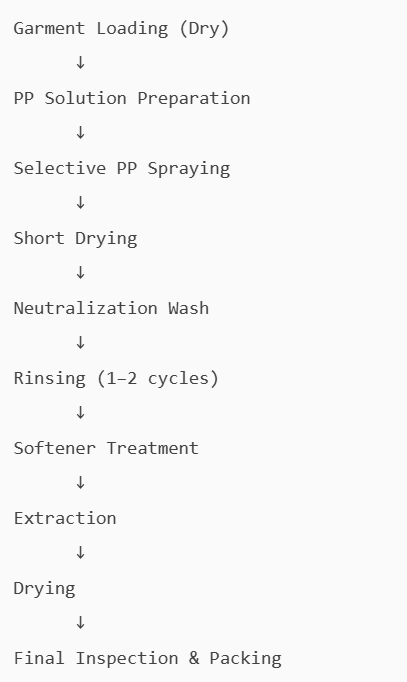
Step 1: Garment preparation
Garment must be dry. Always.
Usually, dry processes like whiskering and sanding are already done.
Mounted on a mannequin to hold shape. Otherwise, results get uneven.
Step 2: Prepare solution
Mix. Dissolve. Filter. Load into spray gun.
No shortcuts here.
Step 3: Spraying
This is where skill shows.
Focus areas:
- Whiskers
- Thighs
- Knees
- Seat
- Pocket edges
Typical setup:
- Distance: 20–40 cm
- Pressure: around 2–3 bar
Light spray → subtle effect
Heavy spray → bold contrast
Multiple passes → stronger fading
It’s very visual. Operators adjust on the fly.
Step 4: Drying (don’t rush this)
Leave it for 5–10 minutes.
Let the reaction complete properly. If rushed, results look patchy.
Step 5: Neutralization
Move to washing.
- Temp: 25–40°C
- Time: 10–15 minutes
- Liquor ratio: ~1:8 to 1:10
Stops everything. Cleans up the chemistry.
Step 6: Rinsing
1–2 cycles.
No smell, no residues—that’s the goal.
Step 7: Softening
Adds back comfort.
- 10–15 minutes
- Around 30–35°C
Step 8: Extraction
3–4 minutes. Straightforward.
Step 9: Drying
- Tumble dry (60–75°C)
- Or line dry, depending on fabric
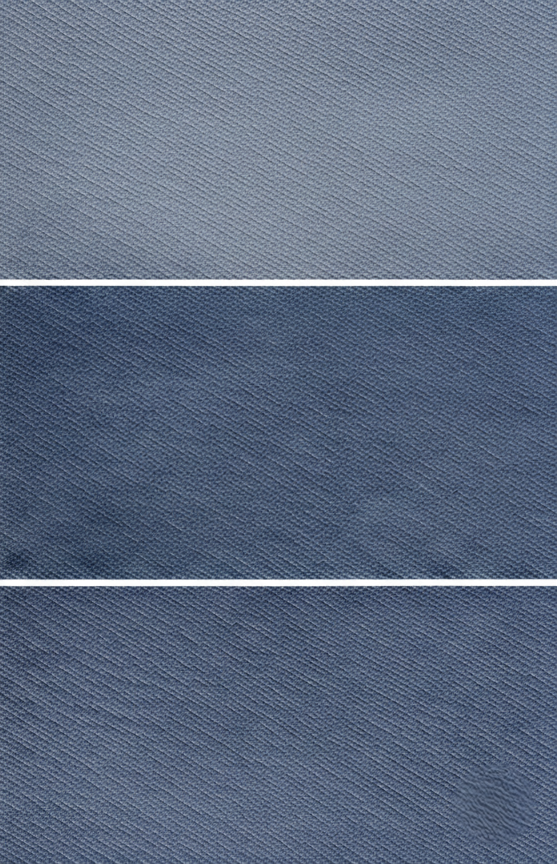
Final look and feel
After everything is done, you usually get:
- Bright highlighted areas
- Strong shade contrast
- Clear vintage feel
- Better visual depth
It looks intentional. Not random.
Why manufacturers rely on PP spray
Because it gives control. Real control.
- You choose exactly where fading happens
- Works across different garment types
- Easy to combine with other dry processes
- Adds that “premium” visual appeal buyers look for
Of course—it needs skill. And careful handling.
But when done right, it completely elevates the product.
PP Spray vs Enzyme Wash
| Aspect | PP Spray | Enzyme Wash |
|---|---|---|
| Main Chemical | KMnO₄ | Cellulase Enzyme |
| Chemical Formula | KMnO₄ | EC 3.2.1.4 |
| Target | Indigo Dye (C₁₆H₁₀N₂O₂) | Cellulose (C₆H₁₀O₅)ₙ |
| Effect | Localized Fading | Global Fading |
| Appearance | Sharp Contrast | Natural Fading |
| Fabric Damage | Medium | Low |
| Operator Skill | High | Moderate |
| Fashion Impact | High | Moderate |
One last thought
PP spray looks simple from the outside. Just spraying and washing, right?
Not really.
It’s timing. Concentration. Hand control. Experience.
And a bit of risk too—because once you overdo it, there’s no easy fix.
That’s why good PP work stands out immediately.
You just know when it’s done right.